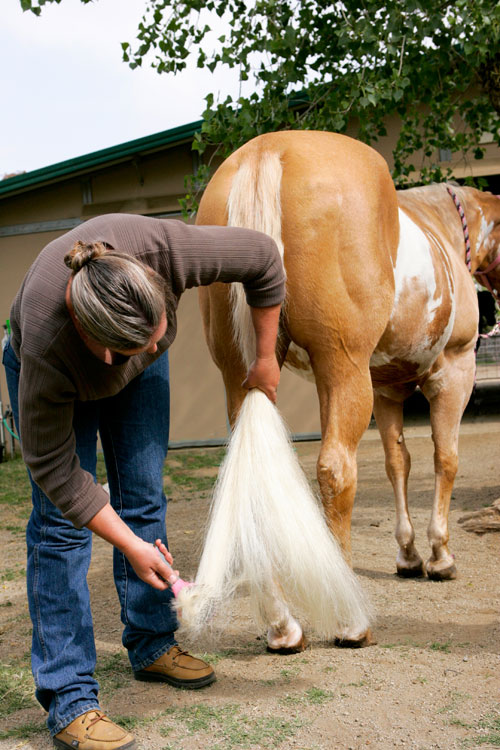
 | 1.The morning of the show is when a temporary tail extension should be applied. Depending on your schedule, shampoo and condition your horse’s tail the night before or the morning of the big show. Let the hair dry completely and then brush it out. If needed, use a tail bag to keep your horse’s locks clean until you’re ready to start applying the extension. |
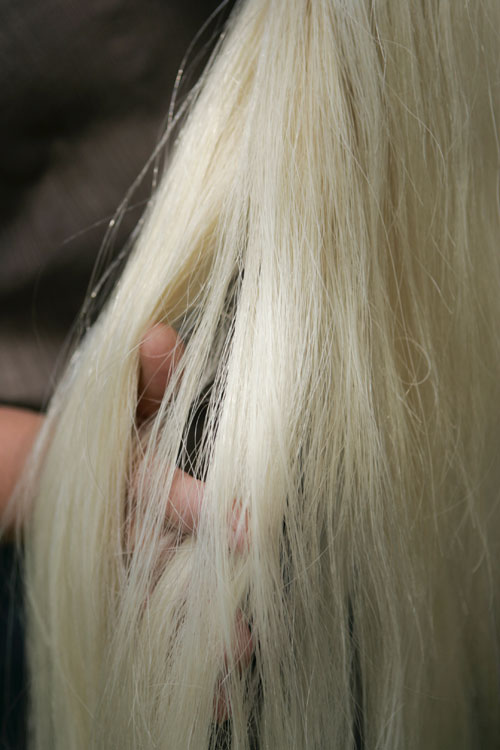
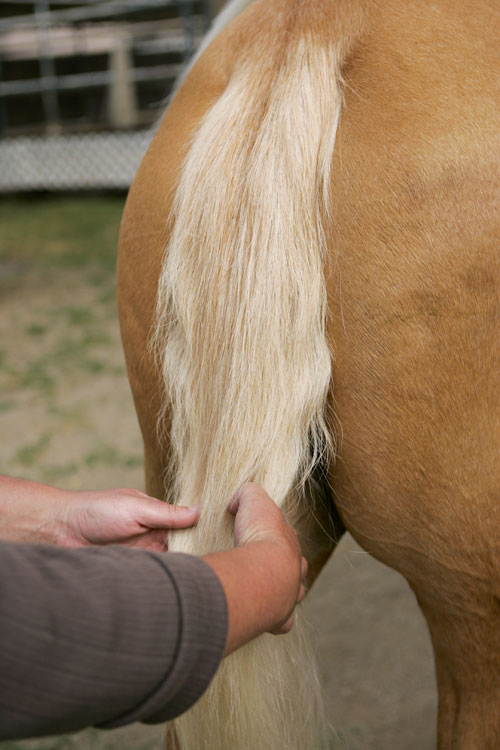
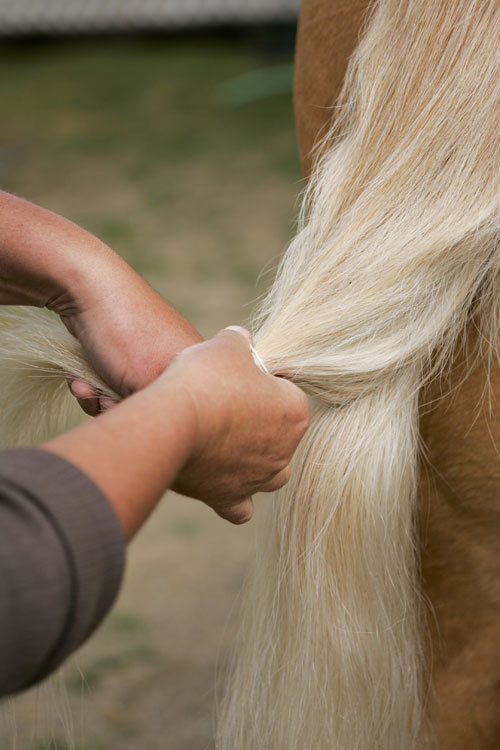 | 2.To start, grab your horse’s tail just below the tail bone and separate the hair into two layers: a top and bottom layer. Using a rubber band, loosely tie off the top layer to keep it out of the way for now. |
 | 3.In the bottom hair layer, make two small braids just below your horse’s tail bone. Each braid only needs to be about 2 inches long. Secure each braid with a rubber band that matches your horse’s tail hair color. (Rubber bands designed for mane and tail grooming are sold at tack stores.) |
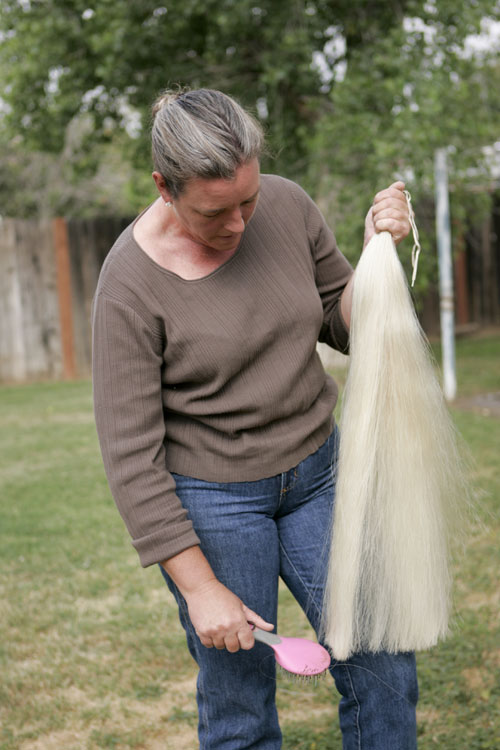 | 4.Get your tail extension and brush it before weaving it into your horse’s tail. |
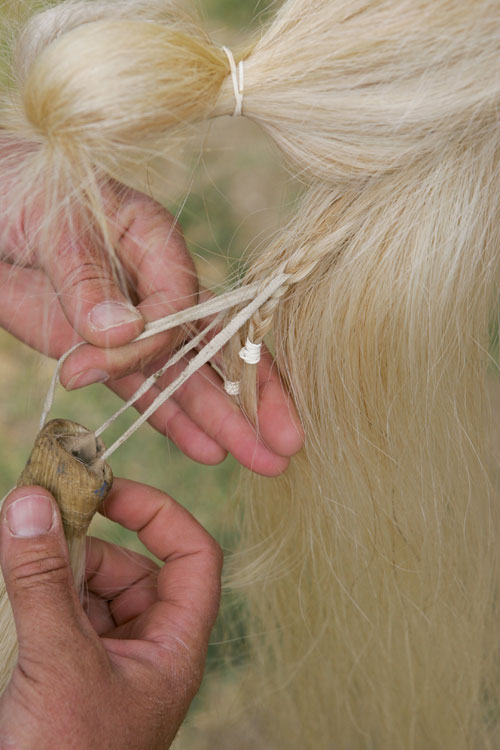 | 5.At the top of the tail extension are two small strings. Take one string and insert it through the middle of one braid (insert through the front of the braid); do the same with the other string and braid. Keep the braids behind the tail extension as you work. |
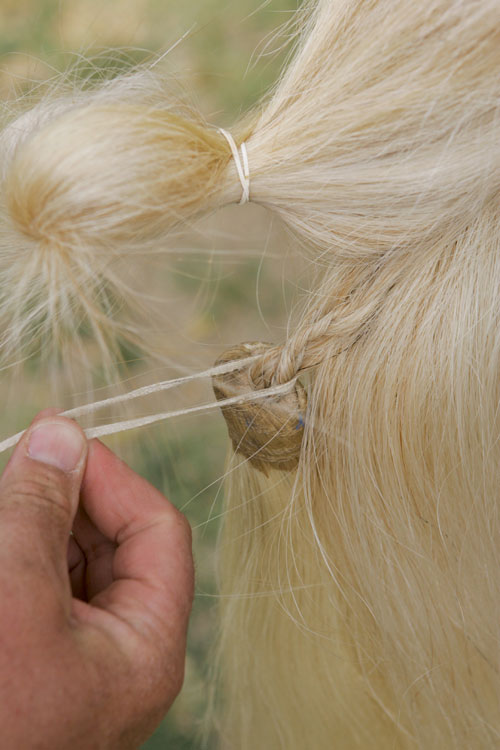 | 6.Gently pull on the strings to remove all slack between the braids and the top of the tail extension. Make sure the braids are behind the tail extension, not in front of it. |
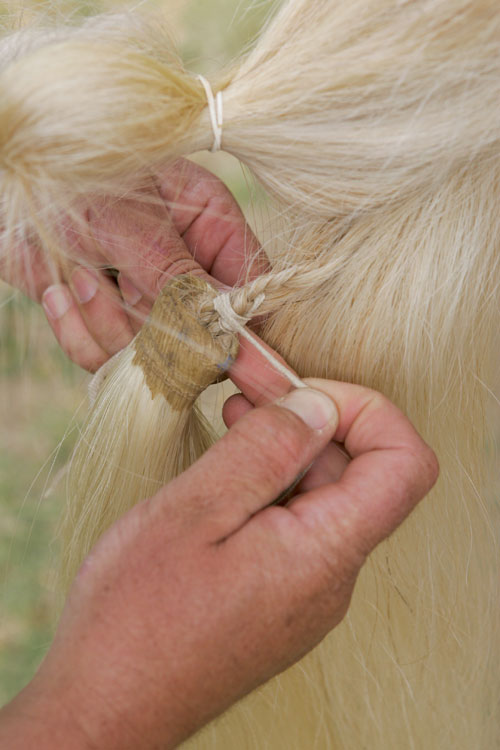 | 7.To begin securing the extension, keep the strings together and wrap them two or three times around both braids. MAKE SURE YOU’RE NOT WRAPPING THE TAIL BONE. |
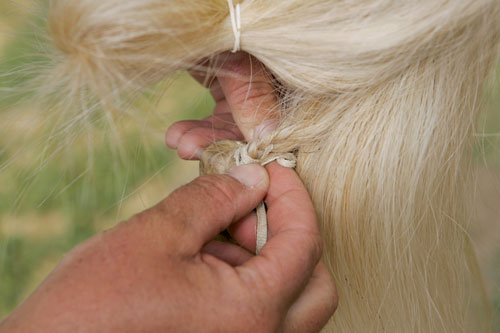 | 8.Twist the strings together then wrap one string in the opposite direction a couple of times. Finally, secure the strings in a knot behind the braids. Use a secure knot, but one that unties easily. |
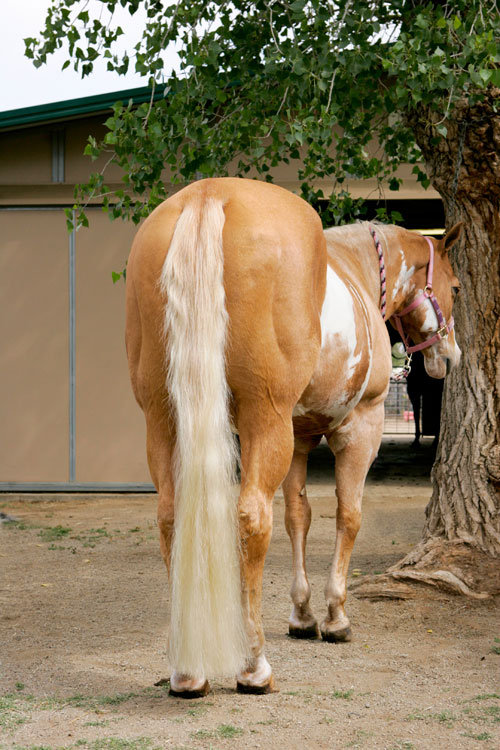
 | 9.Stand back and check your work. The extension should hang nicely and should be an appropriate length based on the class you’re showing in. |
 | 10.Once you’re satisfied, untie the top layer of hair and gently brush it out. |
 | 11.The top of the tail extension should not be visible under your horse’s natural tail hair. |
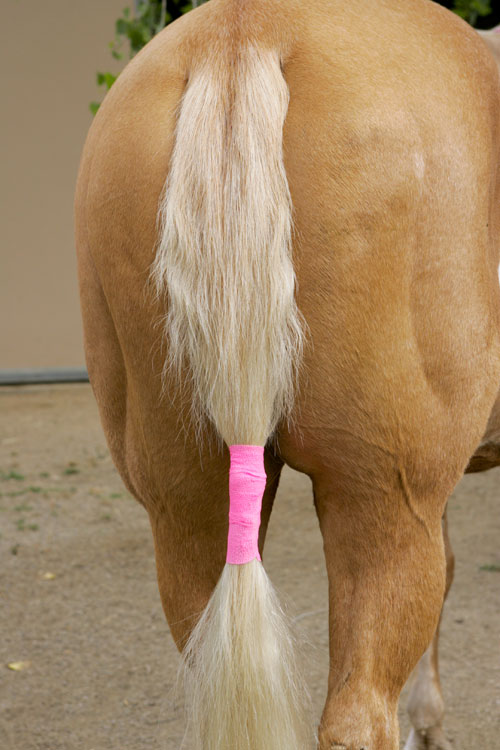 | 12.To help keep the extension tidy in between classes, wrap the top of the extension with Vetwrap. DO NOT WRAP YOUR HORSE’S TAIL BONE. |
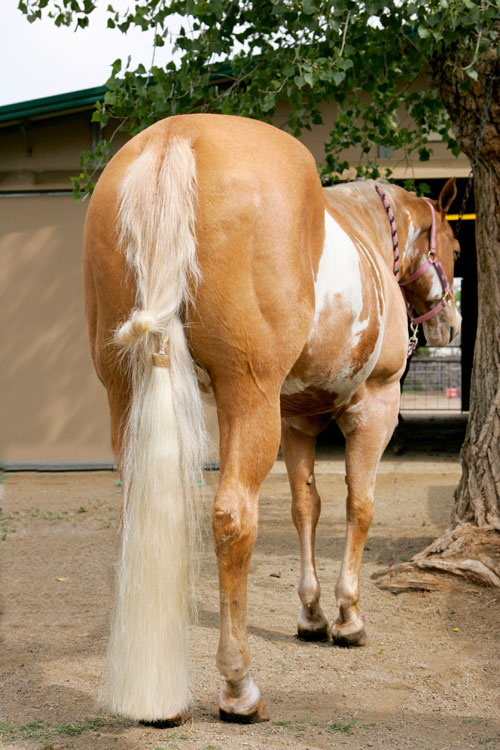
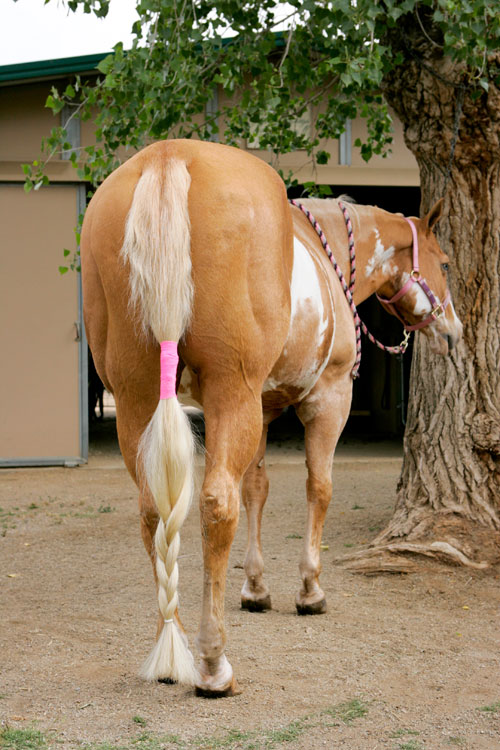 | 13.To prevent your horse from stepping on her extension in between classes, loosely braid the bottom of the extension and secure it with a rubber band. |
 | Just before your class remove the wrap and loose braid, then brush the tail out. Now you’re ready for the show arena! |
 | Casey Warren is a professional groomer based in Southern California. Her clients include some the most competitive show barns in the nation. |
For a tail braiding guide, Click Here >>


This is a good guide. I am a professional braider and I usually use a larger single braid, but this is good also
This is the best description I’ve ever seen. Thanks.
Great instructions. I will try this with our new draft horse.