Photo by Daniel Johnson/Paulette Johnson
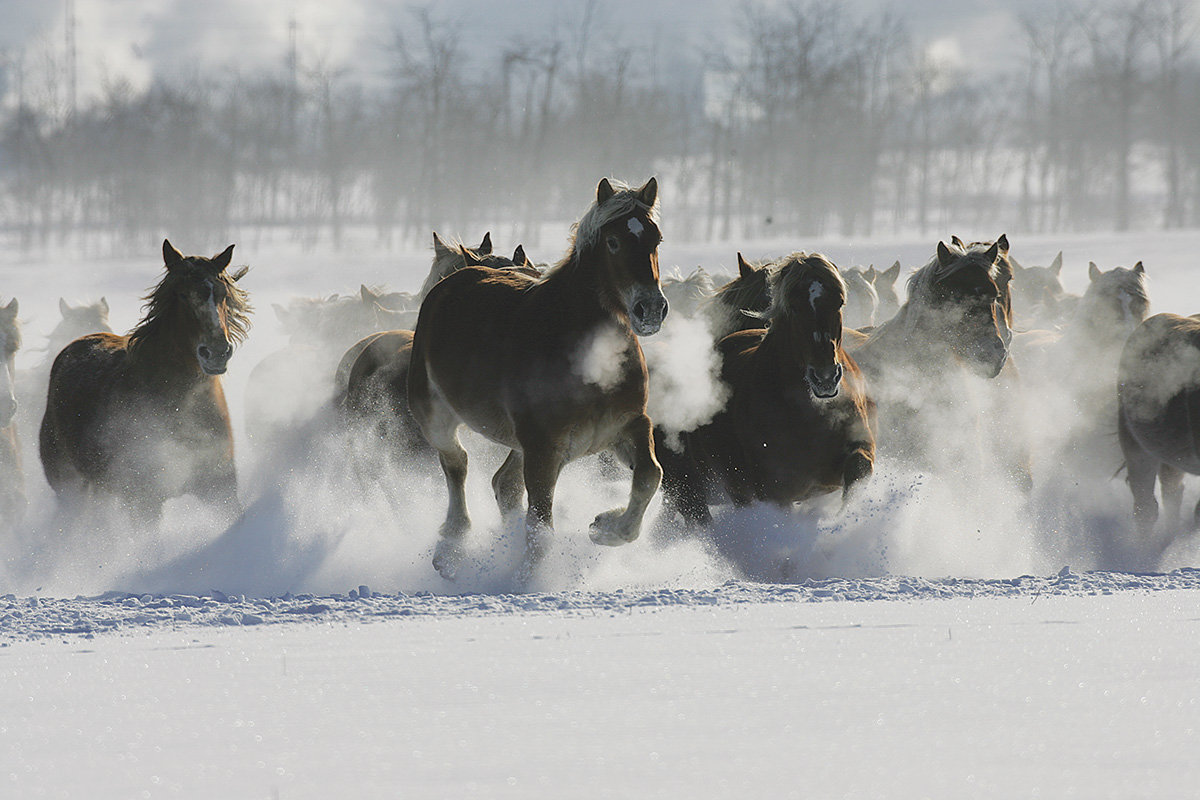
Most horse owners must purchase hay every year—a process that can be somewhat frustrating as it puts you in search of hay year after year. While some horse owners may be fortunate enough to find a reliable hay provider, others struggle to source their annual forage. If you’re looking to take control of your horse’s hay needs and you own property with enough cleared acreage to raise a crop, then growing your own hay may be a great option. Producing quality hay is a complex topic, but we’ll examine an overview of the process to help you decide if this is something that could work for you.
Option 1: Renovate a Field
If your property has older hayfields that haven’t been in hay production for a while, it’s possible that you’ll be able to restore the fields to their former glory without having to plow them up and completely start over.
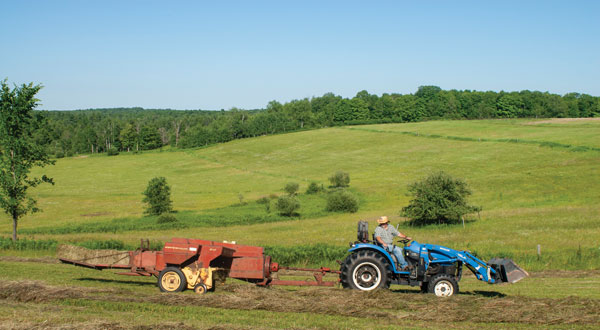
Photo by Paulette Johnson
In many cases it’s actually preferable to preserve the hayfield’s existing established sod layer (this helps prevent erosion problems), but excess of weeds prevent you from obtaining the hay quality you’re aiming for.
One chemical-free way to begin controlling the weeds is to begin mowing the hayfield consistently (multiple times throughout a summer). This allows the grass to grow back more quickly than the weeds, plus it prevents the weeds from reaching maturity and going to seed. Eventually, the weed’s root system should run out of energy and die, while the desired hay species will be left unscathed. You’ll need to first thoroughly examine the field for long-lost obstacles like rocks, fallen logs, downed fencing and the like.
Option 2: Seed from Scratch
If you’re starting a hayfield from scratch, you must decide exactly what type of hay to grow. You might also want to add seed to an old field to help revitalize it. As a horse owner, you’re probably familiar with different types of hay-legumes (like alfalfa, white or red clover and birds-foot trefoil) and grasses (like timothy, Bermuda grass or orchard grass).
Different types of hay take different amounts of time to mature, so the exact month for harvest will vary, but it’s generally a wise plan to cut hay before it’s reached full maturity. Photo by Daniel Johnson/Paulette Johnson
Each type has benefits and drawbacks that make it either desirable or unappealing to different horse owners. In general, the legumes tend to be richer in protein and minerals and deliver more energy content than grasses. Legumes can be helpful for keeping weight on an older horse or for animals that burn a lot of calories, like broodmares or hardworking competition horses. The downside, of course, is that legumes can be simply too rich and provide too much energy for horses that don’t require it, like many ponies or horses that only perform light work. Legumes might also be too rich for equines at risk for laminitis or cause unintended weight gain.
Grass hays, however, are generally more fibrous and therefore not as calorie-dense, so horses can eat more without running into the problems associated with legumes; this translates into more time eating and chewing and less boredom. Some horse owners try to get the best of both worlds by using a grass/ legume mix.
Selecting a specific variety within those categories to grow is more complicated, and the best choice depends heavily on your region and climate. For instance, timothy grass tends to thrive in areas with cold winters and warm summers—perfect for northern regions.
Alfalfa, with its impressive root system, prefers dry summers and won’t perform as well in wet locations. Major alfalfa-producing areas include parts of the Pacific Coast and western states like Idaho.
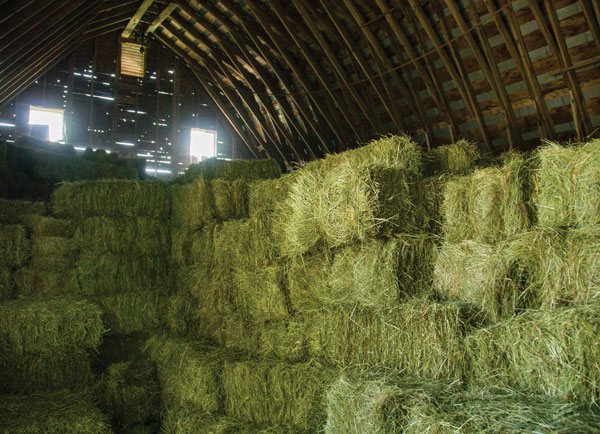
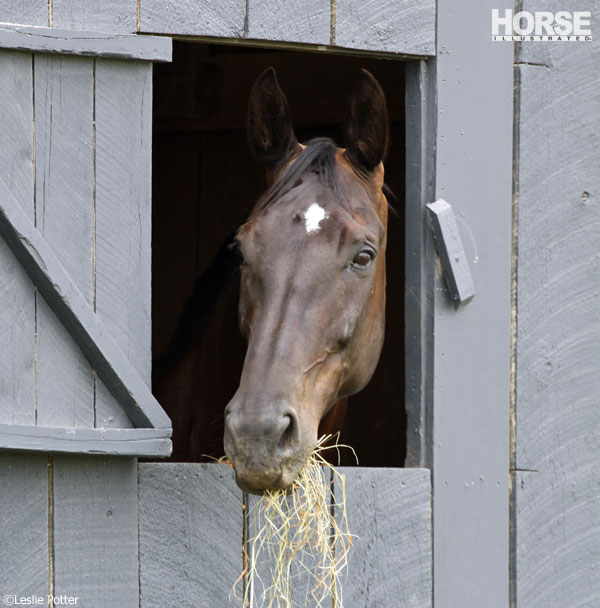
Hay that is dried and cured properly should last a year (or more) in storage and still be healthy to feed to your horse. Photo by Daniel Johnson/Paulette Johnson
If you’re unsure what type of hay to grow or what mixture of legumes and grasses to try, your best bet is to get local advice from a county agricultural extension agent at a nearby university or from other hay farmers in your area who have been down this same road.
Optimize the Soil
Once you’ve decided which type of seed you’d like to use, a soil test is the next order of business. Not only will a soil test help you determine if your field needs additional fertilizing before planting (it probably will), it will also help you gauge the soil acidity with the pH scale.
The pH scale is well known to gardeners, as it provides an insight into the current status of soil’s acidity, which plays a key role in the health and development of various plants. It’s no different for hay crops—some varieties need higher or lower pH values than others.
For example, timothy does best at a pH of 5.5-7.0; orchard grass at 5.8-7.5; Bermuda at 5.5-6.5; alfalfa at 6.5-7.5; and clover at 6.5-8.0.
Adding lime to the field six months prior to seeding can raise the pH level of an overly acidic field and aid in weed prevention. Likewise, maintaining proper nitrogen levels is important for grass hay, while legumes benefit from proper levels of phosphorus and potassium. Testing your soil will help take away the guesswork as you learn to grow your own hay.
Planting
Your climate will dictate what time of year planting should be done, from late fall of the prior year all the way to summer, or somewhere in between. Again, you can ask the advice of experts in your area.
It’s important not to plant seeds too deeply, or they might not germinate at all. Seeds from hay forages should only be planted at about 1⁄4” or 1⁄2” deep (it’s OK for some of the seeds to still be on the surface). A seeder is helpful for this process.
Once your hay is growing and on its way, there isn’t much to do except wait and watch!
Harvest Time
Different types of hay take different amounts of time to mature, so the exact month when you harvest will vary, but it’s generally a wise plan to cut your hay before it’s reached full maturity. It’s still OK to harvest and feed hay that has matured past its prime, but the hay will generally consist of stemmier material and fewer leaves, making for a lower nutritional value.
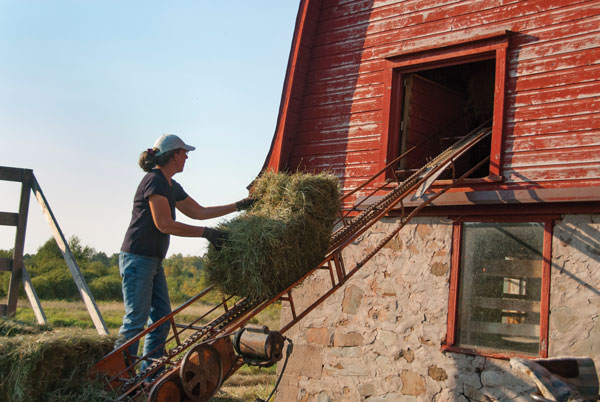
A hay elevator makes it much easier to get the hay into a hay loft for storage. Photo by Daniel Johnson/Paulette Johnson
The leafy material of overly mature hay can also be brittle and prone to breakage, making for a dustier end product; the same thing can happen if you over-dry your hay in the field prior to baling. However, harvesting when the hay is too young will lower your overall yield.
The hay harvesting process itself is a complex topic, but basically involves four processes:
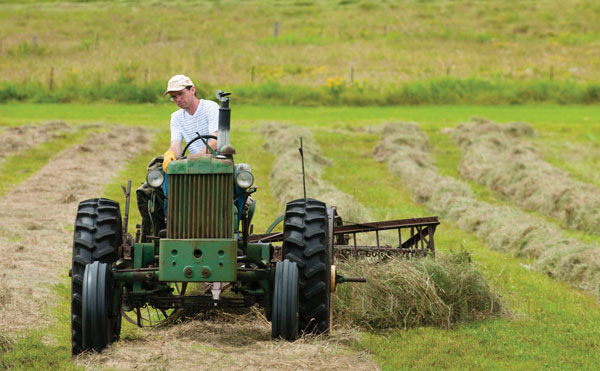
◆ Cutting: This is when you use a tractor and hay mower, like a mower-conditioner, to cut all of the standing grass off a few inches above the ground.
◆ Drying: This allows time (along with lots of sunshine and low humidity) to remove a great deal of moisture from the crop; it’s at this time when the forage transforms from green, flexible, living plants into pale, crunchy, dry hay that will store for long periods without spoilage. A hay tedder is a machine that may be used at this stage to spread the hay out, which then aids the drying process.
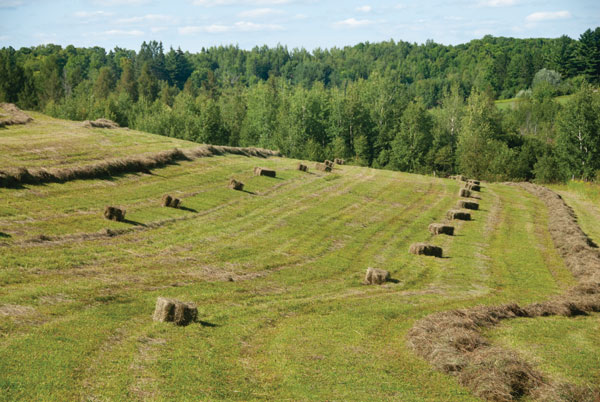
◆ Raking: Going back over the field with a tractor and rake to turn the hay over allows the underside to dry properly and creates windrows (lines of hay) that will aid in baling the hay.
◆ Baling: During this phase, you’ll use a tractor and baler to travel over the windrows and mechanically compress the dried hay into neatly tied bales.
Store and Feed
Finally, after all of that work, optimal storage for your hay crop is critical to make sure it lasts the whole year and even beyond. The ideal hay storage building protects the hay from rain and snow while still providing adequate ventilation so that the hay can cure properly (completely dry out during the weeks and months after harvesting).
Protection from small and large critters that may want to nest in the hay is also important. Once the hay has cured enough to use, you can begin feeding it to your horses. Hopefully, they’ll appreciate your efforts as much as you will!
Equipment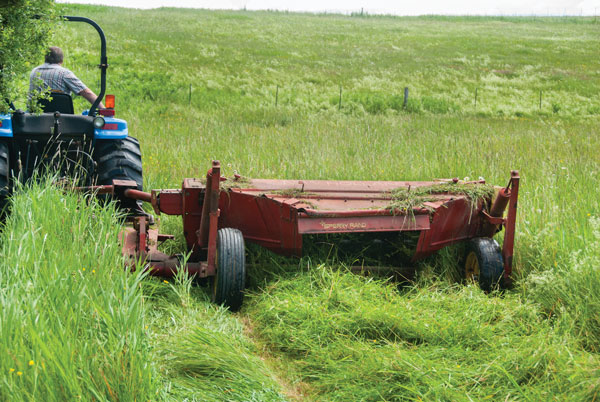 Photo by Daniel Johnson/Paulette Johnson Farming—even something as “simple” as forage crops—often requires a sizeable investment in equipment, although costs can sometimes be kept lower by utilizing used equipment or by sharing tractors and implements with neighboring farmers. Some of the equipment you might need to grow your own hay includes: TRACTOR: Probably 40 HP or more for baling hay; lighter tractors may be able to perform some of the other tasks BRUSH HOG: For reclaiming older hayfields that are heavily weeded DISC: Not required if you’re going with a no-till process (meaning you don’t disturb the soil through mechanical agitation) SEEDER: For planting large areas of hayseed quickly and easily MOWER-CONDITIONER: Cuts hay for harvesting and also crimps it during the process for faster drying times TEDDER: Useful in moist regions for fluffing cut hay to improve drying; may be optional in drier locales HAY RAKE: For turning over hay for drying and for creating windrows BALER: Small square balers are a popular option for creating horse hay; larger operations may consider large square balers. Round bales are also favored by some horse owners and situations. HAY WAGON: For loading and transporting small squares to the storage building SKIDSTEER/TRACTOR WITH FORK LOADER: For moving large squares or round bales |
This article on how to grow your own hay appeared in the February 2020 issue of Horse Illustrated magazine. Click here to subscribe!