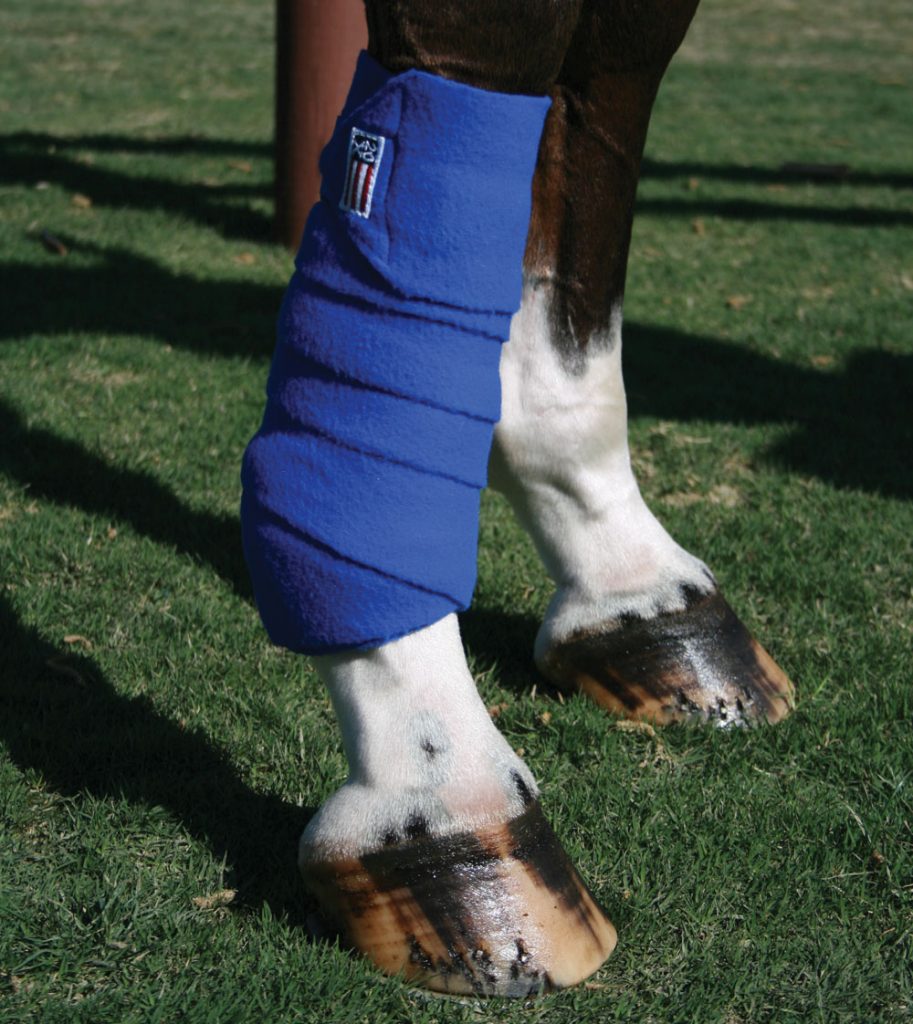
![]() Polo wraps are an alternative to protective boots. They can provide light protection for horses with sensitive skin who might get rubs from other types of boot.
Polo wraps are an alternative to protective boots. They can provide light protection for horses with sensitive skin who might get rubs from other types of boot.
First you want to make sure your polo wraps are rolled correctly so the fastener is facing the right way when you finish wrapping. While standing or sitting, take an unrolled wrap and lay it on your thigh with the soft side of the Velcro pointed up. Fasten the tab and start rolling the folded end of the polo tightly toward your knee. Continue rolling the whole wrap, pressing down against your leg as you roll to keep it tight. Now you can start the wrap correctly.
How to Put on Polo Wraps
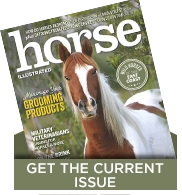
- With your horse standing squarely while tied, begin your wraps on his left front leg. The rolled up part of the wrap should be on the outside as you wrap.Place the loose end in the groove on the inside of his lower leg, and wrap around the front of the cannon bone in a counter-clockwise direction with medium tension. (On the right legs, you’ll wrap clockwise.)Overlap the previous wrap by about half the width, angling slightly downward as you continue down the leg.
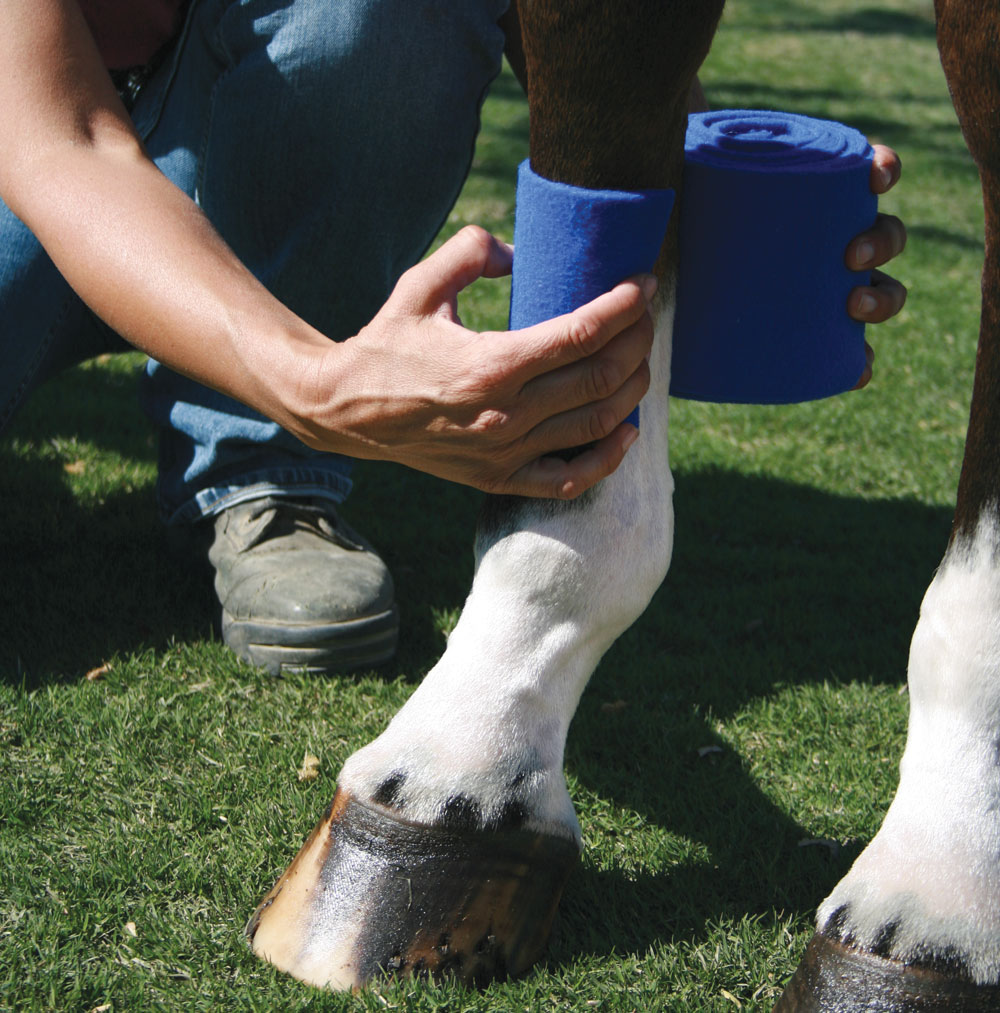
Sling the wrap under the fetlock using enough tension to keep the wrap snugly fitted, but not tight. - When you get to the fetlock, sling the wrap underneath it with enough tension to keep the wrap from hanging loose. When you come around to the other side and start wrapping in an upward direction, this creates an upside-down “V” shape at the front of the leg.
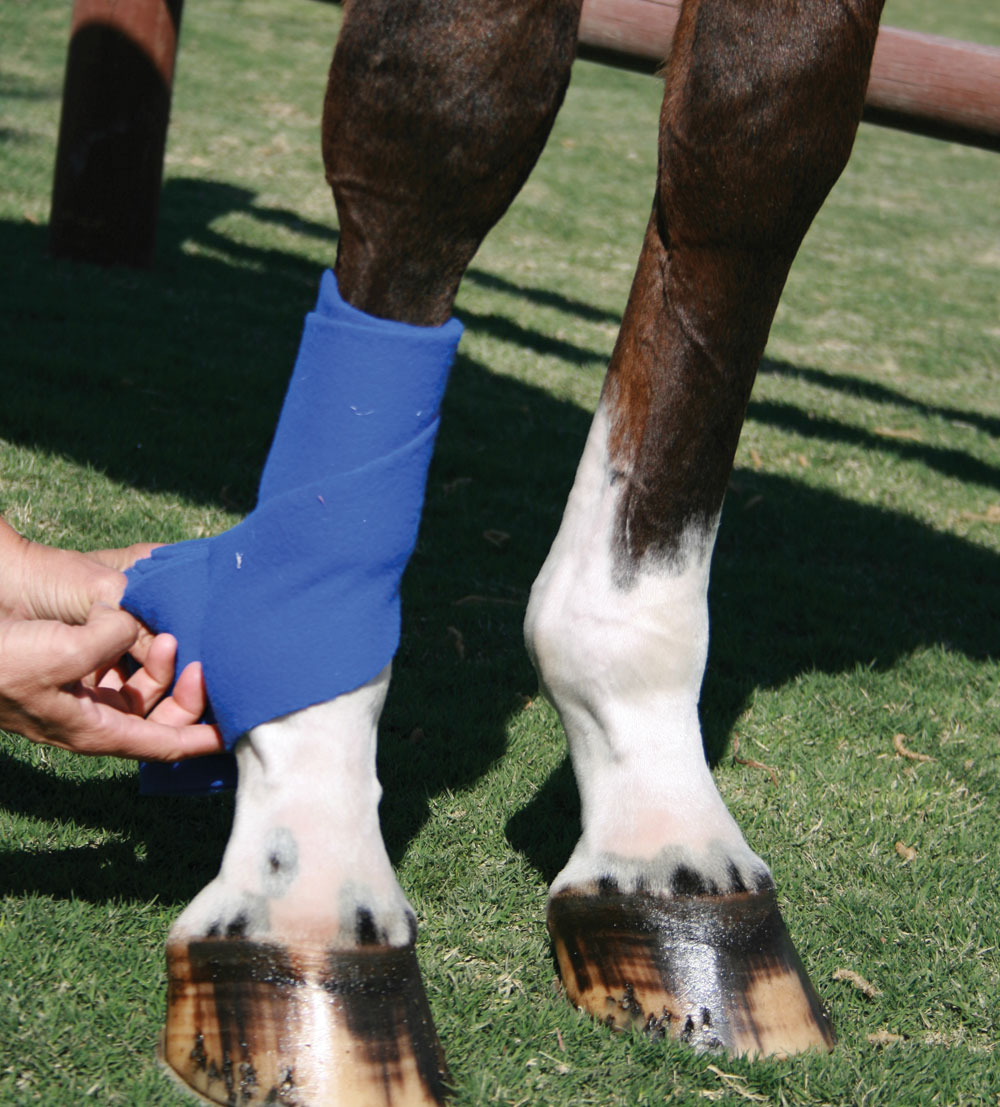
Wrap under the fetlock a second time and then continue up the leg using less tension. - Wrap a second time around the bottom of the fetlock, then continue wrapping up the leg, decreasing the tension at this point.
Wrap to just under the knee, then start back down again if any wrap is left over. Close the Velcro tab so it’s flush. - If you get to the top of the leg and still have wrap left over, wrap down toward the middle of the leg again and then close the Velcro tab so that it’s smooth and flush. Ideally it will be on the outside of the leg, but sometimes it will fall elsewhere, which is OK.
Polos take a little extra time, but they look great for any job, unless you are riding through wet/muddy footing or puddles. The good news is you can throw them in the washing machine. Make sure to stick the Velcro to itself first so you don’t wind up with a knotted mess at the end of the spin cycle!
This article originally appeared in the March/April 2019 issue of Young Rider magazine. Click here to subscribe!