![]() This article was originally posted on August 1, 2008.
This article was originally posted on August 1, 2008.
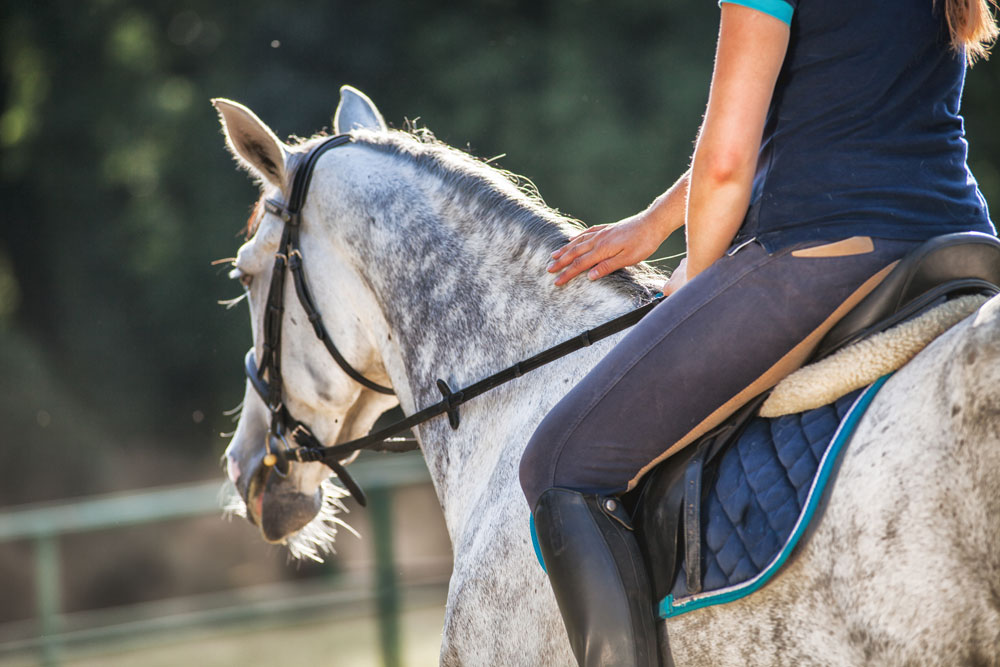
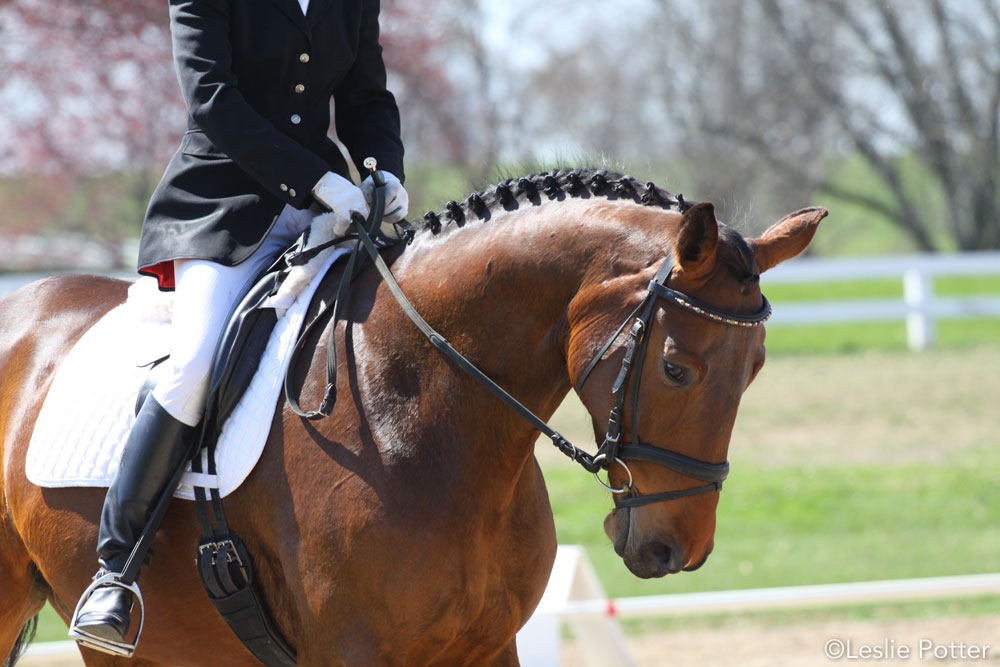
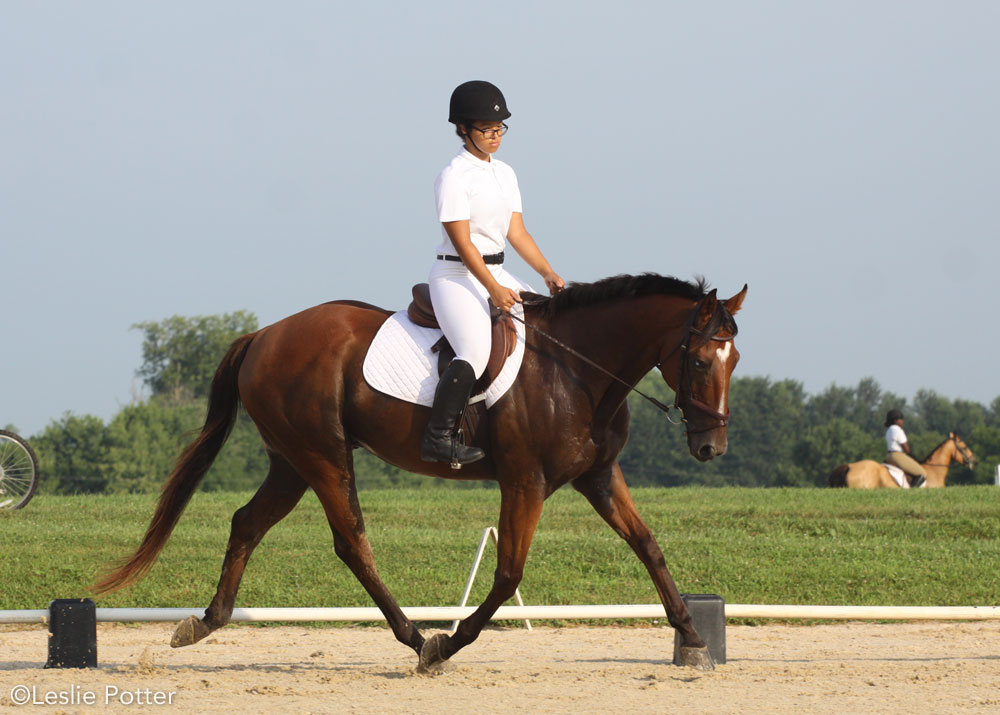
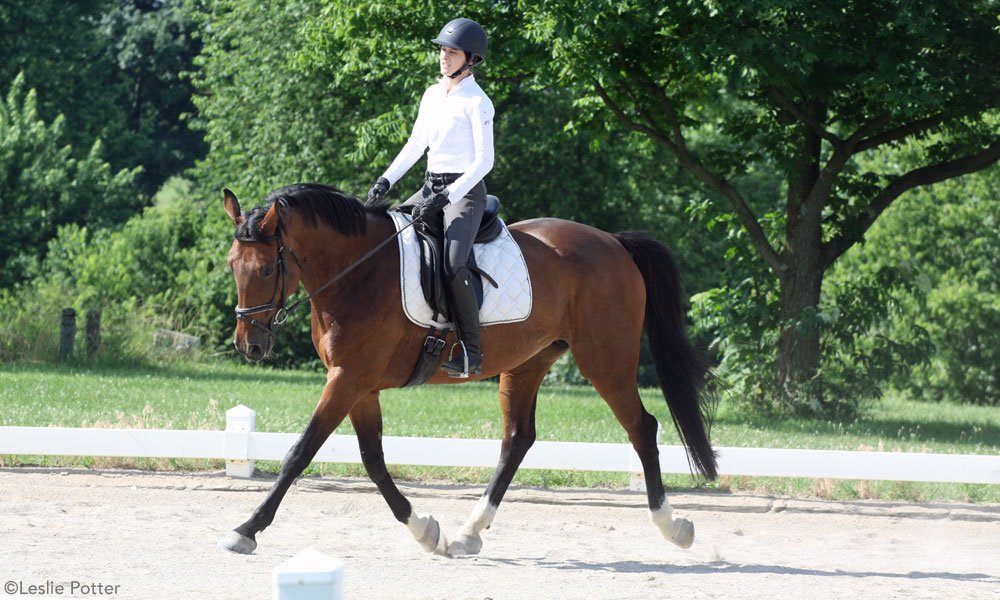
One question we get asked a lot at Young Rider is “How do I get my horse on the bit?” Everyone talks about getting a horse on the bit, but what does it mean anyway? A horse that’s “on the bit” carries himself along—he doesn’t pull on your hands like a freight train and he doesn’t stare at the sky, avoiding all contact with the bit.
He listens to your cues and responds obediently to both your legs and your hands. He accepts contact with the bit with a closed mouth, a relaxed neck poll and jaw.
Some riders think that the way to get your horse on the bit is to pull on the reins, but it requires a lot more work than that. A horse can’t get on the bit unless he responds to your seat and legs. Your legs generate the forward movement and energy needed to get a horse on the bit. Use your legs to push him forward, and then capture the forward energy between your hands and your legs.
When your horse listens to your legs, he moves with more energy, his withers get higher, his back becomes rounder and he arches his neck. His poll (the top of his head) reaches forward and he takes a soft contact on the bit.
If you’ve got quiet, soft hands, your horse will relax his jaw and flex at the poll. This makes him hold his head vertically instead of poking it out in front of him.
The key to getting your horse on the bit is—ENERGY! If he doesn’t have his engine in gear, he won’t get anywhere. Get that energy by revving him up with your legs. Then take a soft feel of his mouth with your hands and slowly take up more contact to “drive” him into the bit. When your horse accepts the contact, keep your hands steady and even until he’s perfectly balanced between the pressure of your legs and the pressure on his mouth.
Let’s look at some tips that will help you get your horse on the bit.
Get fit
It’s difficult to get your horse on the bit if he’s out of shape. It’s important to build up the muscles in his hindquarters, so if you’ve got hills near your barn, walk, trot and canter up them on a regular basis. Walking down hills can also strengthen your horse’s hindquarters.
Warm up every time
Every time you school your horse, warm up on a fairly loose rein. Let your horse walk, trot and canter energetically around the arena. Don’t worry about having lots of contact with his mouth—just have enough to steer and stop him if necessary.
Warming up your horse properly loosens up his muscles and prepares him for the work to come.
Do lots of circles, change direction a lot and concentrate on maintaining a constant rhythm within each gait. Don’t let your horse slop around with his nose on the ground.
After about 10 minutes, if your horse feels loose and relaxed, you can begin shortening the reins and start asking for more contact.
Soft hands
Pulling strongly on the reins will not encourage your horse to get on the bit. In fact, pulling on the reins usually makes a horse poke his head forward and pull against you! This makes his head feel heavy in your hands.
Instead of pulling, squeeze. Pretend the reins are sponges and squeeze your fingers like you’re squishing the sponges. Press with your legs to ask your horse to move forward, shorten the reins a bit, relax your shoulders, hang your elbows at your sides and start squeezing with your fingers. Use a give-and-take pressure on both reins. Don’t pull back. Use your legs to “push” your horse into accepting contact with the bit.
Transitions
Once you have taken up a feel on your horse’s mouth, do lots of transitions. Transitions help balance your horse and they make him supple. Doing lots of transitions makes your horse “lighter’ in your hands and more responsive to your legs.
There are tons of transitions you can do. Go from walk to trot back to walk. Go from trot to halt and back to trot. Ask your horse to canter from the walk. Do transitions on a circle or when you’re riding on the long side of the arena. Do them on the diagonal.
Hold the reins evenly and keep your legs on your horse’s sides. Push him forward with your legs to ask him to get “round” but keep a steady contact on the reins to control that energy.
Stretching down
The stretching down exercise teaches your horse to accept contact with the bit and it encourages him to be round in his body. Use your legs to ask your horse to trot and when he’s moving forward with lots of energy, take up contact on his mouth. Sit up straight, shorten your reins and squeeze with both hands and fingers until your horse becomes round and on the bit.
When your horse is moving forward nicely, soften your hands and allow him to stretch his head down. Follow with your hands and lower them as far as they can go. If he stretches further, loosen your hold on the reins and let them slip through your fingers a bit. Keep a soft contact. Don’t let go completely. Ask him to keep a rhythmic trot even though you have little contact. Squeeze with your legs to encourage him forward.
Some horses will chew on the bit when you do this exercise. In fact, there’s a “stretchy, chewy circle” in several training level dressage tests in which you do this exercise.
After a few strides of stretching down, slowly shorten your reins and, ask him to bring his head up and then push him forward with your legs into a normal outline.
Top Trainer Tip: Flex and Scratch
We asked trainer Kimberly D. Peterson of Crestwood, Kentucky, to suggest an exercise she uses to teach her students to get their horses on the bit, and she told us about “Flex and Scratch.” Try this exercise with your favorite horse!
“Flex and Scratch” is a simple exercise that can be done at the walk, trot and canter, but it’s best to try it at the walk first.
- It’s essential that your horse must be ridden forward, from the leg, into an even, “open” contact with both reins. This means that your fingers are closed, your thumbs are up and your elbows are able to slide along your rib cage.
- Never pull straight back on the reins; your left hand stays to the left of your horse’s withers, and your right hand stays to the right of your horse’s withers.
- Don’t “see-saw” on the reins. You don’t want your horse’s to over bend his neck to the right or to the left. His nose should stay positioned in the center of its chest.
To begin the exercise, send your horse forward in the chosen gait. Take equal contact on both reins and allow your elbows to slide back along your rib cage. This is the “flex” part of the exercise. When your horse chews the bit and lowers his poll, reach forward with both hands—keeping hold of the reins—and lightly scratch your horse’s withers for one or two seconds. This is the “scratch” part of the exercise. Then take up contact again and repeat the process.
The purpose of the “flex” step is to establish connection with the horse’s mouth via the reins. The “open” contact prevents sending the wrong message to the horse. You don’t want him to halt or throw his head in the air.
The purpose of the “scratch” step is to:
- Reward your horse for a positive response —horses love to be scratched on their withers
- Allow your horse enough rein to lengthen his neck and lower the poll
- Remind you to give your horse enough rein to lengthen his neck.
Once you and your horse have mastered this exercise at the walk with reasonably short reins, try the exercise at the trot and canter. You can also try this exercise in all three gaits with medium-length reins, and then with fairly long reins.
With practice, the exercise produces a horse that is willing to “go on the bit,” and a rider who better understands how to achieve it.
Good luck and good riding!
This article originally appeared in the July/August 2008 issue of Young Rider magazine. Click here to subscribe!