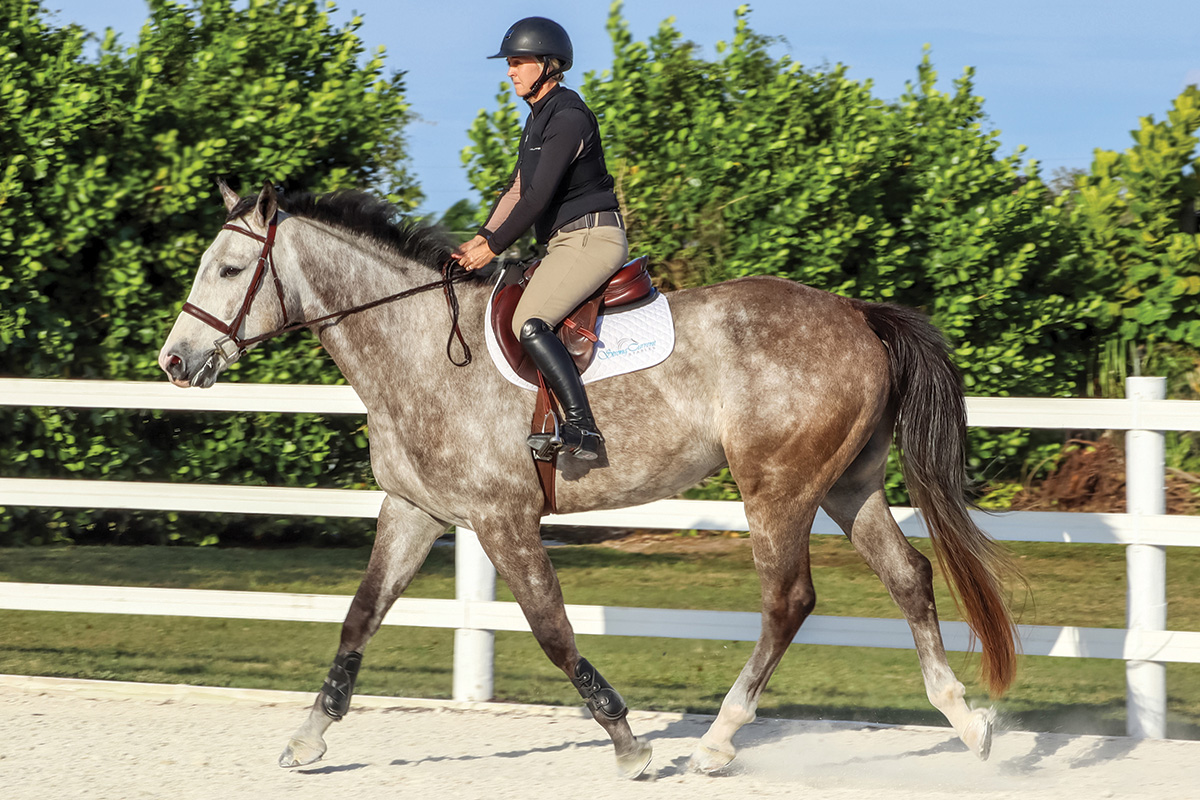
Here, all of Dede’s riding aids are soft and allowing so that Ritchie understands that he is to continue forward quietly: supporting leg and light seat in a posting trot. Photo by Allyson Weiland
I’m a fan of the saying, “Your horse is doing his best with the information you provided.” It directs us to look at the signals we’re sending through our riding aids and to see whether we are being clear.
Often when we mean to ask for something from our horse and receive either no response or a “wrong” response, we assume our horse is being disobedient. Instead, we should investigate whether our aids could be more precise.
Leg Riding Aids
Because your leg is the foundation of your position and therefore where many of your key riding aids come from, we’ll start there. There are three uses for the leg: supporting, bracing and displacing.
Supporting leg. Photo by Allyson Weiland
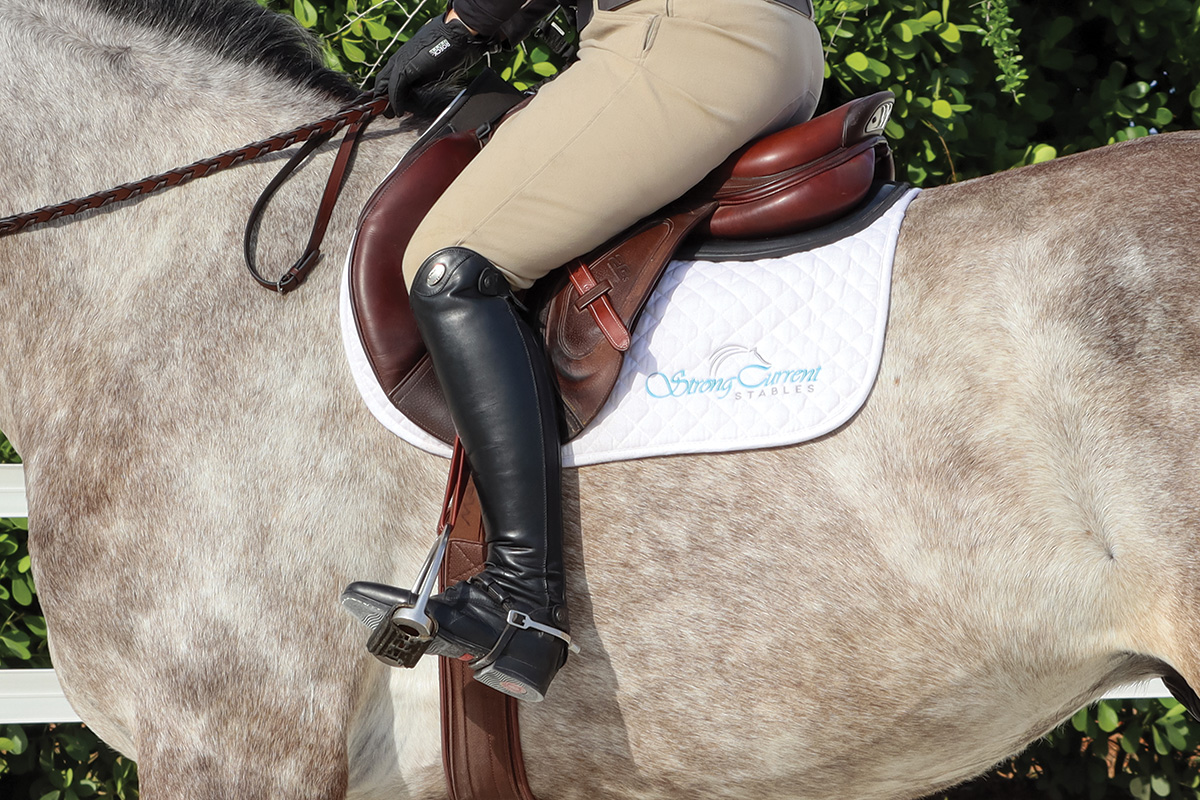
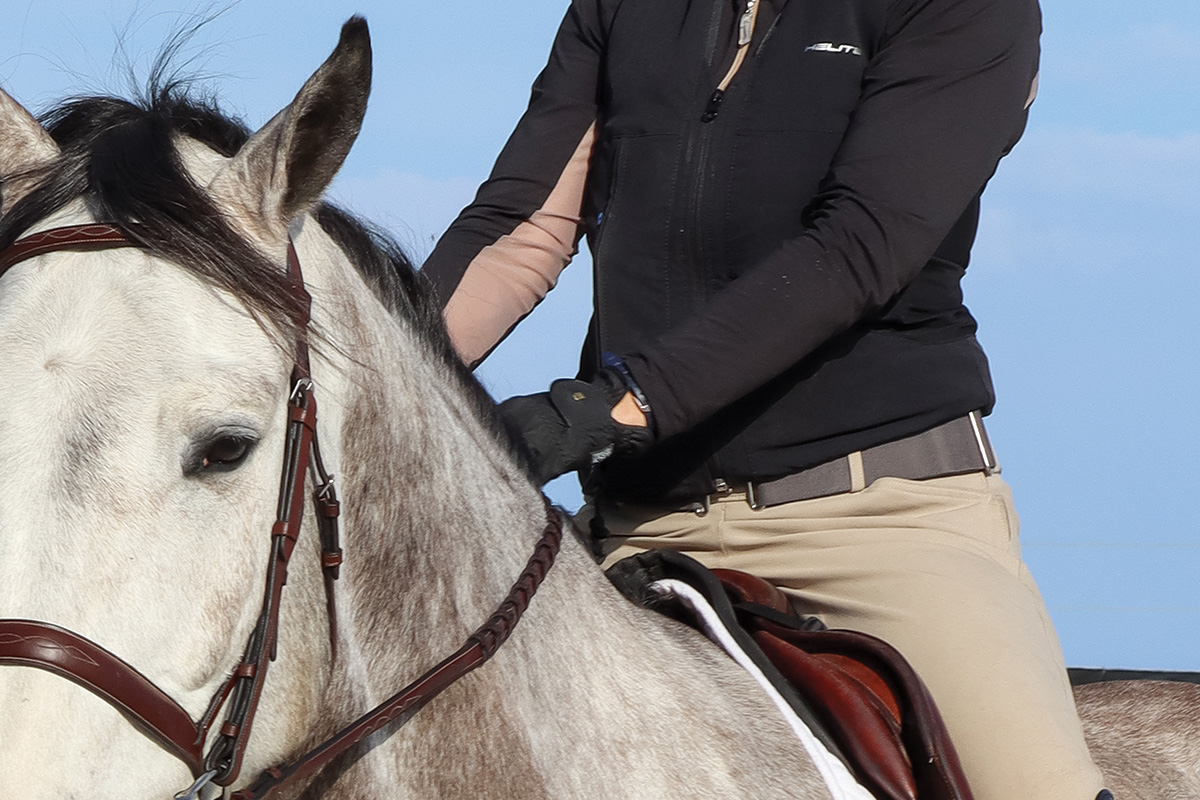
The supporting leg is the one used most of the time, with your heel directly under your hip and your toe directly under your knee. It’s called the supporting leg because it’s supporting whatever is happening in the moment through pressure or lack thereof.
Pressure from both legs is a riding aid that tells your horse to go faster or maintain pace, depending on the amount of pressure. Pressure from one leg tells your horse to move away with his whole body, and lack of pressure allows your horse to slow down or stop.

Bracing leg. Photo by Allyson Weiland
A bracing leg is kicked out in front of the girth nearly onto the shoulder, and it prevents you from being pulled forward by your horse while executing a downward transition. There is no pressure against the horse’s side with a bracing leg.

Displacing leg. Photo by Allyson Weiland
A displacing leg comes about a hand-width or two behind the girth to activate your horse’s hind end. It’s most often used to pick up the canter, and should be used anytime engagement of the haunches is the goal.
Seat Riding Aids
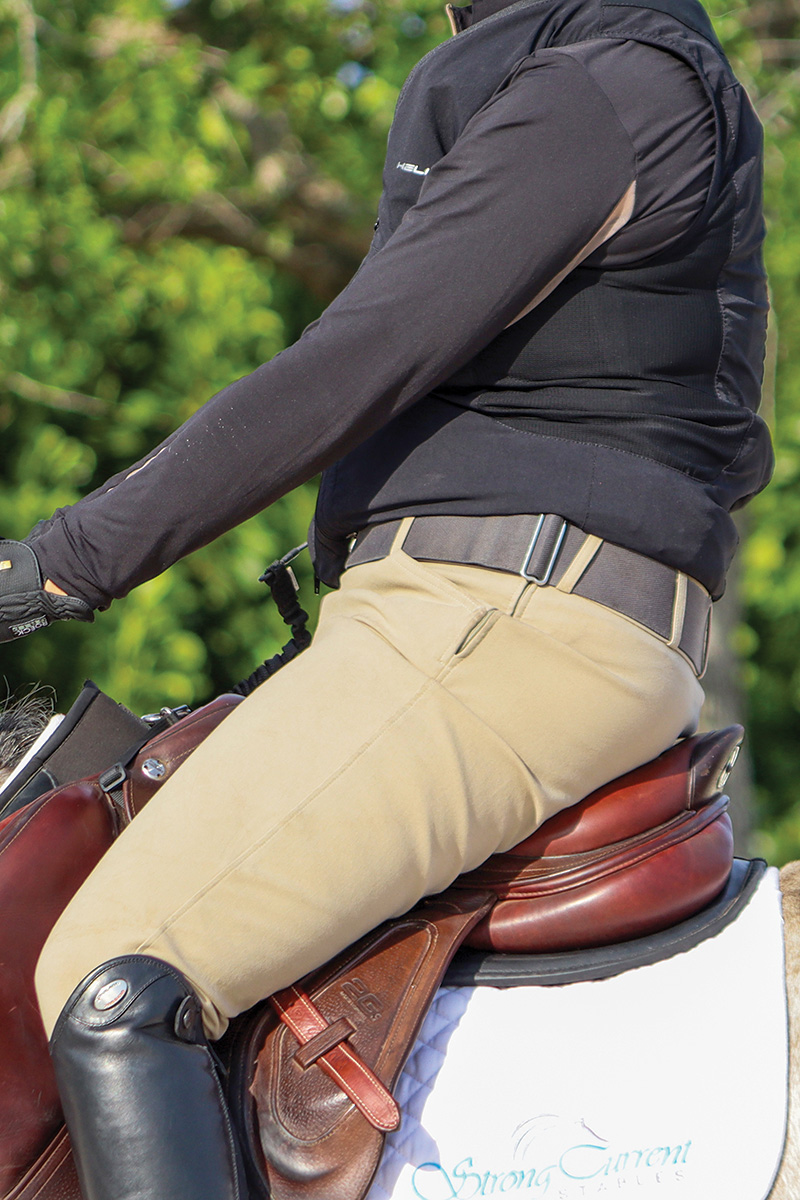
Working our way up, we arrive at the seat. Your seat technically goes from mid-thigh to the bottom of your ribcage. Core strength is key to the use of your seat, as it helps to determine your pelvic placement.
Neutral full seat. Photo by Allyson Weiland
A neutral pelvic angle gives you a few options based on the amount of pressure you place downward into your stirrups at any given moment. Less pressure in the stirrups allows for a full seat, and more pressure allows for a light seat.

Two-point. Photo by Allyson Weiland
Being in a full seat helps you rebalance or collect your horse, while being in a light seat allows your horse to move forward and cover the ground. A neutral pelvis is also used to help form the two-point position, which takes weight off the horse’s back while galloping or jumping.
Driving seat. Photo by Allyson Weiland
A posterior pelvic tilt gives you a driving seat, which is used to urge the horse forward, particularly in spooky situations.
Hand Riding Aids
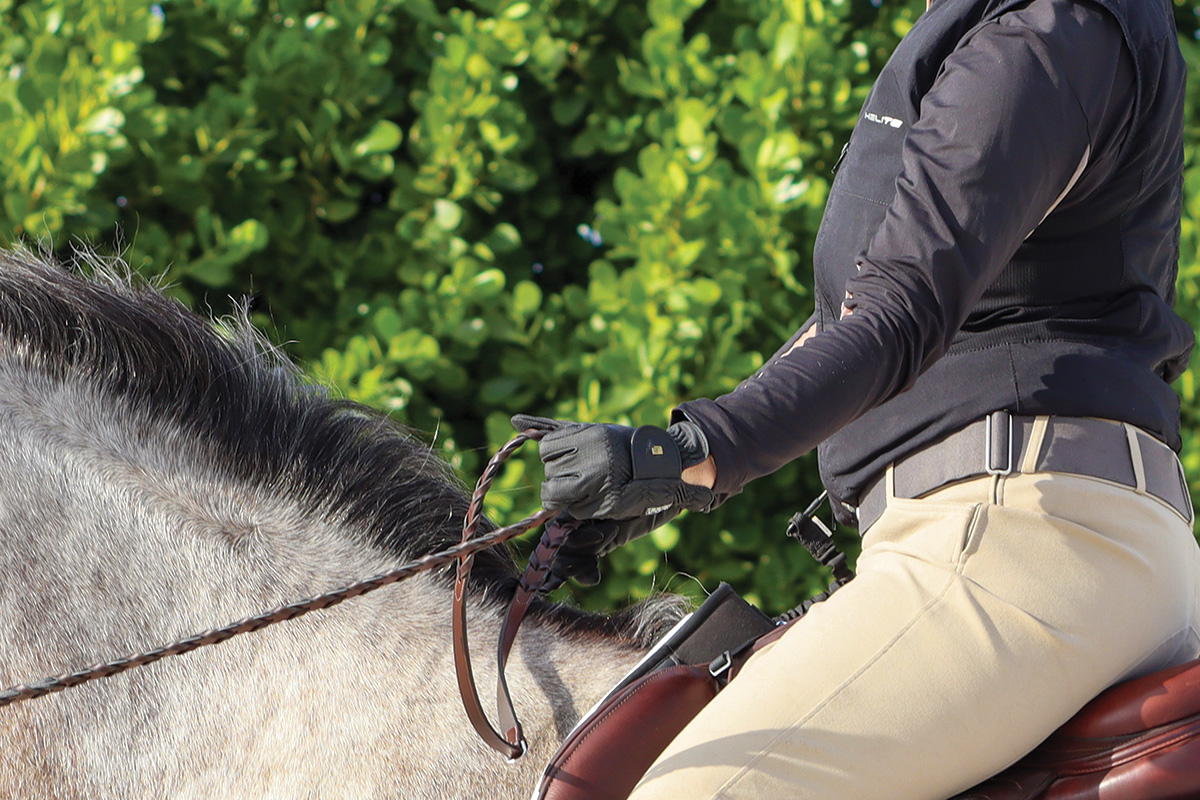
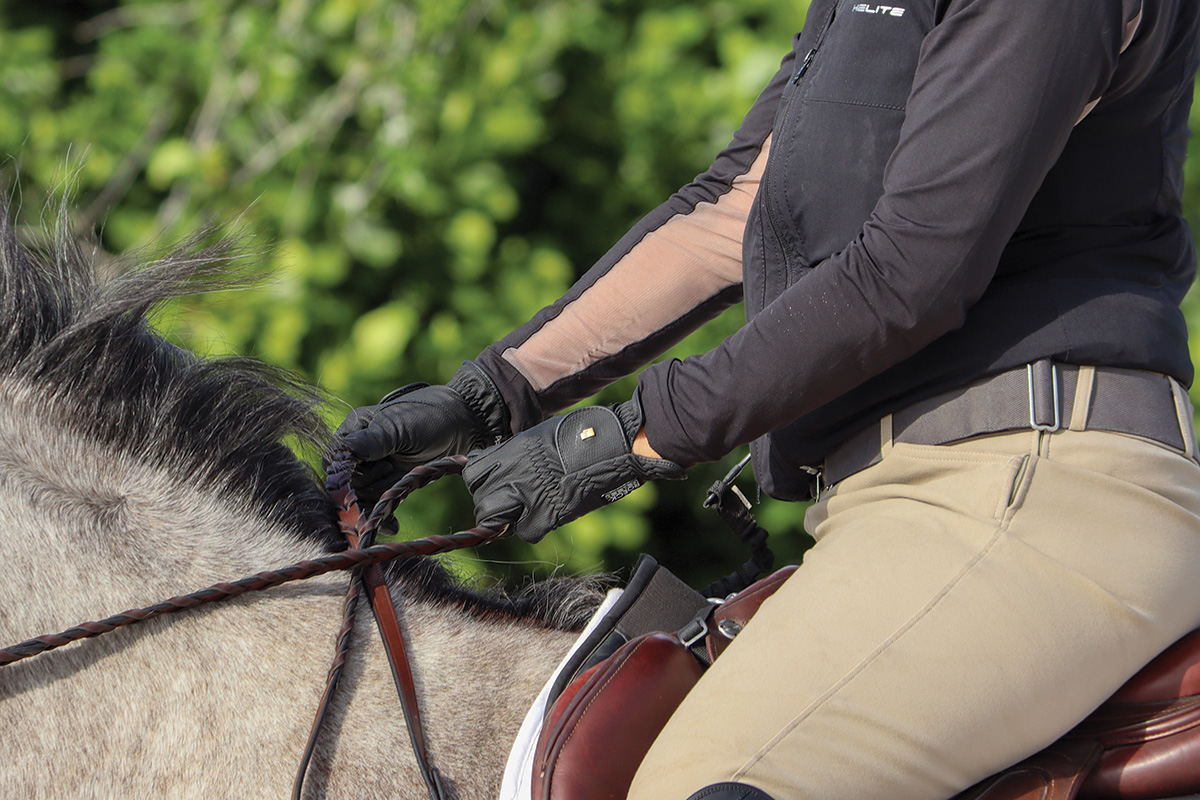
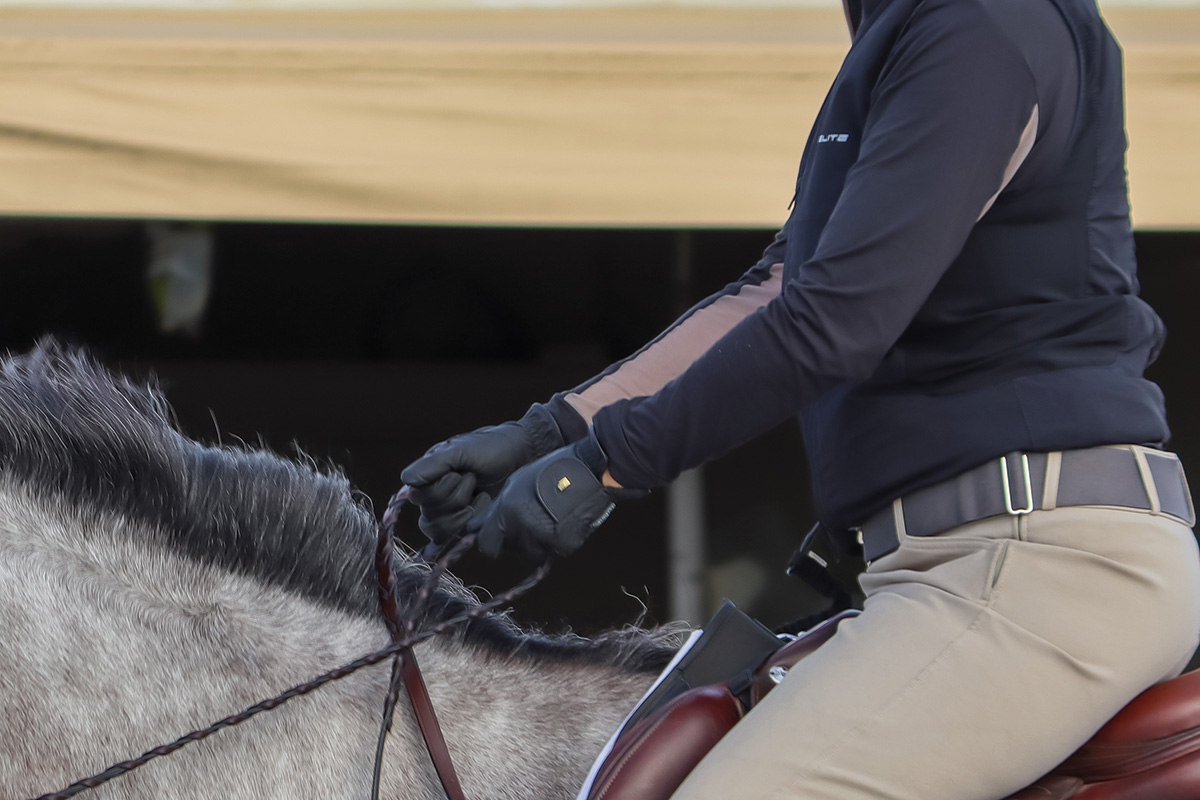
The last piece of the puzzle is your hands. They can communicate with your horse one of the five ways: open, direct, indirect, neck and pulley.
Opening rein. Photo by Allyson Weiland
An opening rein is best for a green horse or rider, and opens out to the side with little to no backward pressure, encouraging the horse to follow the pressure to turn.
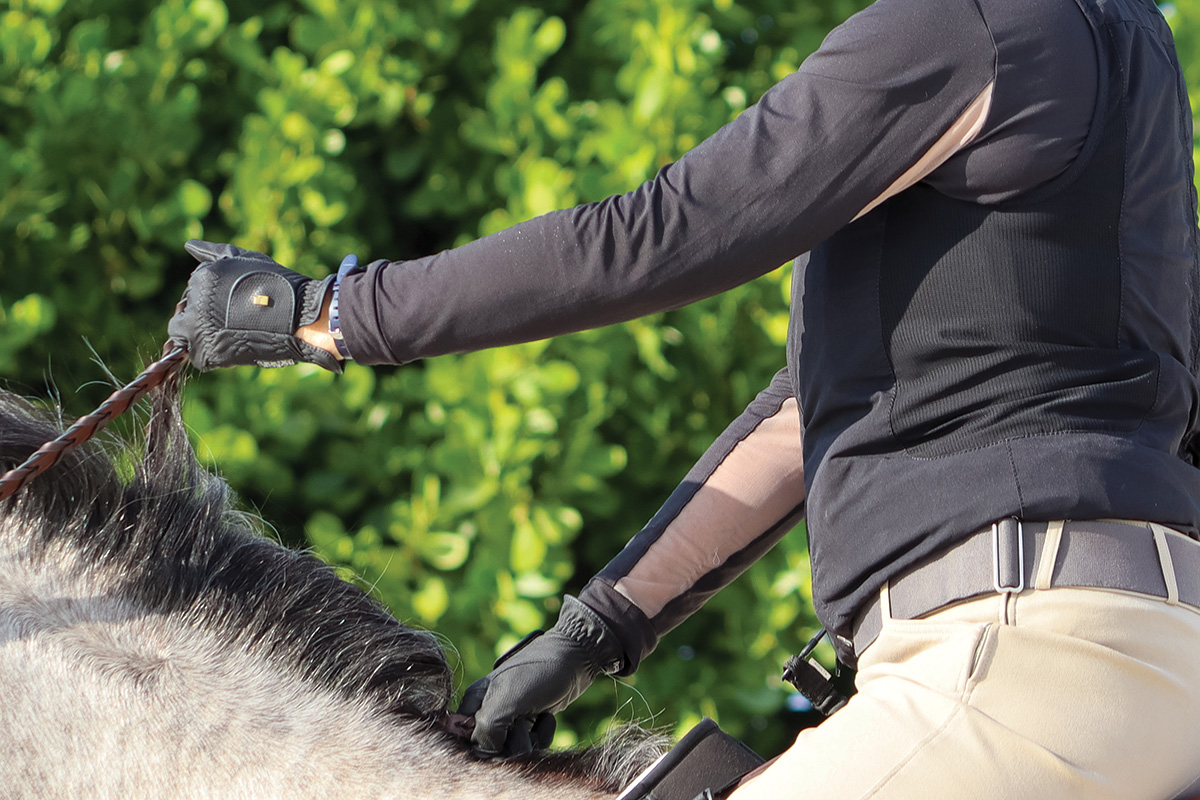
Direct rein. Photo by Allyson Weiland
The direct rein pulls straight back toward your hip on the same side, and is used by intermediate and advanced riders for steering and all riders for slowing, stopping, or backing.
Indirect rein. Photo by Allyson Weiland
The indirect rein pulls back across the wither to your opposite hip. It helps lift the horse’s inside shoulder and rebalance him, especially when he is falling in.
Neck rein. Photo by Allyson Weiland
The neck rein is most common in western riding, but it can be useful when paired with an opening rein, as it allows for excellent control of the horse’s shoulders while turning.
Pulley rein. Photo by Allyson Weiland
A pulley rein is used for emergencies. You pull up and back with one hand while the other is firmly planted in the withers in order to stop an out-of-control horse.
In this video from Ridely, Olympian and Chairman of Dressage4Kids Lendon Gray demonstrates the common errors some riders make when using the rein aids. She shares her tips for how to prevent these from happening and how to keep your hands still. Register for Ridely PRO to access 450+ other useful training videos.
Communicating with Your Horse
Now that you know all of the natural aids and their uses, you need to know how they pair or group together to allow clear communication with your equine partner. The leg, seat, and hand must all be sending the same message, or your horse will be confused.
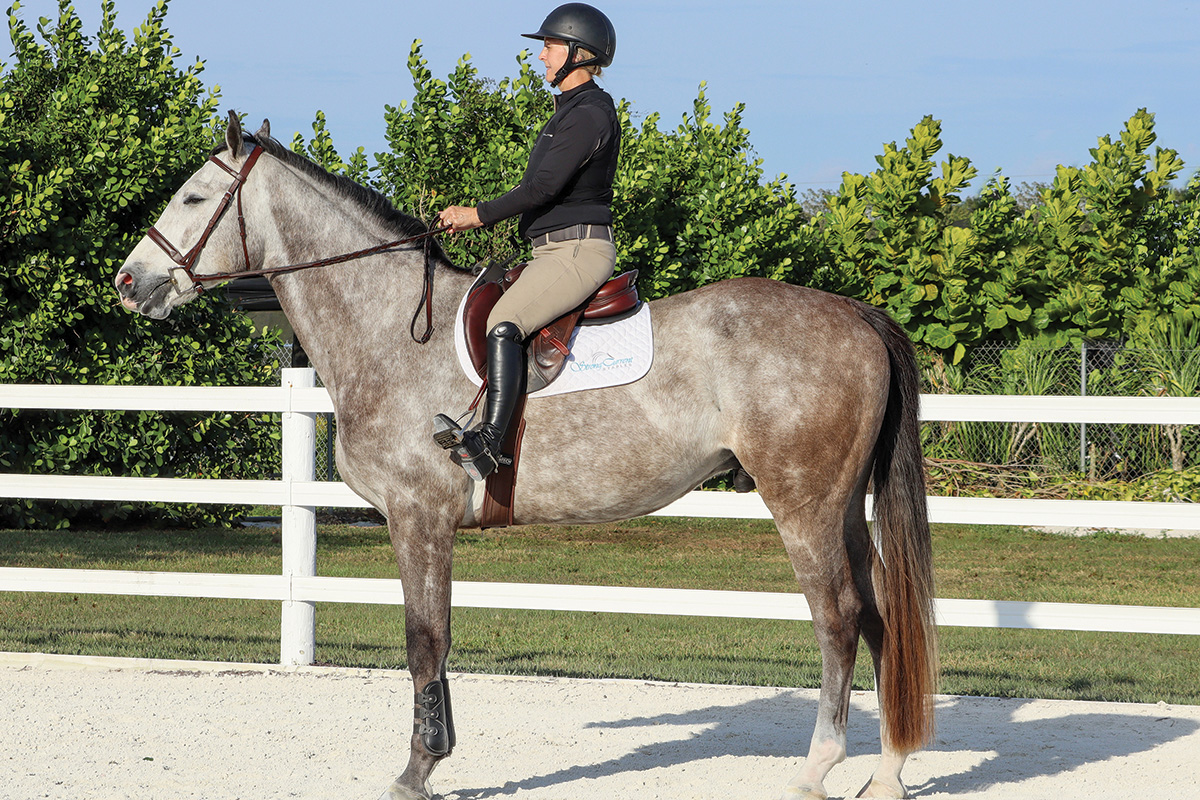
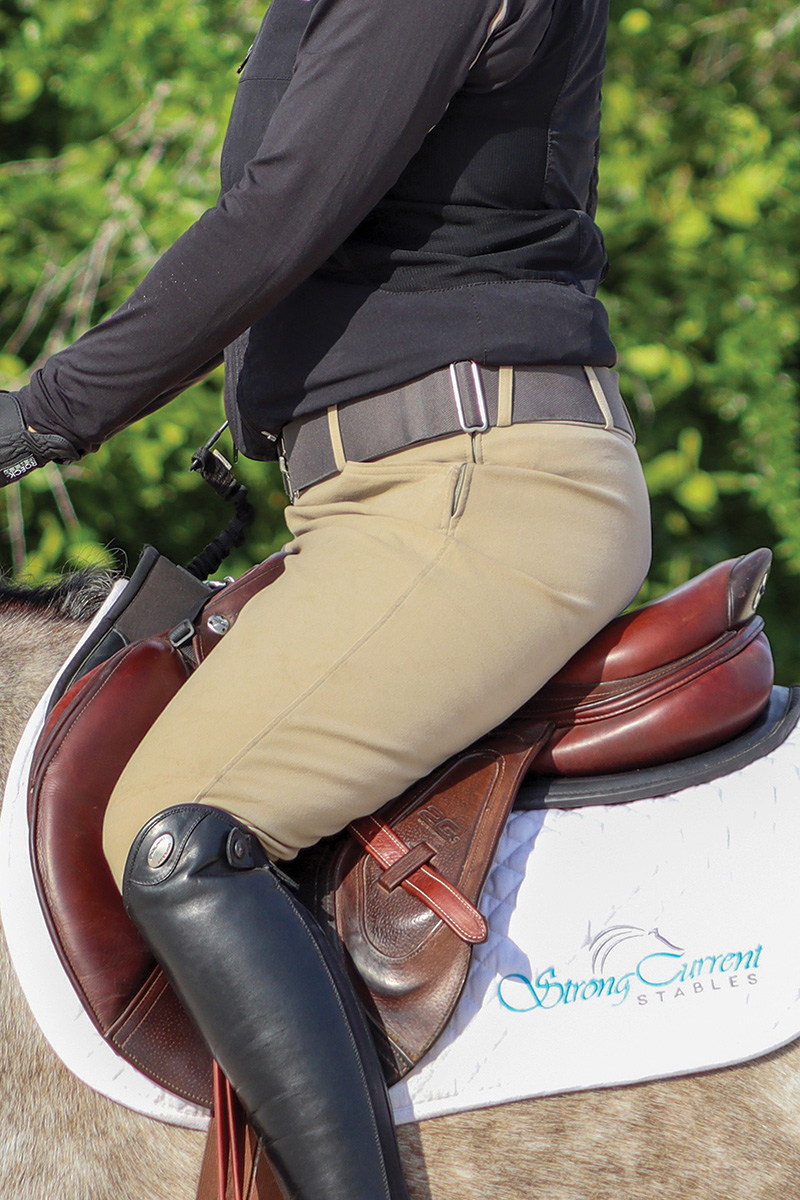
All of Dede’s aids signal to Ritchie that she would like to stop: bracing leg, neutral pelvis (full seat), and direct reins. Photo by Allyson Weiland
For example, stopping aids include a bracing leg, neutral pelvis, and two direct reins. However, if your leg slips back toward the girth, your horse is being told to stop with your hands and to go with your leg.
Horses can only understand the aids that they’ve been trained to understand, no matter your intention. For this reason, we owe it to our horses to study up on the aids and apply them correctly in order to reduce confusion and improve the horse-human relationship.
This article about riding aids appeared in the July 2022 issue of Horse Illustrated magazine. Click here to subscribe!