Whether it’s flies, mud, punishing sun or safety hazards, a farm has the potential to be filled with pain points. As horse owners, we have a clear responsibility to give them the best care possible, whether they’re a fancy show mount or weekend trail horse. Because of this, a well-run barn should be a top priority. Toward this end, the following are six DIY hacks to keep your barn operating smoothly on a budget.
Outdoor Shade Structure
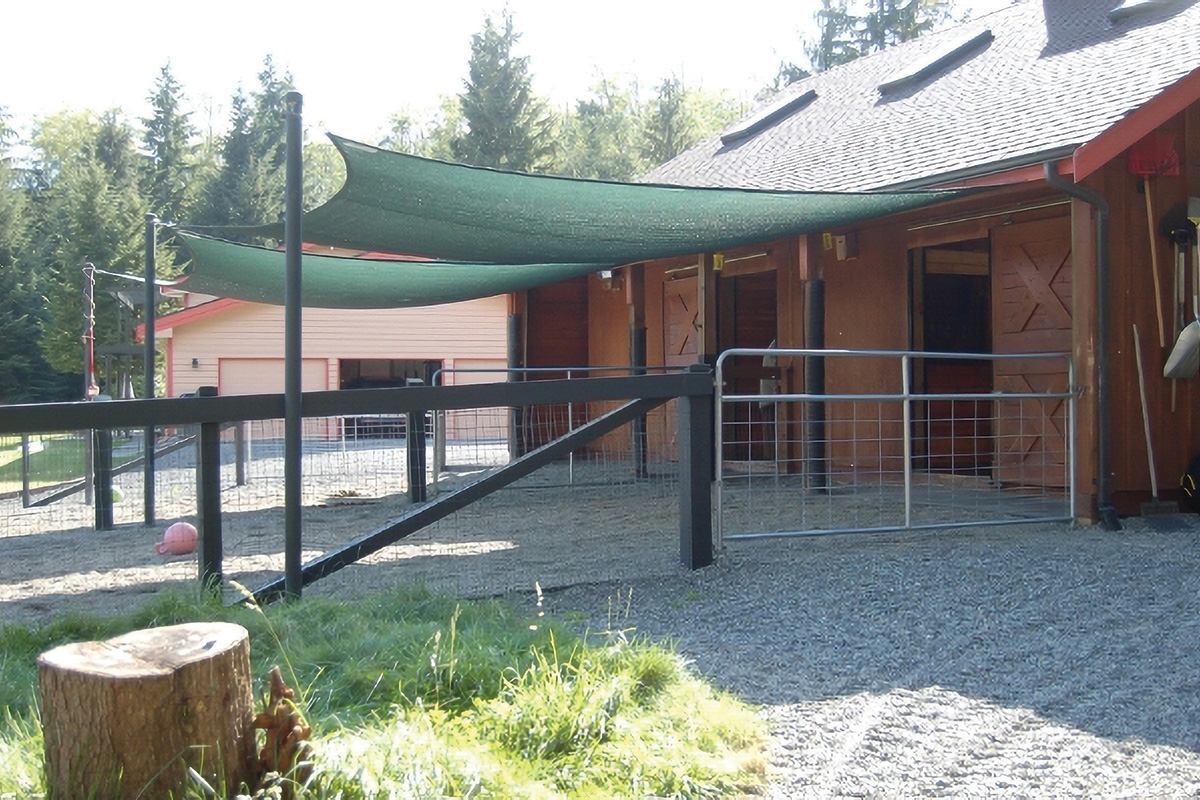
Photo by Alayne Blickle
Cost: $110 – $135 per structure
Need:
◆ Shade tarp
◆ Four 10-foot-long 4″x4″ pressure-treated posts
◆ Four bags of quick concrete
◆ Concrete-mixing receptacle like a wheelbarrow
◆ Posthole digger or posthole-digging shovel
◆ Heavy-duty zip ties
Providing shade to animals during the sunny summer months is important, and if trees and run-in sheds aren’t available, building a very simple shade structure is another option. Luckily, it doesn’t have to break the bank.
Harbor Freight sells mesh tarps ranging in size from 8’x10′ to 12’x 20′. These tarps have a close-knit weave that blocks approximately 60 percent of light, and can be doubled up if needed. The tarps cost $33 to $55.
Purchase four pressure-treated wood 4″x4″ posts with a minimum height of 10 feet from a hardware store, and dig four 2-foot-deep post holes in the appropriate configuration for the tarp. These posts cost approximately $17 each.
Drill ½-inch holes through the beams within 4 inches of the top for fastening the tarps with heavy-duty zip ties.
Mix quick concrete to slightly drier than package instructions, and cement the posts into the holes, checking for plum lines and even spacing.
Allow the concrete to set for 24 hours before using a ladder to secure the mesh tarp to the tops of the posts with heavy-duty zip ties. Be sure to watch the shade structure for any wear and tear, including holes in the tarp or failing zip ties.
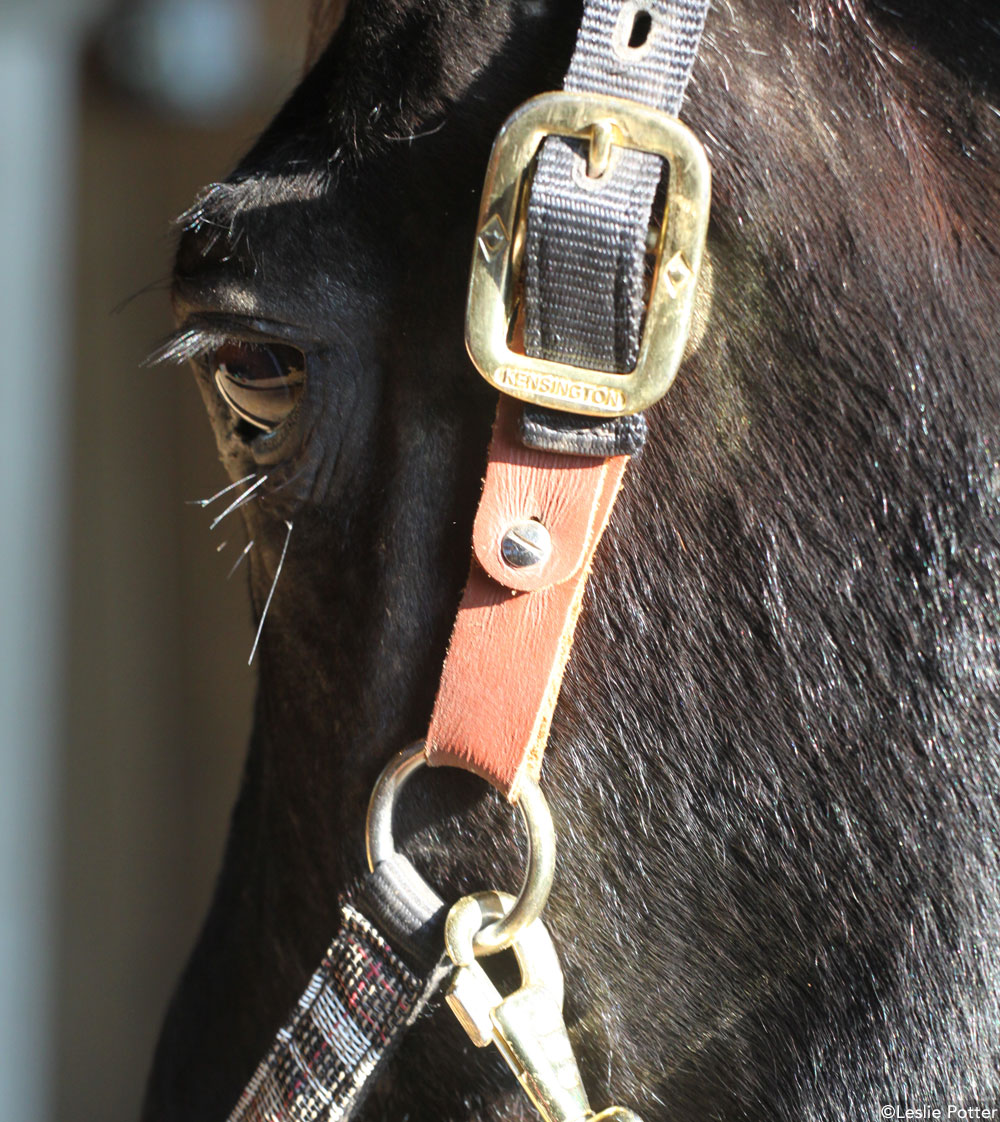
Five-Gallon Bucket Safety
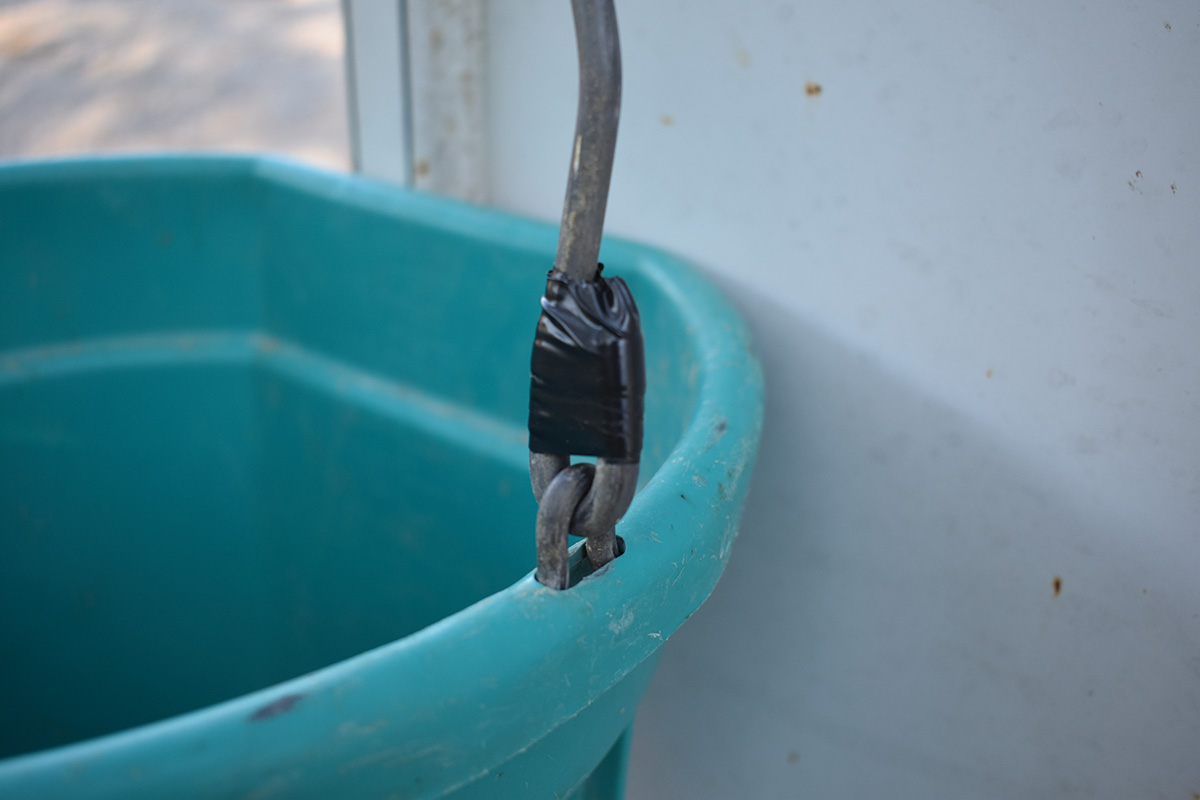
A quick, easy barn hack to prevent horses from injuring themselves on bucket hooks is to wrap them in electrical tape. Photo by Lillian Kent
Cost: $5
Need:
◆ Electrical tape
Five-gallon buckets are used for all sorts of things around the barn, including storage, step-stools and their intended purpose—watering horses. Their universal nature is appreciated, but when used as water or feed buckets, the small hooks attaching the handle to the bucket can pose a hazard to a horse.
Itchy horses can rub their faces on the small hooks and damage a nostril, eyelid or catch long hair in the tight space. To remedy this, buy some electrical tape from a local hardware store and wrap the electrical tape tightly around each of the two hooks on a five-gallon bucket. The tape will make the hook less accessible, and the stretchy nature of electrical tape means it will grip more tightly as it is applied.
As a safety bonus, make sure all double-ended snaps are facing toward the wall when the bucket is hung. This means there is less opportunity for scratching horses to snag anything on the clip.
Safer Grain Storage
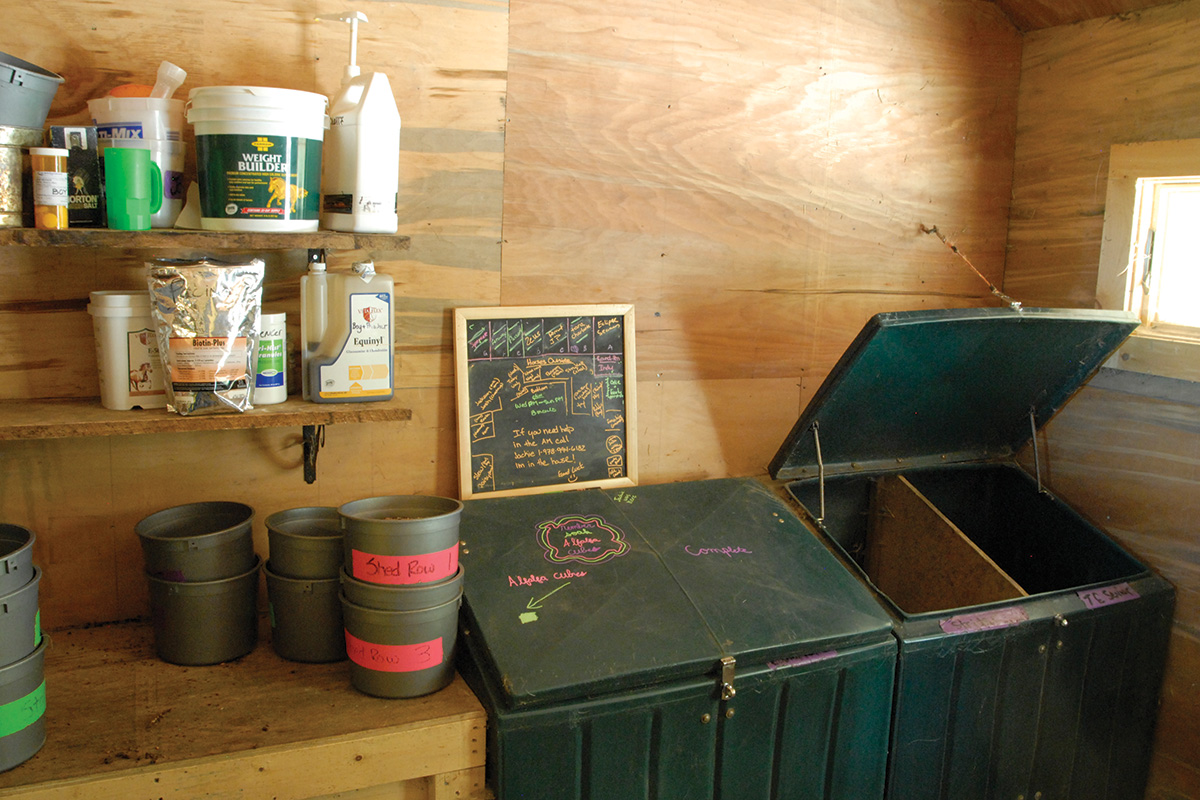
Second-hand sealed bins or chest freezers are a great way to keep pests and mold out of your horse’s grain. Photo by Dusty Perin
Cost: $50-100
Need:
◆ Deep freezer or heavy-duty bin
◆ Clear tape to hang feed tags
Storing grain in a consistent environment can be difficult, especially if the feed room is more rustic. No matter the location, keeping pests and mold out of the grain bin is critical for your horse’s health.
A classic grain storage hack for your barn is using an unplugged deep freezer to store the feed. Freezers are insulated, durable and seal to keep animals out. Plus, they don’t have to freeze things to keep grain safe. They’re frequently available on local sites such as Facebook Marketplace and Craigslist for less than $100. Any other type of other tight-sealing, heavy-duty storage boxes that you already own or can find for second-hand purchase will work, too.
As a bonus hack for your barn, save all feed tags and tape them to the grain bin for reference while feeding that bag. The white tags located on the bottom of grain bags list the lot number of grain and sometimes “best by” dates.
Should something go wrong with the grain, knowing which lot the grain came from is vital for feed companies.
Metered Fly Spray
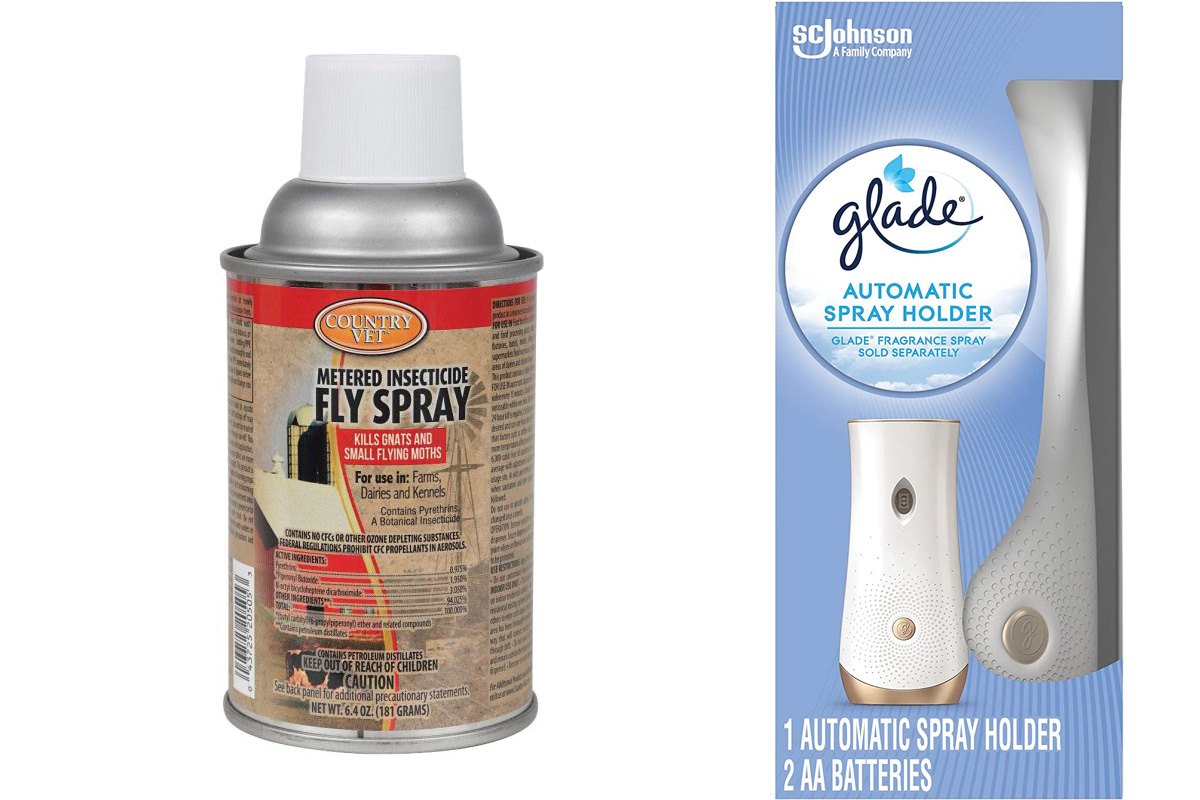
Battery-powered fly metered fly spray can get expensive when buying numerous units. Try a bathroom air freshener unit instead to save big—just make sure it fits your fly spray canister properly.
Cost: $25 each
Need:
◆ Automatic bathroom scent sprayer
◆ Batteries
◆ Canister of metered fly spray
Flies are a constant hassle of horse ownership, and controlling them can feel like a never-ending task. Employing fly boots and misting horses daily with the bottle is nice, but automatic fly-spray systems in barns take fly control to the next level.
Although metered fly-spray devices are available at feed stores for around $50 each, you can save by making them from battery-powered bathroom scent sprayers. You’ll need to make sure the device matches with the brand of metered fly spray you purchase. With some leg work, an automatic and adjustable fly spray system perfect for your barn and run-in sheds is within reach.
Muddy Spot Remedy
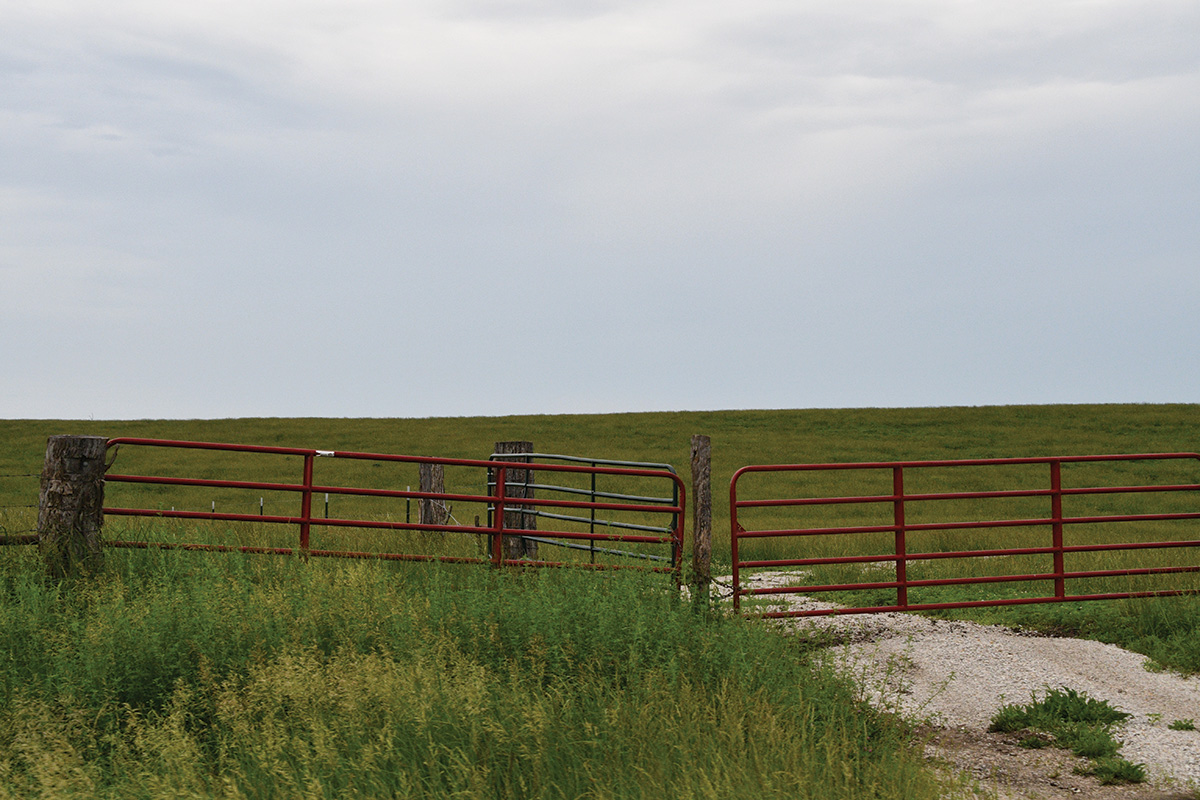
Gravel, wood chips, or even a simple shovel-dug drainage channel will help combat muddy gate areas during wet seasons. Photo by Seephotos7171/Shutterstock
Cost: $0-50
Need:
◆ Shovel
◆ Organic material to fill
A muddy spot at a gate or barn door is not only irritating; it can also pose a danger to horses. Mud can be slippery and promote thrush-causing bacteria growth. Try this hack for a muddy barn area.
The first step to helping a muddy spot is to see if a small ditch can be dug to direct any pooling water away from the area. The width and depth of the ditch will vary with the size of the issue, but should measure at least 6 inches wide and several inches deep. Using some elbow grease and a digging shovel, dig a channel away from the muddy spot.
If digging an escape route for water isn’t possible, adding product to a muddy spot can help too. Some of the common options are woodchips, gravel and sand. Local tree-care businesses often have woodchips from jobs for free, as long as you pick them up yourself.
Gravel and sand are also widely available at local landscaping shops. Or buy by the yard, and not by the bag, at a hardware store.
Whatever material used, add to the problem area when it is dry and get a nice, sloped base draining toward the lowest point. When it becomes muddy, add material as needed until the mud is subdued. Eventually, the place will be built up with fill material and less water will be able to pool there.
DIY Corner Feeder
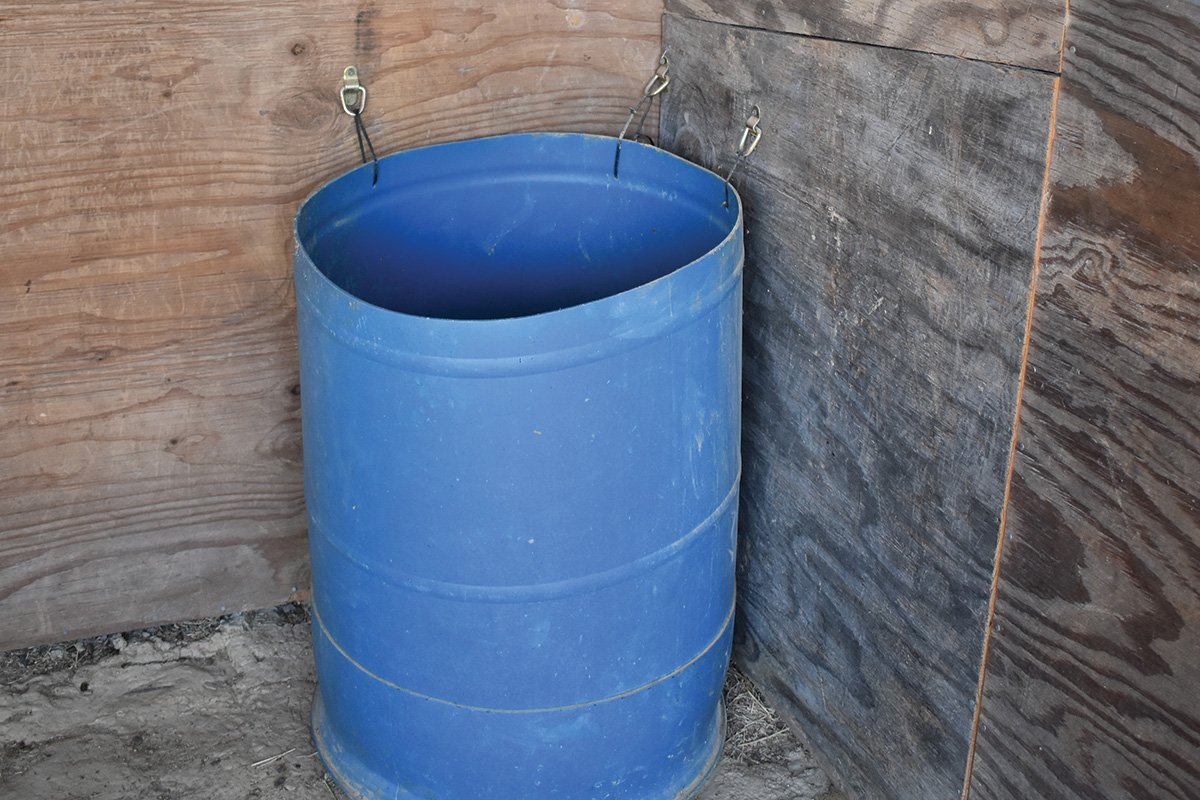
Plastic barrels make convenient corner feeders where horses eat more naturally with their head down at ground level — an easy and cost effective hack for your barn. Photo by Lillian Kent
Cost: $30 each
Need:
◆ One 55-gallon plastic barrel
◆ Drill with ¼-inch drill bit
◆ Jigsaw
◆ Coarse sandpaper
◆ Cleaning supplies
◆ Heavy-duty zip ties
◆ Wall eyelets
Feeding horses with their heads in a downward position is the most natural and has been proven to put less strain on their bodies. There are several large, plastic corner feeders on the market, but they start at $100 and climb in price from there.
Make a budget-friendly corner feeder for grain and hay using a 55-gallon plastic barrel. These can be purchased second-hand on Facebook Marketplace, Craigslist or from local businesses (make sure they only ever held food-grade materials) for approximately $20 each.
Once the barrel is home, measure and mark where it will be cut. Cutting one in half will yield two corner feeders, although the top portion will not be as suitable for feeding grain due to the grooves from the lid.
After measuring, drill a hole into the line of division and use a jigsaw to cut around the barrel as it lays on its side. Jigsaws can be purchased for about $30 or rented for about $15.
Once cut, thoroughly wash the barrel with hot water, dish soap and diluted bleach. Sand the rough plastic edge with a coarse sandpaper. Drill at least two small holes in the barrel near the top to secure it to the wall.
Using eyelets screwed into the wall, secure the feeder to the corner with heavy-duty zip ties and trim them short.
Making life easier around the barn is a constant journey, but one horses deserve and owners will be thankful for. These hacks should improve life around the barn for your horse, so give them a try.
This article about DIY barn hacks appeared in the September 2022 issue of Horse Illustrated magazine. Click here to subscribe!