Many riders find that no matter how many lessons they take and how much they practice, their jumping form still leaves something to be desired. When you see a photo of yourself, you realize that your leg is swinging back over fences. Most trainers agree that your leg needs to be underneath you (heels down with stirrup leathers perpendicular to the ground) to avoid pulling on your horse’s mouth for balance, or falling off in the event of a refusal or stumble. But how do you get your leg where it needs to be?
Here, hunter/jumper trainer Nori Scheffel, a certified British Horse Society Assistant Instructor, provides four exercises to help you develop a strong, independent lower leg over fences.
EXERCISE 1: Gloves Under Your Legs
Scheffel recommends placing a glove between each leg and your horse as an exercise for keeping your legs tight. “Place each glove below the knee because you don’t want to start pinching with your knee,” she says. “The lower you set the glove on your calf, the better, but start with the glove about halfway down.”
Begin by practicing your flatwork with the gloves in place. “As you progress, you can do this with or without stirrups,” says Scheffel. “This can even be carried through to jumping courses.” By becoming subtly aware of keeping your leg in constant contact with your horse, you’ll have a steadier foundation beneath you.
EXERCISE 2: The Square
Flatwork exercises are a great way to strengthen your leg. Scheffel suggests laying out four ground poles in a square, with their ends 10 to 15 feet apart from one another.
“Start by trotting a circle around the outside, and when you feel like you have your horse organized, then start pushing him with your calf to the inside of one pole and around the outside of another, and so on—it’s about a 20-meter circle,” says Scheffel. “Keep your reins as soft as you can.” Do this pattern for several laps around the square.

Begin the square exercise by circling around the outsides of the poles (left). Use your leg to push your horse to the inside of one pole, the outside of the next, and so on (right). Photos:Lesley Ward
“Once you feel comfortable, you can move the poles closer together,” continues Scheffel. “You can try it at the canter, or make the square even smaller. It’s also adjustable for the ability of the horse: You wouldn’t want to have a green horse on a tiny circle.”
This exercise gets your horse moving off your leg, while at the same time encouraging you to keep your leg snug. “You can also ride it as more of a cloverleaf to add more bend to the exercise,” Scheffel adds.
EXERCISE 3: Trot Poles
Lay out three or four ground poles, spaced 4’3″ from each other. Approach the poles in a posting trot, and then hold your two-point position as you go over them. “It has to be a correct two-point, so you’re going to take your knee away [from the saddle] slightly and make sure you’re balanced,” says Scheffel. She recommends using at least three poles because if you start with just two, your horse might attempt to jump them as a spread. “With a green horse, you can walk over the poles at first to give him a chance to peek at them,” she says.
Once you’re comfortable holding your two-point over the poles, you can hold the reins in one hand and extend your other arm out like the wing of an airplane. Although some riders put a knot in the reins and hold out both arms, Scheffel suggests keeping one hand on the reins for safety. This exercise will help you focus on your leg position.

EXERCISE 4: Crossrail
When you’ve developed a stronger leg and can hold it in the correct position, you’re ready for a small jump. Remember, the goal is to keep your leg securely under you so it doesn’t swing back as your horse jumps the fence.
Scheffel uses a spacing pole approximately 9 feet in front of a cross-rail, enabling the horse to trot up and jump the fence from a comfortable distance without having to jostle the rider with an uneven final stride. “Trot in holding your leg forward and down, and punch your heels to the ground when you land,” says Scheffel. “You have to mentally focus on what you want to fix—and then keep repeating it!”
Once you feel confident over the jump, add a halt on a straight line a few strides after the fence. Scheffel recommends placing two cones about 20 to 30 feet after the jump and halting between them: “If riders have a focus point, they’ll improve their stop.”
After you’ve mastered the halt, you can add yet another level of difficulty. “Keep your calf on, halt for one or two seconds, and then drop your stirrups and ask your horse to trot or canter a circle,” says Scheffel. “Another thing you can do as you get better at stopping is move the cones closer to the jump.”
To increase the difficulty of any of the four exercises, you can remove your stirrup irons or cross them over the pommel of your saddle. “Any time you ride without irons—keeping safety and horse and rider ability in mind—keep your leg in the correct position, with your weight in your heels and your toes pulled up,” Scheffel advises.
By diligently working on these exercises, preferably with the help of an experienced horse person on the ground who can tell if your form is correct, you will improve the stability of your lower leg over fences for better equitation and increased safety.
Meet the Trainer
Nori Scheffel was born and raised in Alberta, Canada. She grew up as a member of the Canadian Pony Club, then moved over to the hunter/jumper world and successfully competed on the “A” hunter circuit. She continued her career in the Del Mar, Calif., area before taking a hiatus from showing in order to broaden her knowledge at the Yorkshire Riding Centre in the UK, where she received her British Horse Society Assistant Instructor certification. She then ventured to Germany to advance her dressage and equitation skills.
Upon returning from Europe, Nori started a successful lesson and training business in California, where she prepped a team for the Pony Club Championships at the Kentucky Horse Park in Lexington, Ky. She then met and married farrier Dave Scheffel, and they started Scheffelridge Farm in Paris, Ky. There Nori runs a successful, family-oriented lesson, boarding and training facility. Her focus is on horsemanship, sportsmanship and a program for every aspiring rider. www.scheffelridgefarm.com
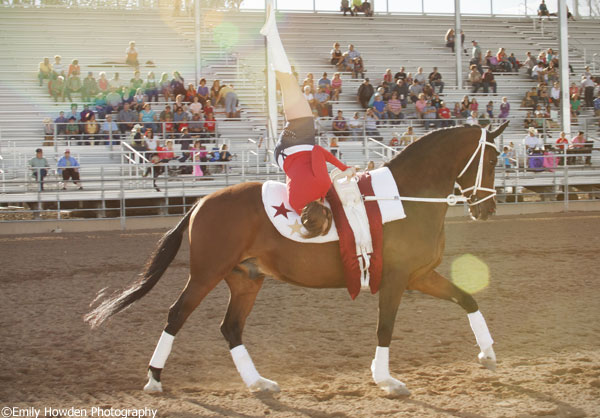
Special thanks to Sarah Coleman and Bayou Brass for demonstrating these exercises.
Liked this article? Here’s more advice for improving your position:
Building Strength Astride
Positioned for Success
Secure Your Slipping Leg
Master the Two-Point
This article originally appeared in the October 2010 issue of Horse Illustrated. Click here to subscribe.


e
Perfect tips!
It is a shame that people still ride with their toes out. Toes should point in the direction your going. Pointing toes out compromise stability & contact, legs are not as strong.
Great article.
My old teacher just made me trot circles in two point for ten minutes each week… If I did it wrong, I did it again. I learned quickly and properly.