![]() Jumping is fun, whether you pop over a few fences at home or compete your pony at shows. But how can you make sure jumping is as much fun for your horse as it is for you? Here are some tips to perfect your crest release while jumping.
Jumping is fun, whether you pop over a few fences at home or compete your pony at shows. But how can you make sure jumping is as much fun for your horse as it is for you? Here are some tips to perfect your crest release while jumping.
Jumping shouldn’t be hard for your horse—if you’ve ever seen him run and play in the field, you’ve most likely seen him jump for joy! If you watch closely, you’ll see that he doesn’t hold his head high in the air and hollow his back when he jumps; he lowers his neck and lifts his back.

With that image in mind, it’s plain to see that your horse won’t enjoy jumping if you’re pulling on the reins when he’s trying to use his body to get over the fence—even a tiny one! If you pull back while your horse is jumping, you’re giving him mixed signals. Your body and legs are saying, “Jump!” while your hands are saying, “Whoa, pony!” So how can you make sure you’re giving him as much freedom as he needs? Work on your crest release!
What’s a Crest Release?
A crest release is when you move your hands up your horse’s neck as he leaves the ground for a jump, giving him the ability to use his head and neck for balance. It’s called a “release” because you release his mouth as he takes off. There are two types of crest releases: long and short.
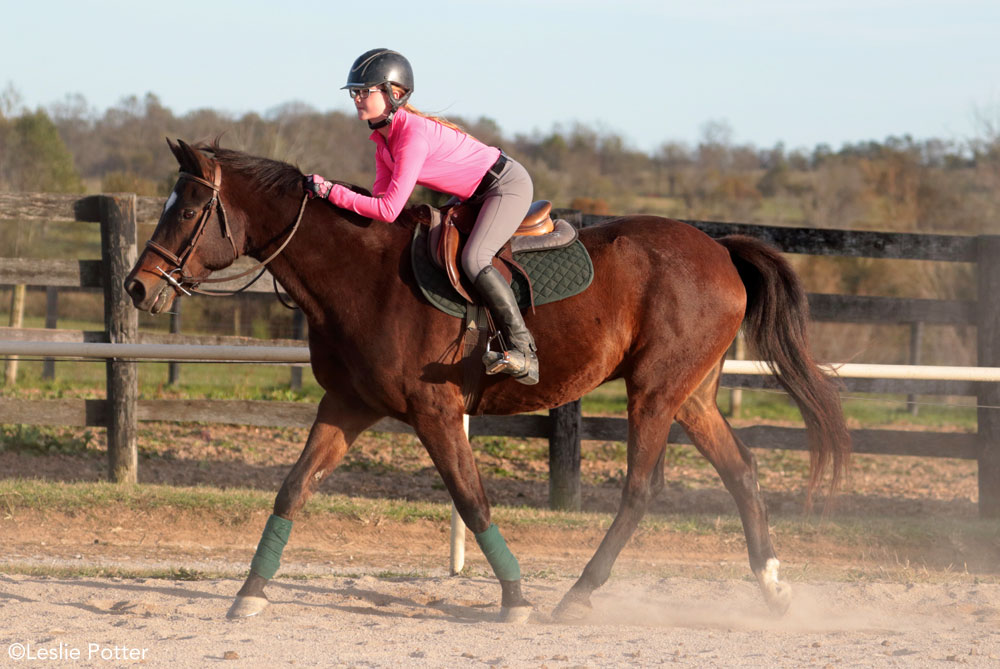
In a long crest release, your hands will be more than halfway up the horse’s neck. Be sure not to throw your whole body toward the horse’s ears.
In a long crest release, you move your hands more than halfway up the horse’s neck (crest) and steady your hands on the neck as your horse jumps. This gives him a lot of freedom, but you don’t have as much control. This is the release riders beginning to learn to jump use on educated lesson horses. The horse must not take advantage of you by running out at the fence as you give with the reins.
In a short crest release, you move your hands up the neck about 12 inches—not as much as in a long crest release. At the same time, hinge at the waist, push your hips back, drop your weight into your heels, and bend your elbows while pressing your hands into the horse’s neck.
This allows you to maintain complete control of the horse in the air and is helpful if you have to make a rapid turn to another fence once you land; you don’t have to spend ages gathering your reins to try to make a turn. You’ll learn this release as you become more confident in jumping.
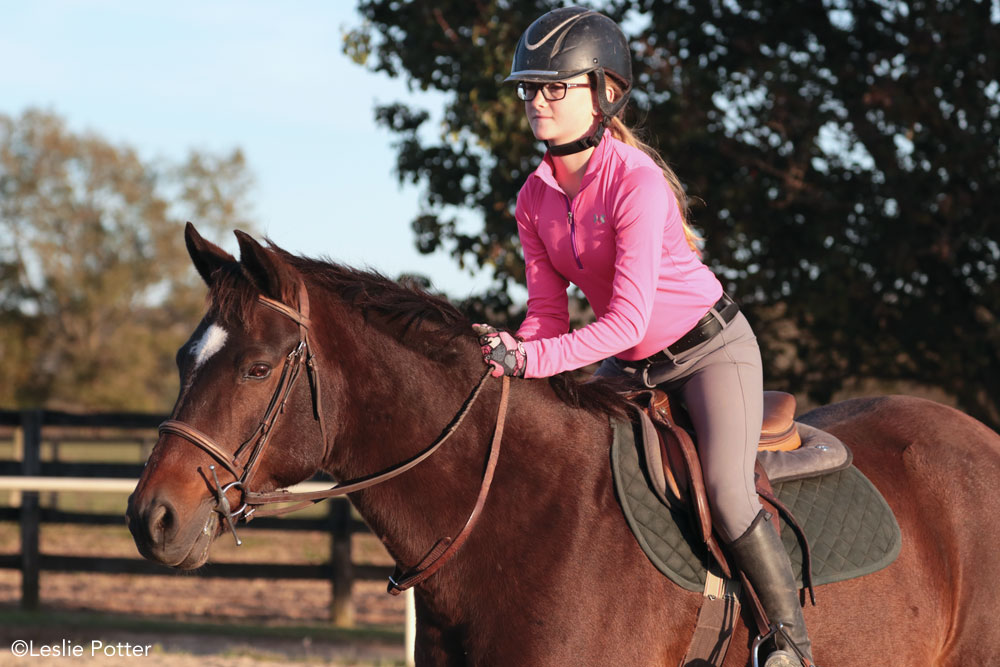
A short crest release requires that you move your hands about 12 inches up the neck for balance.
Stay Back
It’s important—and hard—to remember that when you do a long crest release, you don’t throw your whole body toward your horse’s ears; you just make the movement with your hands and elbows. Throwing all your weight up his neck actually makes it harder for him to jump because he now has all your weight on his front end while he’s trying to get up and over the fence.
You may see hunter riders doing a super-big release over very large fences, but that doesn’t mean you should imitate them just yet. These are experienced riders who are trying to show that their horse is so well-trained that he doesn’t need assistance from the rider at the fence. If you look closely, you’ll see that these riders still have weight in their heel and aren’t crawling up the horse’s neck. It takes loads of practice to get to that point!
Use a Grab Strap
To help you learn the difference between long and short crest releases, use a strap around your horse’s neck. If he wears a martingale when you ride, that’s perfect! If he doesn’t, you can use a single stirrup leather (without the stirrup) or a large belt to learn where to put your hands. Fasten the strap so it rests about 12 inches up the horse’s neck. This will help you determine the difference between a long and a short crest release.
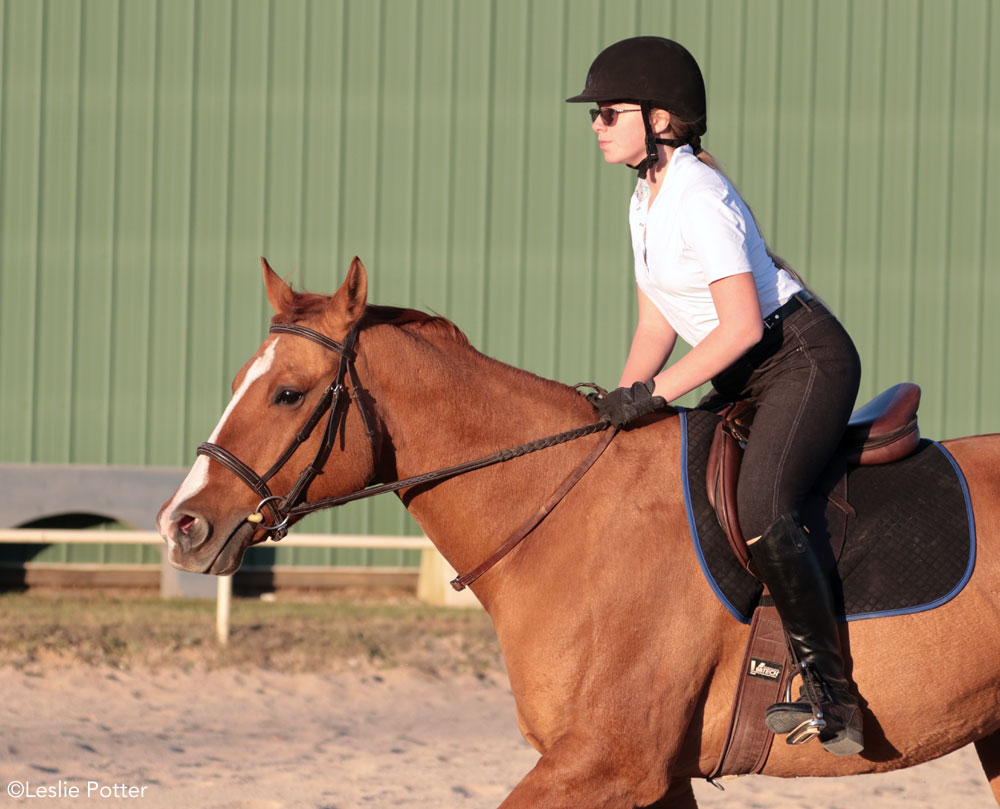
Practice holding your grab strap in two-point while riding on the flat
at first.
Once you have the strap adjusted, hack around with it a bit to see what it feels like to get into two-point while holding on to the strap. This is your short crest release. If you’re still working on holding your position over the fence while your horse jumps, grab on to this strap as you get close to his takeoff spot; this will teach you where your hands should be for a short release.
If you’re still working on perfecting your long crest release, practice your two-point with your hands simply touching the strap. When you jump, you’ll fold at the waist and move your hands in front of the strap.
One of the keys to keeping your pony happy while jumping is to make sure you don’t yank or lean on his mouth over fences. Learning both the long and short crest release will make you a more advanced rider.
Special thanks to Finley Scheffel, Eileen Cody and Elke Brann for demonstrating these exercises at Scheffelridge Farm in Paris, Ky.
This article originally appeared in the January/February 2019 issue of Young Rider magazine. Click here to subscribe!