
 Horse-care expert Kylie Lyman, who manages Olympic event rider Robert Costello’s Tanglewood Farm in Southern Pines, N.C., says a good pair of clippers, along with organized preparation, practical know-how and a relaxed horse, make clipping easier.
Find a friend with clipping experience to help you on your first try, Lyman counsels. But at some point you just have to pick up the clippers and give it a go. There’s no substitute for practical experience on this job.
If you’re a clipping neophyte, allow plenty of time for your first attempt. Even a pro like Lyman allows two hours for a full-body clip.
Plan to clip at least two weeks before any competition. After two weeks the hair should grow back enough to cover up any mistakes you make on your first try, Lyman says.
Clipping Preparations
Long before you plan your horse’s first body clip, acquaint him with clippers. Start with small clippers, which create less noise and vibration and generally seem less threatening to a horse.
Take your horse off the cross-ties (just in case he pulls back) and have a friend hold his lead rope. Start off by running the clippers, turned off, over your horse’s neck and shoulder. Then lay your hand flat against his neck and turn the clippers on, running them against your hand (blades facing away from your hand) so the horse feels only a faint vibration. Now move the running clippers against the horse’s shoulder (with blades away from the horse so you don’t actually remove hair).
If your horse pulls away, stay with him, talk soothingly to him and ask your friend to feed him treats until he realizes that the clippers aren’t so terrifying after all. This may take several days. Once your horse accepts the small clippers, try trimming his muzzle. Lay the clippers against his shoulder and turn them on, giving him a chance to get used to the vibration. Slowly move the clippers up his neck and onto his cheek, and then slide them down to his nose. Hold his head steady with your free hand, or have your friend hold him, while you work the clippers. Continue to praise him with your voice and soothe him, with pats or treats, as you work. Then repeat the desensitizing process with large clippers.
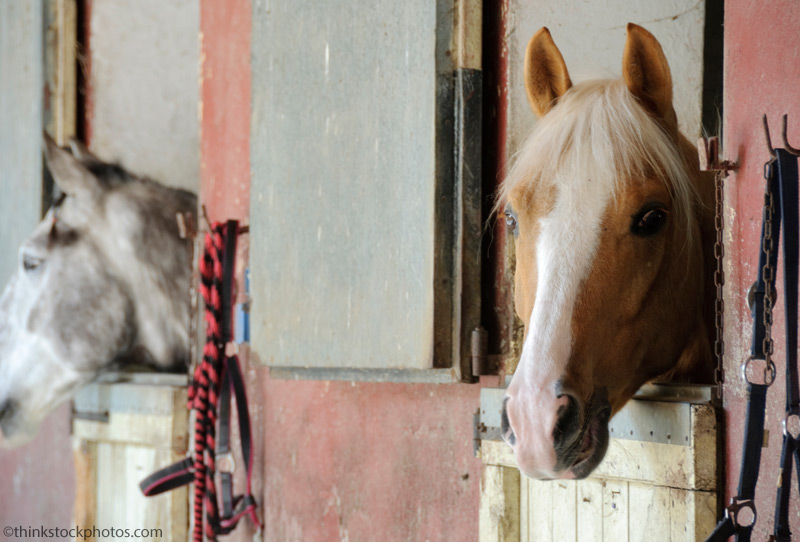
Before you attempt a body clip, your horse should stand calmly while the clippers are run over his body.
Try to clip a moving target and you’ll not only suffer through a terrible clipping job, but you could hurt both yourself and your horse in the process, Lyman says. Trying to clip an unruly horse is just plain dangerous–you can get kicked.
For your horse’s first few clipping experiences, always ask a friend to hold him. Horses that are clipping veterans may safely stand in cross-ties, assuming, of course, that your cross-ties have a breakaway feature, just in case the horse pulls back during clipping.
Get Organized
Follow a few sensible guidelines, Lyman suggests, as you prepare your horse for clipping.
Start with a clean horse. The dirt from a muddy or dusty horse will clog your clippers and cause the blades to cut unevenly, leaving unsightly lines and tracks on your horse’s coat. Always bathe your horse with shampoo, then rinse thoroughly. Allow him to dry completely before you clip him. (If weather doesn’t permit, hot towels and a sponge bath may have to do.) Lyman sprays a silicone-based equine coat polish all over the horse’s body, letting this dry completely, too, before she starts clipping. (The silicone helps the clipper blades move more easily across the horse’s coat.)
A flat surface and a well-lit space. Stand your horse on a flat, level surface, so he can get his weight square on all four legs. Make sure the light illuminates his body evenly; you won’t be able to see where you’ve clipped if shadows obscure your horse’s coat.
Organize your space. Don’t waste time running around looking for the tools you need. It’s hard enough to expect your horse to stand around for two hours of clipping. Organize everything you’ll need to clip before you start the job (see Clipping Tools and Essentials here).
A tail wrap and training braids. This is not a requirement, but it will be easier to clip above the tail and around the mane if you keep stray hair at bay. Apply a tail bandage or wrap and use elastic bands to organize the mane away from the horse’s neck.
Wear appropriate clothing. Wear sensible footwear, like paddock boots, that offer protection but still allow you to move around easily. Select clothes that your horse’s hair will be less likely to stick to, like a nylon jacket.
The Basics of Clipping Technique
If you’ve never clipped before, a horse with more hair, oddly enough, is easier to clip than one with just a light coat. You might consider a partial or trace clip on your first try, so you can avoid clipping the trickiest parts of a horse’s body–the legs and head. Or, get a clipping-savvy friend to help you with those difficult body parts on your first try.
CLIPPER CARE Keep the proper amount of tension on your blades as you clip. To check this, turn your clippers on and loosen the tension screw until your blades start to rattle. Then tigthten the screw until you feel the tension under your thumb–then tighten it another turn. The blades should sound as though they’re running smoothly and evenly. You can easily, and quite inexpensively, reuse old blades by having a clipper service sharpen them. Lyman suggests sharpening blades after two full body-clipping jobs. Send your clippers out to a clipper service for cleaning and overhaul once a year if you clip frequently; every two years if you clip only once or twice a year. |
Always clip against the direction of hair growth. This means you need to turn your clippers around accordingly on certain parts of the horse’s body where the hair grows in circular patterns, like his flank and chest.
Don’t be shy about moving the clippers around, Lyman suggests. Sometimes you have to turn the clippers in a full circle, or hold them upside down against the hair. You won’t always clip in a line parallel to the ground.
Clip in steady strokes that follow the contours of your horse’s body, with an even pressure on the blades. (Too much pressure on the clippers will make your horse uncomfortable, but too little pressure won’t allow your clippers to cut well.) Lyman suggests using broader, longer swipes against the large muscular parts of your horse’s body, like his barrel, hindquarters and under his belly. Then, to avoid leaving uneven clip lines, go back over the area you’ve clipped, moving the clippers at a different angle than you used the first time.
For a trace clip, first outline your edges with chalk or masking tape on your horse’s body. Once you’ve drawn a pattern, clip the outline first, while your blades are sharpest, so you get neat, crisp lines. Hold your hand against the horse’s skin to keep the area as taut as possible, then turn the clippers flat against the line and follow it with more pressure than you’d use otherwise. To neaten an edge, turn your clippers sideways to catch stray hairs, or place the blades upright against the line and lift the clippers away.
Whenever you reach a sensitive spot on your horse’s body, like the flank, girth or elbow, use your free hand to stretch the skin and keep it smooth and taut as you clip.
“I always keep my free hand on the horse, just ahead of where I’m clipping,” Lyman says. “This tends to steady a ticklish horse and it keeps me in tune with his body as I clip.” You can pick up a front leg, too, to stretch the skin as you clip on and around the elbow.
When you clip above the tail, create a neat upside-down “V” that’s perfectly centered over the tail. Lyman suggests that you make a bigger, not smaller, “V” at first, since you can always go back and refine your trimming, as needed.
Take care to cut even, straight lines along either side of the horse’s mane. These lines are particularly noticeable once your clip job is complete, and they stand out even more when your horse is braided.
Remember that clipping can be dangerous. Even a normally quiet horse can kick out if the pressure of clippers on a sensitive area of his body startles him. “You need to constantly monitor your horse’s body and be smart about where you’re standing at all times,” Lyman says. “If your horse gets agitated or impatient, give him a break and resume clipping another time.”
After You Clip
After you’ve finished clipping, bathe your horse and dry him thoroughly–or rub him down with hot towels–to remove the clipper oil, silicone, blade wash and cut hair from his body.
The next day, Lyman brings the clipped horse out into the sunshine, or a lighted area, and scans his body for any missed clumps of hair. “You can go over a clipping mistake the next day and smooth out the result,” she explains. “But if you wait a few days, then the new clipped patch will stand out unevenly from the rest.”
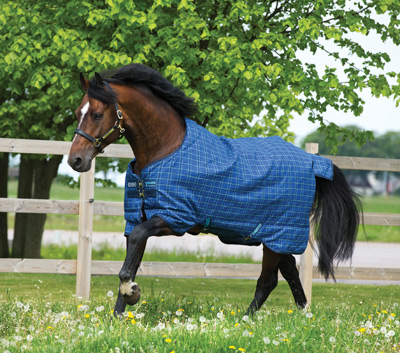
You must blanket a horse properly after you’ve clipped him.
“A horse’s natural coat provides plenty of warmth in even the coldest weather,” Lyman says. “Once you’ve removed that hair, you’ve got to keep him warm with blankets, layered as necessary for your climate, and use an exercise rug as needed when you ride, too.”
Read more on partial clips for winter >>
Annie Eldridge is an event rider who trains out of her Setters’ Run Farm in Duxbury, Mass., and is one of HI’s regular English Training Talk columnists.
This article originally appeared in the November 2007 issue of Horse Illustrated. Click here to subscribe.

good article
Great tips for clips.