Photo by Shoshana Rudski
The winter months can be tricky. It’s hard to keep your horse from getting bored with the repetition of ring work, especially in places that rely on small indoor arenas. These two exercises are simple to set up and useful for riders of all horse sports, including pleasure riders!
They’ll help keep you motivated to keep going through the colder months and keep your horse’s brain and body engaged. Plus, you just need eight poles and four cones (or other objects), so setup is simple.
Exercise No. 1: Transitions and Accuracy
Whether you’re preparing to trot down the centerline or take on the trails come spring, nailing your transitions is a perfect winter goal to get you ready for the sunnier days ahead, and this versatile and easy-to-set-up exercise will come in handy. If space is very limited, it can even be set up on a 20-meter circle or expanded into a larger oval for greener horses and riders.
What You’ll Need:
◆ Eight poles
◆ Four cones or other marker objects (we used fake rocks here)
◆ Set up four trot poles, evenly spaced around 4.5 feet apart
◆ Set up four canter poles, evenly spaced, around 9 feet apart
◆ Set up four cones or other objects in a rectangle, around 3 feet wide by 8 feet long to make a “halt box.”
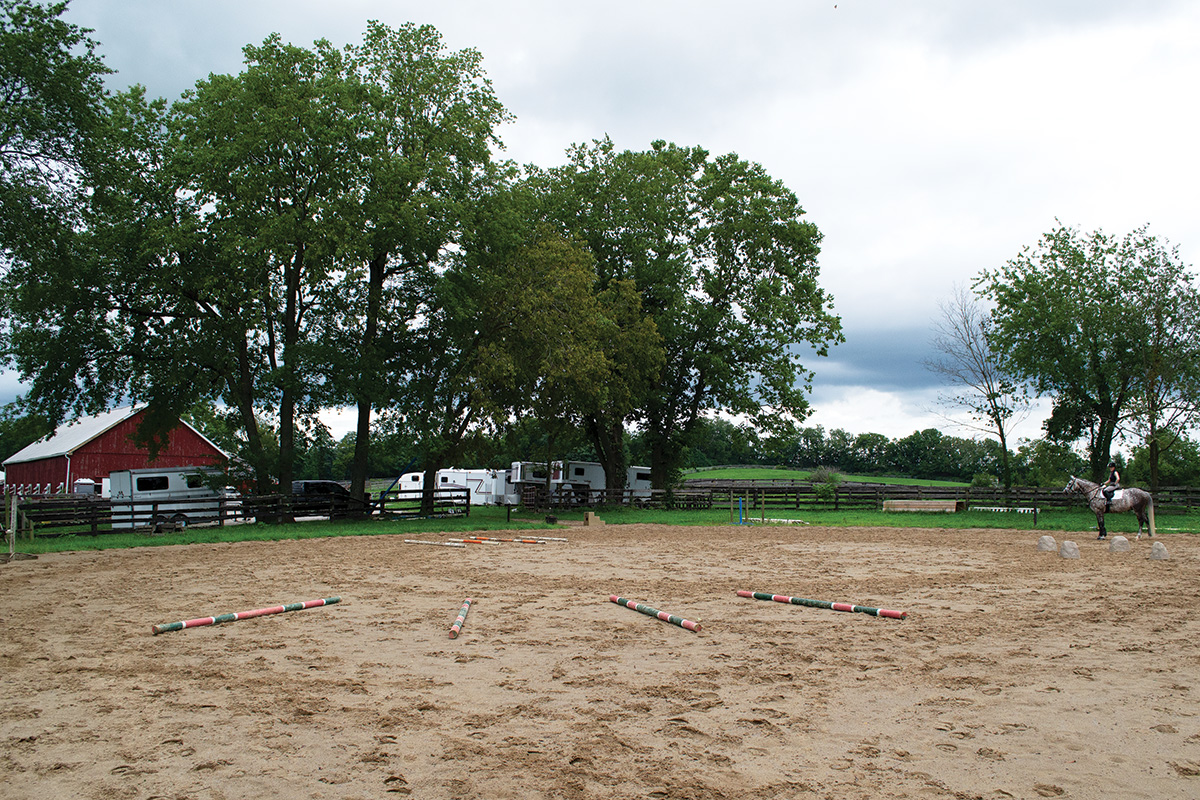
Four trot poles and four canter poles can be set on a 20-meter circle or an oval, along with a “halt box” made up of four markers. Photo by Shoshana Rudski
The goal of the exercise is to create responsive and prompt transitions. However, putting the entire exercise together in one go can be tricky, so it’s best to start by separating the parts and build on your new skills.
Start by trotting through the trot poles and cantering through the canter poles separately. Then practice a square halt in the space between the cones (or other markers). Once you and your horse are comfortable with all parts of the exercise separately, it’s time to put everything together.
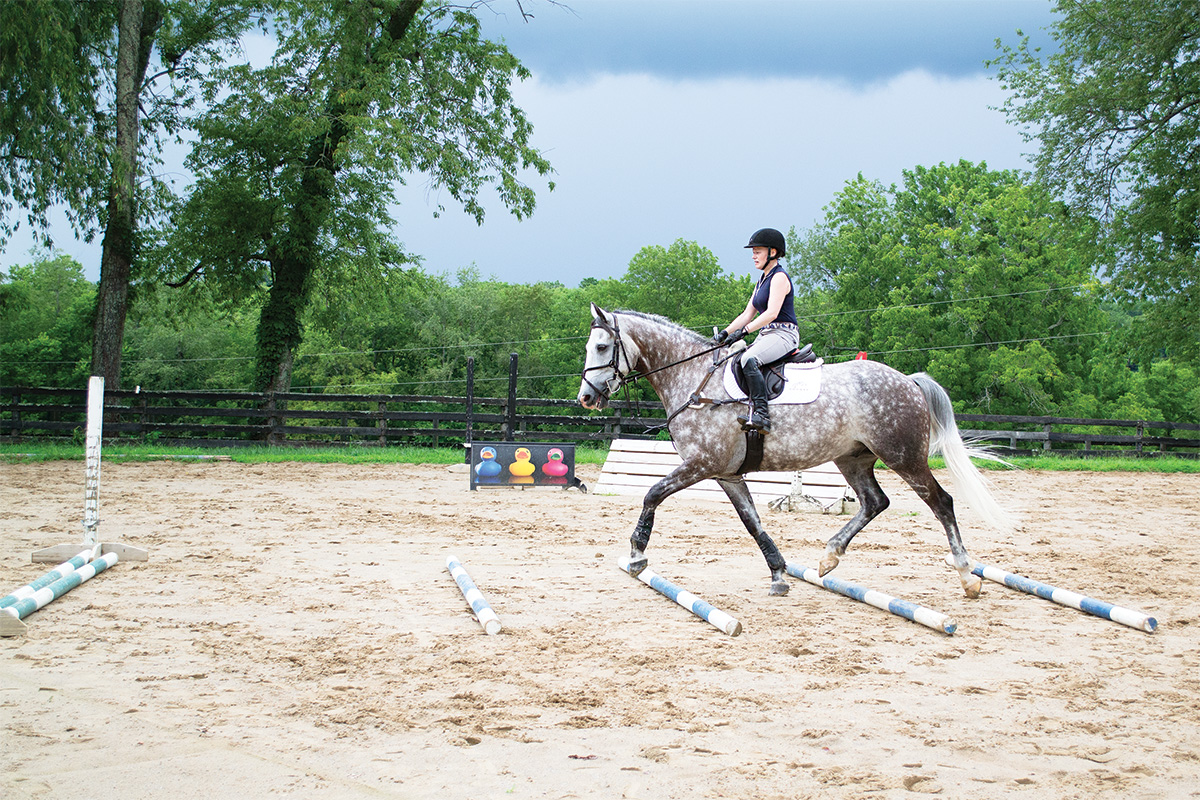
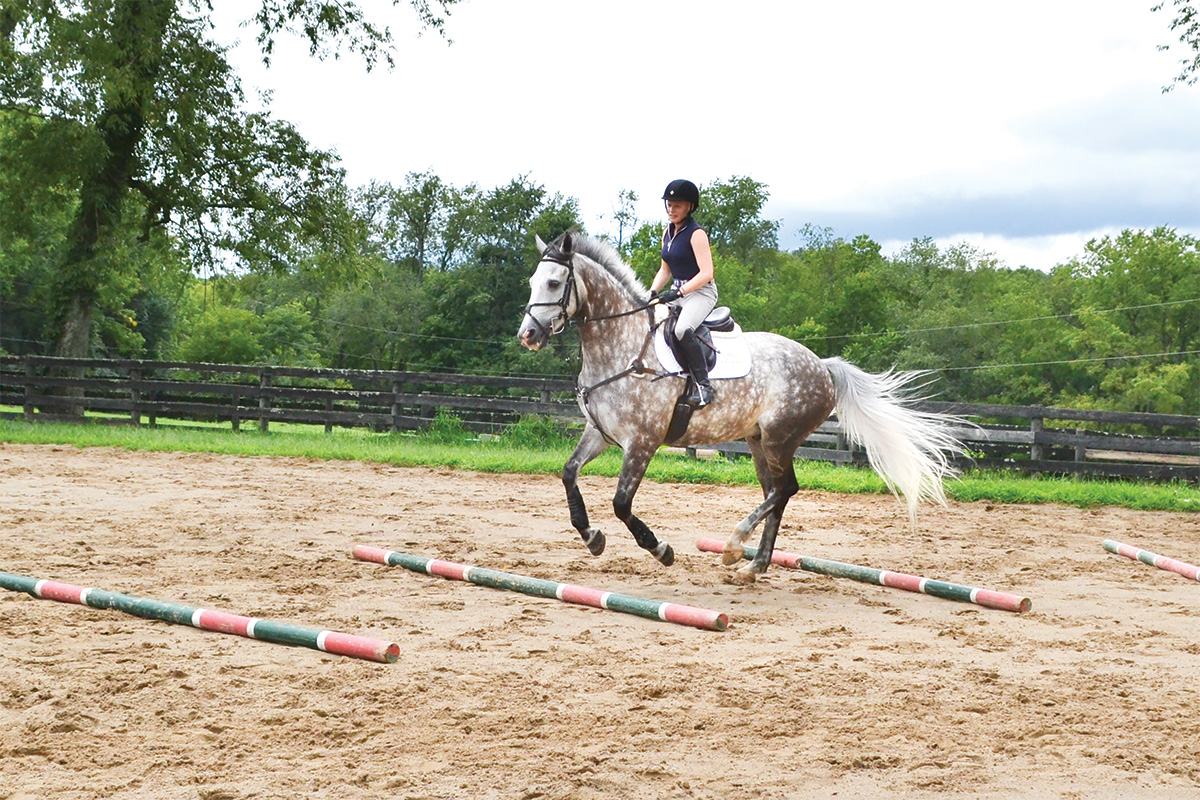
Begin by trotting through the entire exercise. Eventually, you will canter after the four trot poles. Photo by Shoshana Rudski
It’s simplest to start in the halt box. Next, pick up your trot and trot over the trot poles. The goal is to canter before you get to your canter poles, then halt again in the box.
It takes a lot of fine tuning to get your transitions prompt enough to be accurate, so don’t worry if it takes a number of tries to put it all together.
You can also try the exercise in reverse, starting in the halt box, asking for a canter transition, and then trotting before your trot poles before once again halting in the halt box.
One of the best things about this exercise is how it can be adapted for all levels of horses and riders. If you aren’t ready to canter your horse yet, you can trot through both sets of poles.
If halting in the halt box is too much of an ask, you can try a walk transition in this space, or just keep cruising through the box without a transition at all.
If your horse’s halt-to-canter transition isn’t spot on yet, you can adapt the exercise by walking a few strides, picking up your trot, and then ask for your canter just before the canter poles.
Essentially, the three different elements of the setup are markers for transitions, but which transitions you do are up to you! Just don’t try to canter through the trot poles (they are spaced too closely for a canter stride).
Also Read: Maintain Your Winter Riding Goals
Exercise No. 2: Nail Your Leads
The second exercise focuses on asking for the correct lead and quickly identifying what lead your horse is on.
What You’ll Need:
◆ Eight to 10 poles
◆ Set up four trot poles, spaced evenly, followed by a 9-foot gap to another pole.
◆ Set up two more poles lightly to the right and left of the 9-foot-spaced pole, three to four canter strides away.
◆ Optional: Three sets of cavallettis or standards. You’ll need a little more space for this setup, but it’s still perfect for a smaller indoor and can easily fit in a dressage ring.
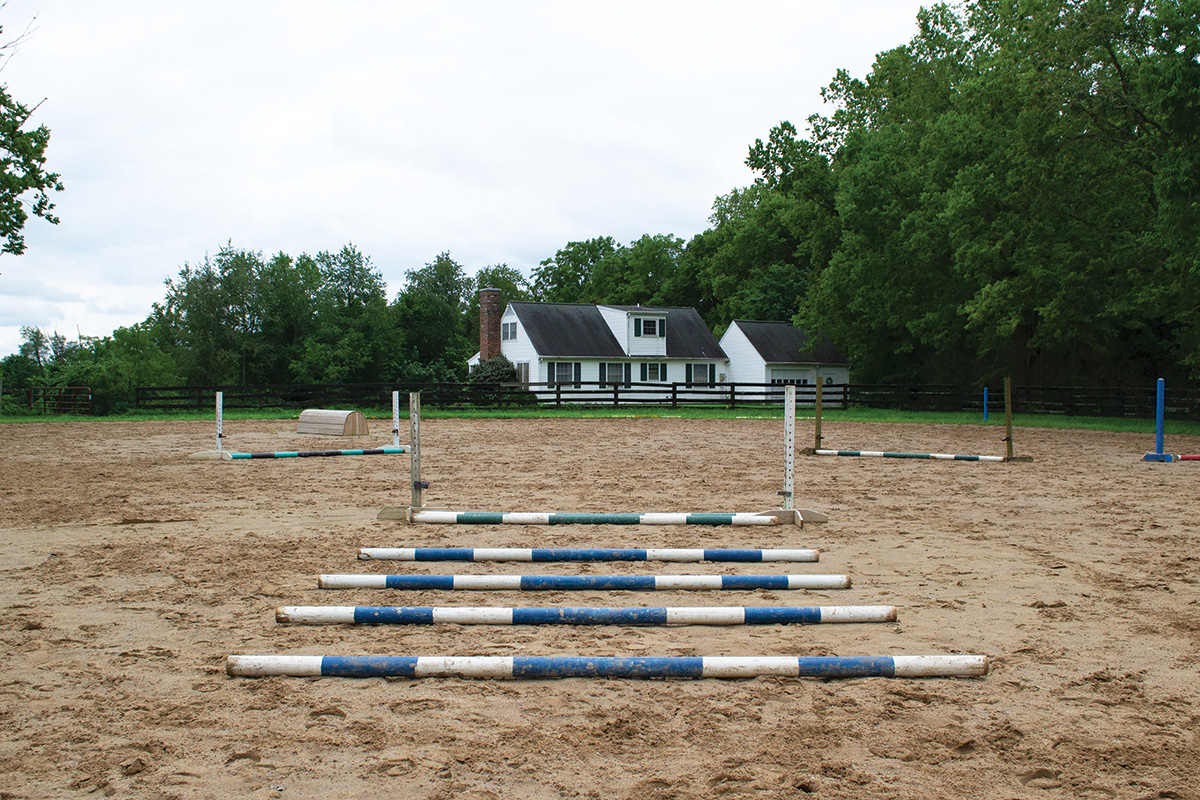
Set four trot poles followed 9 feet later by a canter pole; three to four canter strides to the right and left, set another pole. Photo by Shoshana Rudski
Start by trotting through all of the poles, then trot straight ahead between the two offset cavalletti. Once you and your horse are comfortable, try asking for a canter after the four trot poles, before the 9-foot spaced canter pole.
Next, it’s time to incorporate the two bending lines to work on your canter leads. There are two ways of doing this:
1. Go through your trot poles and canter over the canter pole, letting your horse pick which lead to land on. If he picks the right lead, head toward the pole to your right. If he lands on the left lead, head toward the left pole. See how fast you can tell which lead your horse is on—you don’t have many strides to make your decision!
2. After trotting through your trot poles, cue your horse specifically for the right or left lead canter. Carry on to the coordinating second pole. Alternate which lead you aim for, keeping both yourself and your horse on your toes and focused.
Extra Challenge
After the second canter pole, ask your horse to pick up the opposite lead (for example, if you cantered over the right pole, ask for the left lead), then loop back toward the start of the exercise to pop over the other pole option in the opposite direction.
This exercise can easily be adjusted for lots of different levels of riders and horses. For greener horses, everything can remain poles on the ground. For more experienced pairs, the canter poles can become cavallettis. If you want to mix things up a little more, you can also incorporate larger jumps (in place of the poles/cavallettis) into the exercise to add an extra challenge.
The Slide Exercise
This pole exercise is called “The Slide.” It takes the shape of a variation of three standard trot poles but only two of the poles overlap and one of the poles is separate, creating a slide pattern. Each pole is parallel and one trot stride apart from the next. If you are riding alone, you could wedge the poles with the surface of the arena so they don’t move as much when you are riding over them.
In this video from Ridely, Tania Grantham demonstrates plenty of exercises that you can try with your horse over this setup of poles. The different exercises test straightness, transitions and medium trot. You can ride the exercises in either trot or canter and adapt them to what you need to work on with your horse.
Register for Ridely PRO to access 450+ other useful training videos.
Keeping yourself and your horse active and busy this winter will set you up to be ready to get back into the show ring, on the trails, or in the outdoor arenas as soon as the warmer weather is back!
Special thanks to our models, Ashley Anderson and her horse Global Jedi, for demonstrating these exercises.
This article about exercises for your horse in small riding spaces appeared in the November/December 2022 issue of Horse Illustrated magazine. Click here to subscribe!