Photo by Danica Leigh
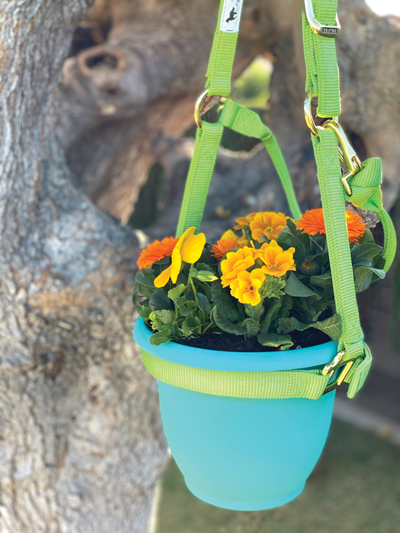
![]() The sun is shining and the flowers are blooming—it’s the perfect time to create your very own horse halter planter! This year, use your green thumb to plant some beautiful blooms in a fun, festive pot set inside a halter. You can repurpose an old halter or buy a new one. Either way, your new horsey planter is sure to brighten someone’s day.
The sun is shining and the flowers are blooming—it’s the perfect time to create your very own horse halter planter! This year, use your green thumb to plant some beautiful blooms in a fun, festive pot set inside a halter. You can repurpose an old halter or buy a new one. Either way, your new horsey planter is sure to brighten someone’s day.
 Photo by Danica Leigh Materials for a Halter Planter◆ horse halter |
Important: Make sure to measure your halter and flower pot so the flower pot will fit nicely inside the halter. For reference, we used an 8″ garden pot and a large halter measuring 11.5″ around the nose.
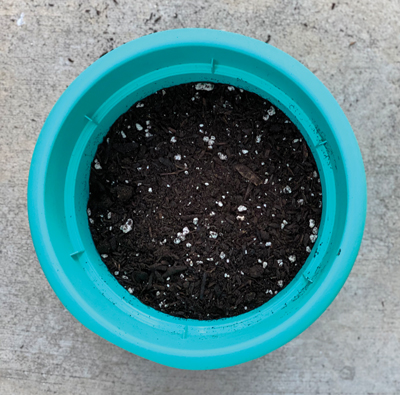
Photo by Danica Leigh
Step 1: Fill your flower pot a little more than halfway with potting soil.
Step 2: Place your flowers in your pot and arrange them how you would like. We used prim-roses, calendulas, and pan-sies, but any of your favorite flowers will work perfectly.
Step 3: Fill the remaining space around the garden pot with potting soil. Don’t forget to give your flowers a little water!
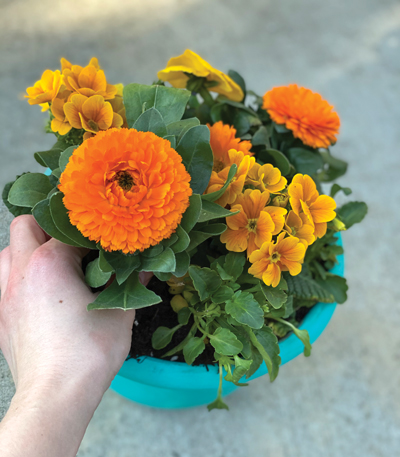
Photo by Danica Leigh
Step 4: Fasten your halter (the part that normally goes around your horse’s nose) around the garden pot, making sure it’s secure when hanging.
Step 5: Hang your horsey halter planter at home or at the barn so all your barn buddies can enjoy the bright, beautiful blooms of color.
This article about how to make a DIY horse halter planter appeared in the Spring 2021 issue of Young Rider magazine. Click here to subscribe!