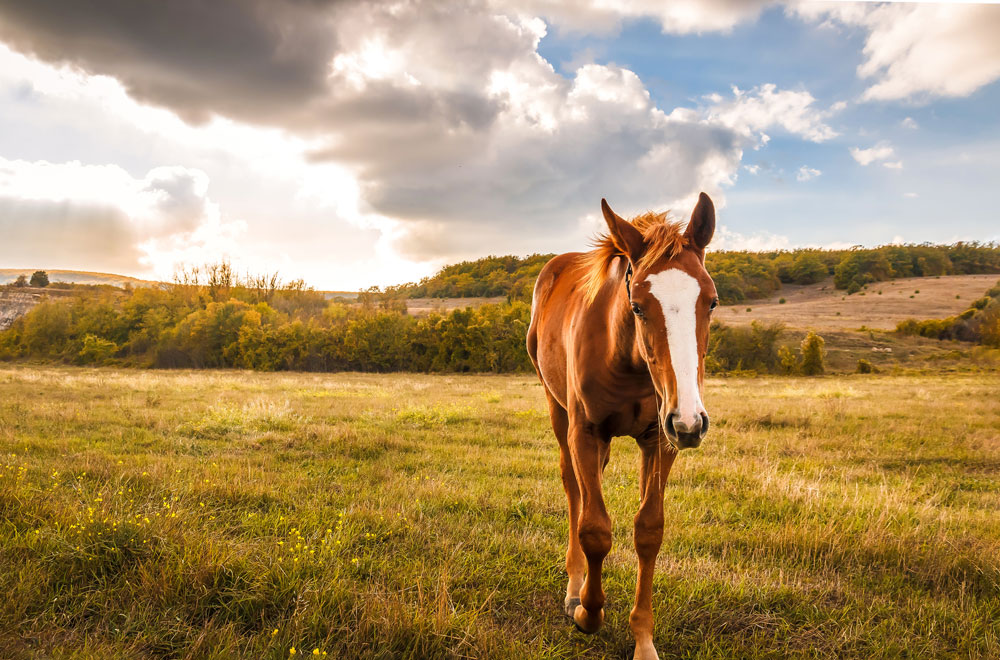
We all appreciate jewelry that proclaims our love of horses. Unfortunately, most of the horsey jewelry we’d like to wear is outrageously expensive and the stuff we can afford is often rather cheesy. My solution is to make my own equestrian jewelry, and you can, too.
This particular necklace design is one of my favorite jewelry projects. It’s fairly easy to make plus it’ll be personalized with a tassel made with hair from your horse’s tail. Once you’ve made your own, consider making more as gifts for your horseback riding pals.
For Each Necklace You’ll Need:
- Clean tail hair, free of snarls
- 18” necklace with clasp attached
- Packet of leather cord (less than 2mm thick)
- 1 long metal end cap or bead cap
- Assorted beads with large holes
- Several open jump rings (10 mm)
- Jewelry pliers (for use on jump rings)
- Horse pendant or charm
- Vintaj brand patina ink
- E6000 adhesive
- Sponge stick or paint brush
- Scissors
- Hammer, 2 nails and small board
The Instructions:
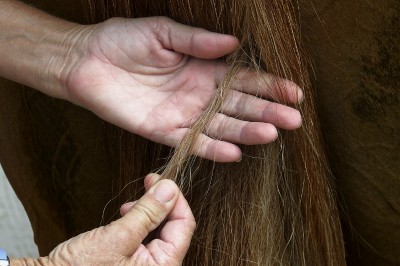
1. Separate a section of hair from deep within your horse’s tail. The section of hair needs to be about 12” long, but you don’t need a whole bunch. Lay the strands flat against the palm of your hand. It should measure about ½” inch wide. Snip the hair off with scissors and place it inside a plastic baggie.
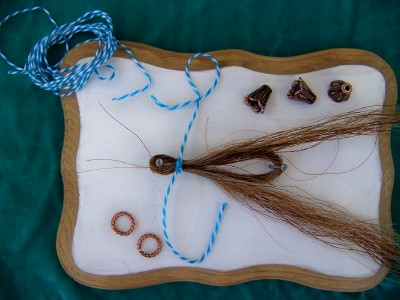
2. Cut two 8” pieces of the rounded leather cord. Keep them handy to help create the tassel.
3. Hammer the nails into a small piece of wood, 4” apart. Loop the tail hair around the nails to form a narrow oval. When finished, both ends of the tail hair section should be at the bottom of the oval. At the top of the oval, just below the nail, use one piece of leather cord and wrap it around the hair twice. (I used striped blue twine only so you could see the process). Finish with a snug knot, and then dab some E6000 on top of the knot for extra security.
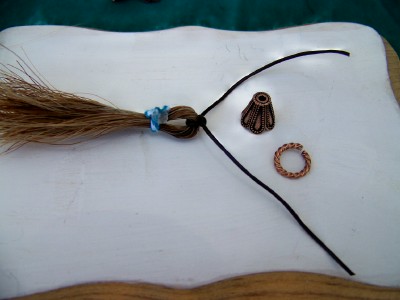
4. (Now we’ll pretend I’ve been using leather cord all along instead of striped twine). Just let the excess leather cord hang down from the knot; we’ll add some beads in a moment. But next, cut through the bottom loop of the horse hair oval. Lift it all away from the nails. Trim the hair straight across the bottom of your newly created tassel so it’s all the same length. Take the other 8” piece of leather cord and slide it through the loop at the top of the tassel. Tie a simple knot. Pull the excess ends through the hole of your end cap. Squeeze the tassel so you can push it even deeper into the end cap.
5. String some beads onto the tails of the leather cord that are hanging down, alongside the tassel. Tie a knot at the end to hold the beads in place. If you’d like, you can also add a large bead at the top of the tassel, above the end cap. As a final touch to your tassel, create a small leather loop by knotting together the rest of the cord above the end cap. Carefully open a jump ring and slide it around the leather loop. The tassel should freely dangle from the jump ring.
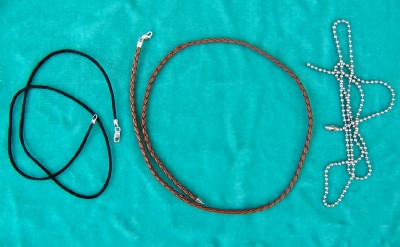
6. Your tassel—and the horse pendant—will both fit onto a necklace or choker. Fortunately, it’s easy to find necklaces and chokers online and at craft stores that already have the clasp attached. The most popular choices are black silk cord, braided leather and stainless steel ball chains (also known as “dog tag chains”).
7. Now it’s time to make your pendant. First you’ll need a horse charm. If you have trouble finding horse charms, browse through thrift stores or search online, especially on ebay.

8. You’ll also need a metal pendant with a frame around its edges. The shape doesn’t matter, but it has to be the right size to hold your charm. Once you have a match, apply a small amount of Vintaj metal patina onto both the charm and pendant. Use it just like paint. When it dries, remove as much excess patina as you like by rubbing the metal with a rough terry cloth rag.

9. Dab a small amount of E6000 onto the back of the horse charm. Press it into place, inside the pendant.
10. The pendant will have a bail (a small loop that’s permanently attached) at the top. It’ll be too narrow to fit onto the necklace, so use a jump ring. Gently open up the jump ring and pass it through the bail. Now you can connect the pendant to the tassel or slip it directly onto the necklace. Either way, be sure to close the jump ring or you’ll lose your pendant.

10. Both the tassel and the pendant should easily fit over the clasp and hang loosely from your necklace. You’ve created a one-of-a-kind necklace that’s not only stylish, but it also conveys your passion to the rest of the world. Congratulations!


I am going to give this necklace a try.
This is pretty cool!
Amy from China supply horse hair ,loose horse hair ,wefted horse hair ,www.horse-hairs.com