While neck reining is not necessarily a complex skill, it is one that requires basic training. If you want to ride one-handed, you need to make sure both you and your horse understand the foundation of neck reining.
Carla Wennberg, coach of the 2013 Intercollegiate Horse Show Association Reserve National Champion western team from St. Andrews University in Laurinburg, N.C., explains that neck reining is the successful result of training and guiding.
“Simply put, neck reining is guiding your horse with your outside aids,” explains Wennberg. “It’s using an indirect type of rein and an outside leg so that your outside aids control the outside of the horse and make the horse go in the opposite direction.”
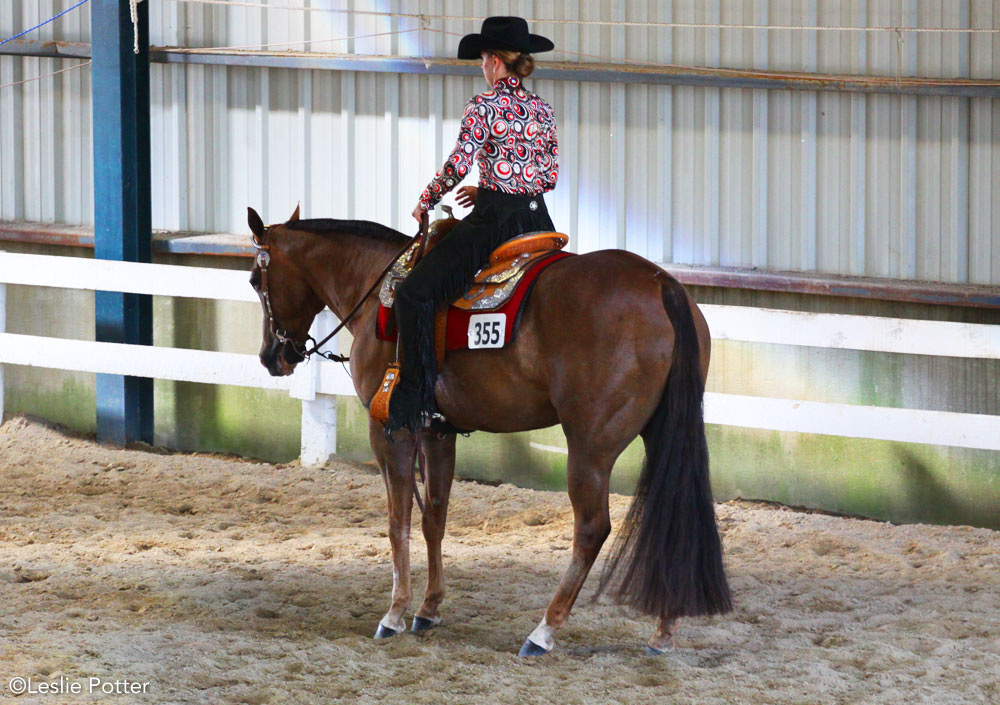
Neck reining is an essential skill for the finished show horse. The western horse is required to be able to neck rein after its 5-year-old year in the show pen. The rulebook requires a senior horse to have a curb bit with a chain so he can be ridden one-handed.
“You need neck reining for guiding in circles, guiding in squares and guiding through a lead change,” says Wennberg. “You’re pushing the horse laterally from one direction to the next. It’s a wonderful thing to teach and train, and it’s pretty simple to the horse.”
Getting Started
The biggest element Wennberg stresses to her riders is that neck reining is about pushing the horse to turn, not pulling him. She recommends you ride your horse in a square to start his neck reining tutorial.
“Riding the corner is blocking with outside aids and controlling the shoulder and neck,” says Wennberg. “The square is the simplest method to train the horse and rider to neck rein.”
Start in a snaffle bit and ride with two hands on the reins. Think about your hands guiding your horse’s shoulders and neck, and always keep them straight.
When you make the 90-degree turns, use a stronger outside aid. As your skills improve, you can move from a walk to a jog to a lope.
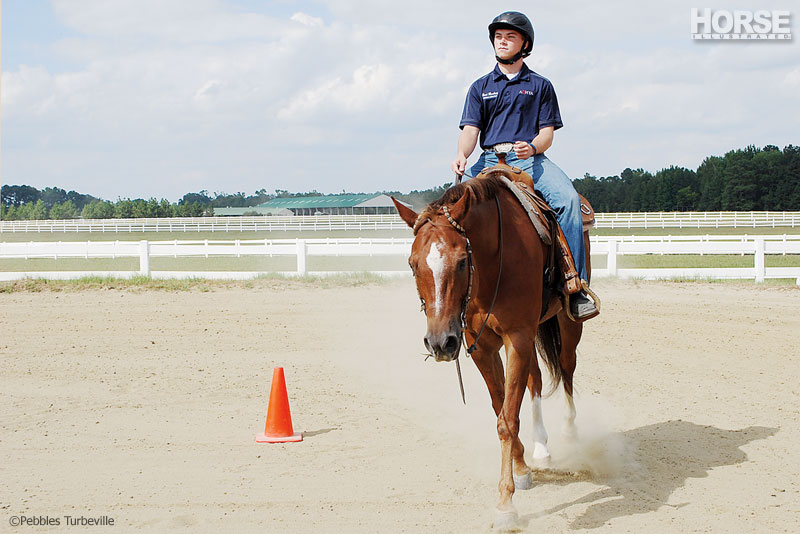
Square Specifics
Set up four cones to represent the four corners of your square so that you can specifically see where you need to give each turning command.
“Ride a straight line and go a little past the cone and turn, and repeat,” says Wennberg.
The cones will help you visually and also in feeling your horse. Wennberg recommends setting them up to form a 10- to 15-foot square. You can make the square bigger for a jog or a lope. The smaller the square, the more collection is necessary so that your horse can put his weight on his hind legs and make a tighter turn. Remember to push laterally with your outside leg and only use your neck rein as a guide.

Focus Your Eyes
Another important tool is to remember to look in the direction of each turn, which will help your horse.
Turning your eyes and torso to a corner of a square starts the aids for your turn, explains Wennberg. For example, if you want to use neck reining to guide your horse through a 90-degree turn to the left, train yourself to look 90 degrees to the left, close the door with your outside leg (your right leg), and add neck rein (your right rein) to push your horse’s shoulders and neck. If you’re consistent, your horse can pick up on neck reining in as little as one or two turns.
As your horse starts to understand your outside aids, he will begin to allow his inside hind leg to carry more weight while his front end keeps moving.
Your Body Position
Your position in the saddle can make neck reining effective or ineffective. You must stay balanced and center your seat and upper body.
If you’re tracking left in a circle or square, open your shoulders slightly to the left when you turn. Your upper body should still be balanced through your seat and core. Don’t drop your left shoulder. Your neck is balanced and straight on your shoulders, and your eyes are looking in the direction of travel.
Once you’re aware of the correct upper body position, think about your legs, which control your horse’s ribcage. In a square turn, your outside leg is more active and your inside leg is more passive. Your legs should still be hanging down underneath your hips and slightly behind the girth.
When it comes to neck reining, many riders struggle with deciding which hand to use. Wennberg suggests using your dominant hand because you’re likely more coordinated with that hand. For correct use of your active hand, imagine a small box around the saddle horn; your hand should remain within that small box while guiding your horse.
“Think about where the horn is and the front swell of the saddle,” explains Wennberg. “That area of 4 to 5 inches is your area to guide from. If you ride left-handed, your left hand will be up and to the left of the horn. If you ride right-handed, your right hand will be up and to the right of the horn. Your free hand is held in a bend in order to balance your rein hand, and your rein hand will be slightly above the free hand.”
Drape of the Rein
When you and your horse are first learning to neck rein, it will be a transition from the more direct contact you have when you ride two-handed. Think about having a soft rein so you can have contact with your horse’s face if you need to regulate him, but you don’t want him to feel you in his mouth at all times.
Wennberg recommends that until you gain independence in your seat and hands, go with less bit and focus on learning to ride your aids. If you find that you and your horse are having issues with neck reining, perhaps your position is off or your horse is significantly dropping a shoulder or bending his neck. Go back to the square exercise, and seek the help of a trainer if you can.
In and out of the Show Pen
While Wennberg has her riders refine their neck reining skills for the show pen, the skill itself is far from confined to the competition arena. She often has her riders take their horses out into a 300-acre field to get out of the arena and stay fresh. It’s incredibly important for horses to be able to do maneuvers in and out of the arena. However, in a field, many horses feel more freedom and want to go where they want.
Riding in a field teaches you to control your horse with your aids, explains Wennberg. “We do circle and square work out in the field. It’s a higher degree of difficulty. We practice all the figures, horsemanship patterns and pattern work. It keeps my horses fresher and keeps the riders keen on using outside leg, outside rein, and guiding circles and squares.”
The more practice you and your horse have with neck reining, the more in tune you will be with each other. During each schooling ride, remember to focus on consistency. Pretty soon you and your horse will be neck reining pros.
Further Reading
Neck Reining Tips
Meet the trainer
Carla Wennberg is a coach for the western team at St. Andrews University in Laurinburg, N.C. In 2013, the team was reserve national champion at the Intercollegiate Horse Show Association National Championships. Wennberg is an American Quarter Horse Association (AQHA), National Reining Horse Association and National Snaffle Bit Association judge, as well as an AQHA Professional Horseman and a Certified Horsemanship Association master instructor.
Thanks to Mark Mowbray, an Intercollegiate Horse Show Association western rider at St. Andrews University, riding Reggie (AQHA), photographed at St. Andrews Equestrian Center, Laurinburg, N.C.
ALLISON GRIEST is a freelance writer based in Texas.
This article originally appeared in the December 2013 issue of Horse Illustrated. Click here to subscribe.