- The goals of the spin in reining are speed, precision, and keeping the hind foot in place.
- Working on your horse’s lateral flexion will prepare him for a good spin.
- Once the horse is supple, working on collection will help him to be light on the front end for the spin.
- Performing a two-track at the walk or trot is a final basic skill that all horses should master.
Watching reining horses as they execute precise patterns and slides in competition is breathtaking, but there’s nothing as dazzling as the lightning-fast spins they perform. The main goals in the spin are speed, precision and keeping the hind foot in place as the horse pivots around it, but to train a horse to master these, you have to start with the basics.
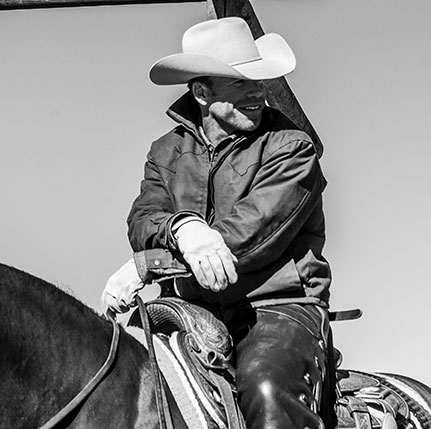
“No matter what you’re training the horse to do, it all begins with the basics,” says reining and cutting world champion and National Reining Horse Association Hall of Fame inductee Dick Pieper.

The three basics of Pieper’s program are lateral flexion, simple collection, and the two-track. “Everyone can achieve success if they get these three basics really solid,” he says. “Our goal in establishing these basics is to have every horse become enjoyable, useful and safe, whether he’s a recreational trail horse or a reining horse. These basics are appropriate for the young colt in training and for the aged saddle horse that may be resistant or dull.”
Reining Horse Spin: Lateral Flexion
Start by riding two-handed with a loose rein in a large circle, keeping the size consistent. To ask for basic lateral flexion as you’re circling to the left, sit on your right hip. This brings your right leg closer to the horse’s ribcage and your left leg away from his body. Essentially, you’re “opening the door” for the horse to move to the left.
Move your left hand outward slowly in the direction you want the horse to tip his nose. It’s important that every time you ask for lateral flexion, your hand moves directly across the top of your hip bone. The soft “ask” then consistently comes from the same direction every time. If you pick your hand up high, drop your hand down, or change the speed of your hand movement, those variances make a difference to the horse; what you’re asking for becomes confusing. The more consistent you are with your hands, the more consistent the lateral flexion response from the horse.
Complete lateral flexibility begins when you move your hand, taking the slack out of the rein, and the horse softly and easily follows. It’s not a pull. When you pull, it becomes confrontational.
Pieper draws the line on one point. “I never ask the horse to flex laterally from a standstill,” he says. “It drives me crazy to see someone sitting on a horse with the horse’s feet not moving and the rider pulling the horse’s nose around to their left knee and then pulling it around to their right knee. Then it’s left, right, left, right over and over. The horse hasn’t learned anything and now has a sore neck. We want the horse to be soft from side to side, but lateral flexion has to be connected to movement.”
When asked for lateral flexion, the horse should walk forward, tip his nose and bend his neck, and start to move his shoulders and ribcage. His whole body should move in one direction.
For left flexion, walk the horse forward and make a little contact with the corners of his mouth. If he pulls, don’t pull back. Keep moving and simply put your left elbow against your ribcage so your arm doesn’t move. The horse will pull against it, but continue to hold without pulling back. Pretty soon, he’ll soften his chin. “When he relaxes his jaw, quits pulling and softens, give him full slack in the reins,” says Pieper. “By dropping your hand down and giving him a release, you’re saying, ‘That’s what I want you to do.’ Then rub on him and pet him.”
Pieper believes in positive rewards. Let the horse know that he did the right thing: release, pet, rub. Continue to walk on the circle with a loose rein and then repeat the exercise.
Initially, if the horse has given a couple of releases, then everything is going along properly. Remember, every time he pulls and then gives a soft response with his nose and neck, he’s rewarded with a release. Do this in both directions until you get four or five releases to the left and the right.
“I’ll continue with this practice until every time I ride the colt—whether the horse is fresh, scared, or is exhibiting high emotions—his response is so automatic that when I take a hold of the corner of his mouth, make a little contact and get him to soften with his nose and then release, it’s almost like his comfort zone,” says Pieper. “He’s learned that no matter what happens, when he’s given a release, everything is going to be fine. This may take from two weeks to two months; the time frame doesn’t really matter. This complete lateral flexion is the first basic building block with the horse. Take whatever time it takes for both you and the horse to get this right.”
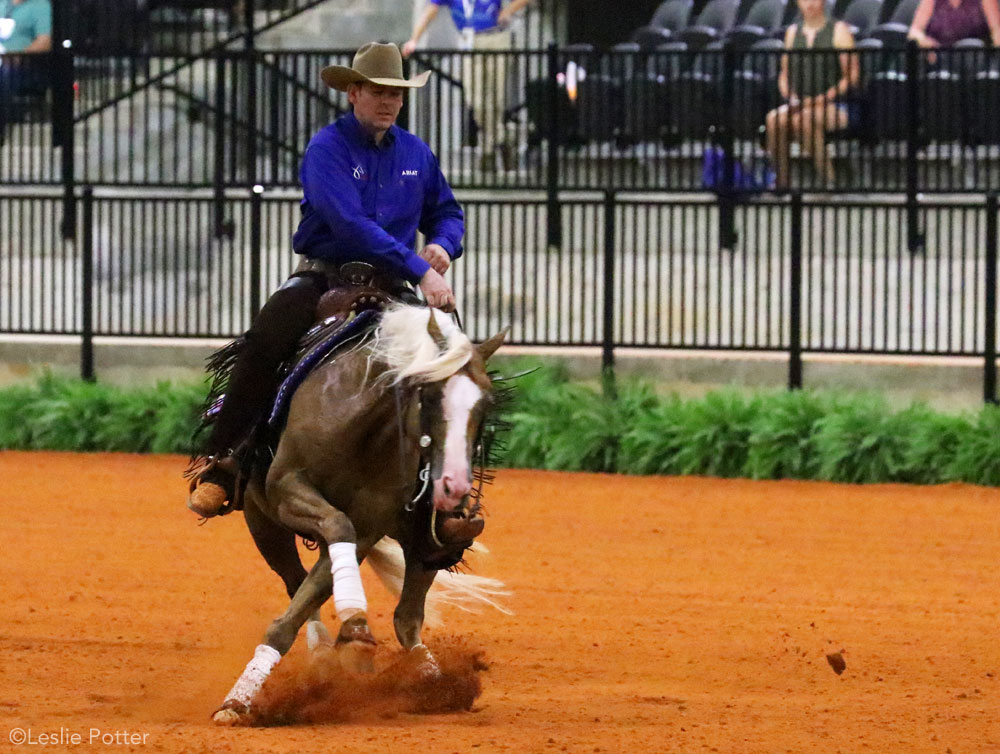
Jordan Larson and Arc Gunnabeagunslinger performing a spin at the FEI World Equestrian Games Tryon 2018.
Simple Collection of a Spin
Pieper moves on to teaching collection only when a horse doesn’t resist flexing on both sides and is soft, responsive and supple every time. He gives his nose willingly and flexes without hesitation or stiffness at the slightest request.
Collection occurs when a horse carries more weight on the hind end than on the front legs, and the back and forehand are raised. Collection allows the horse to move more easily, gracefully and athletically, and to make sudden changes in direction smoothly.
“In collecting a horse, I begin by asking him to move forward at a walk and by setting a barrier with my hands by holding my elbows against my ribcage so that my upper body and arms are immovable,” says Pieper. “That posture removes the temptation to pull back on the reins.
“I push the horse forward into the bridle with my leg aids while maintaining a steady contact with my hands; it’s up to him whether the contact is heavy or light at first,” continues Pieper. “If I take my legs off him, he’ll stop. The impulsion is gone, but the barrier is still there with my hands.”
When riding the horse forward into that barrier, he will probably try to push through it and lean on the bridle, and may even shake his head. He’s now pushing against himself. When he arches his neck and becomes even a little soft, give a release by putting slack in the reins. Offer that release for 15 to 20 seconds, then repeat the same lesson until the horse learns that when he’s ridden up to that barrier, he’ll be rewarded with a release when he gets soft and gives.
The more consistent you are with following these guidelines for collection, the quicker the horse will achieve this goal.
“When that initial barrier response gets fairly good, I hold him in that position for a little longer—two or three strides, then five strides, then 10 strides,” says Pieper. “After he meets that barrier created by my hands, I’ll ask him to lift his back and shoulders, and make him reach up under his body with his hind feet a little bit more. This puts him in a position to perform advanced maneuvers. Eventually, we’ll do this lesson at a trot and then a canter until the horse is soft with no resistance. If he’s beginning to panic, give him a release.
“In the process of teaching the horse mentally to be collected, I’m also physically developing his topline from his poll down through his neck, across the withers, across his back, down through the hips, to the hocks,” adds Pieper. “By strengthening the topline and developing those muscles, the horse will come into a collected position whenever I want him to.” After a period of time, staying in a collected frame will be more comfortable than not being collected.
It’s critical that the horse’s muscles develop slowly during this collection training, or he could become sore.
Reining Horse Spin: Two-Tracks
Once the horse can move in a collected frame, release the pressure of one leg and push harder with the other to ask him to two-track. For a two-track to the right, release your right leg and push with your left leg.
“At a walk or trot, the horse moves forward in a straight line as I continue to release one leg and press with the other,” explains Pieper. “The hindquarters move over and the horse is in a true two-track position: His head and neck point straight forward in the direction he’s traveling, and his hindquarters move over so that he’s actually making two tracks.
“I develop this two-track to the point where the horse does it at just a suggestion; he’s not worried about maintaining the two-track and isn’t concerned when he’s asked to perform it,” adds Pieper. “The horse simply knows that when I release one leg and press a little harder with the other that his hindquarters have to move over.”
When the horse gets the three basics down, he can be taught to do anything, says Pieper. “These basics don’t require any particular skill, and you don’t have to have magic in your fingertips,” he says. “You just have to thoroughly understand the basics. The better you ride and the more you stay consistent while executing the basics, the quicker the horse will learn.”
By using the three basics in different combinations, you can teach a horse to spin, stop, roll back, change leads, circle, back up—just about anything. “The confusion that many people have, even professionals, is that they don’t take enough time to get those basics so well-seated in the horse’s mind that he’s uncomfortable doing it any other way except the way you want,” says Pieper.
Steps to the Reining Horse Spin
Once your horse is solid in the three basics, here’s a test to determine when he’s ready for the lateral step, a building block for the spin:
“When I walk the horse in a circle and he’s no longer resistant, doesn’t lean on my hand, gives me his nose, automatically drops into the circle, and follows my hand, then he’s ready,” says Pieper. “Horses can look behind them very well, so the horse can actually see my hand and follow it. The goal is for the horse to give a soft lateral flexion the minute your hand goes out to the side.”
In taking a lateral step, the horse moves the inside front foot backward to make room for the front outside foot to step across. He should never interfere, bump his knees together, or step on the coronet band, so spend the time necessary for the horse to get skilled at moving the inside foot backward.
“It’s important to note that I won’t give the horse a release for being soft; I’ll release for taking a lateral step,” says Pieper. “This will be my focus for several weeks. After he takes a lateral step from the circle, I’ll give a release by letting him go out of the circle and forward. Having the horse soft to my hand, tip his nose, bend his neck and take a lateral step is the most important part of teaching him to turn around and eventually spin.”
Begin the Reining Horse Spin
“When I’m getting a horse ready to spin and I lay a rein against his neck, the first thing I want is for the horse’s nose to tip toward the inside,” says Pieper. “The second thing I want is for the inside foot to step back and make room for the outside leg to step across.
“Initially I’ll ask the horse to simply walk circles while I cross my reins, with four fingers between the reins,” continues Pieper. “I don’t want him to wander; I want him to walk with rhythm and cadence and follow the same-size circle with purpose. Then I lift the slack from the reins and ask the horse to tip his nose and shape his body to the circle. Walk circles for a while until the horse understands what you want him to do. You want the horse to almost follow the circle on his own.”
Next, hold the horse’s nose with your hands as a barrier and make the circle smaller and smaller while still moving forward until he takes a lateral step rather than a forward-reaching step.
As soon as the horse takes a lateral step, give him a reward by releasing your hands and taking all the pressure off. After you walk around on a loose rein, start on another circle and gradually make it smaller again. Soon you’ll notice that the horse will take less time to make the lateral step, and that he understands how to achieve the release. Eventually he’ll get to the point that as soon as the slack comes out of the reins, he’ll take a lateral step.
When he’s accomplished the lateral step, now instead of releasing him, hold him in place and ask for a second lateral step; then release him. Add an additional lateral step each time until you make a full circle. By the time he’s consistent at taking a lateral step followed by a forward-reaching step to complete a full circle, you’ll be able to hold him and he’ll take as many lateral steps as you want. Build up to that point gradually. It’s all about teaching him to make the correct move before he gets a release. As soon as he figures out what that is, he’ll do it for as long as you ask him to.
After accomplishing the lateral step, you can start adding speed and precision to the spin.
MEET THE TRAINER: Dick Pieper has earned numerous national championships in reining, cutting, reined cow horse, and American Quarter Horse Association competitions. He is a National Reining Horse Association (NRHA) Futurity Champion and was inducted into the NRHA Hall of Fame. www.pieperranch.com.
KATE RIORDAN has spent her entire life around horses, doing everything from ranch work to distance riding.
This article originally appeared in the July 2014 issue of Horse Illustrated magazine. Click here to subscribe!