A shadow box is the perfect way to display a collection of your equestrian treasures. Since a shadow box has depth, it will hold items that won’t fit in a picture frame. Making a shadow box is not only fun, but it’s also pretty easy to put together. But before you rush out to the craft store, here are a few suggestions:
Decide on a theme: A shadow box should focus on one topic or event so it’s clear what you’re preserving or honoring. For example, your shadow box could be a tribute to a favorite horse, or it can celebrate the fun you had in Pony Club.
Think of a title: Most shadow boxes include a title or a few special words that add meaning to the display. If you don’t trust your handwriting skills, buy a sheet of stick-on letters or pre-printed quotations.
Select the right size: If you want to display large, hefty objects, like a horseshoe, you’ll need a big, sturdy shadow box. In contrast, small, sentimental souvenirs and trinkets look best in a more petite shadow box.
Stick to a simple color scheme: The shadow box you buy at the craft store will be made of unfinished wood and must be painted. Don’t go wild with colors that will distract from the treasured contents. Also, choose colors that enhance the theme. Do you want bright, cheery tones or ones that are more subdued?
Practice the layout: Experiment with various arrangements. Your most important treasures deserve a prominent placement. Some items (like a blue ribbon and a horse-show class list) can be layered so their edges overlap. That saves on room and adds dimension to your display. Just avoid a cluttered look. If there are leftover horsey treasures, make another shadow box!
Shadow Box Step-by-Step Instructions
1. Disassemble your shadow box. The frame should easily detach from the box. Remove the glass from the frame or cover it with newspaper and tape so it won’t be ruined with paint splatter.
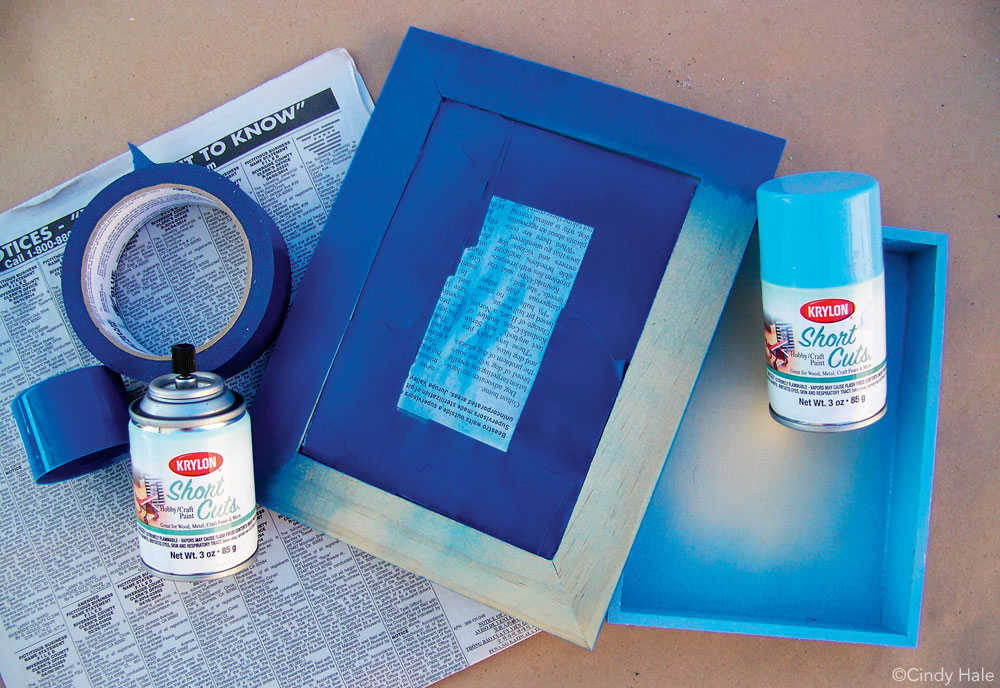
2. Carefully paint the entire shadow box, including the sides. The one part you don’t need to paint is the inside bottom of the box compartment. This will be the background of your display.
I used two shades of blue for my shadow box. After painting the bottom half in a pale blue, I protected the glass in the frame with newspaper and painter’s tape. Then I spray painted the frame in the darker shade of blue.
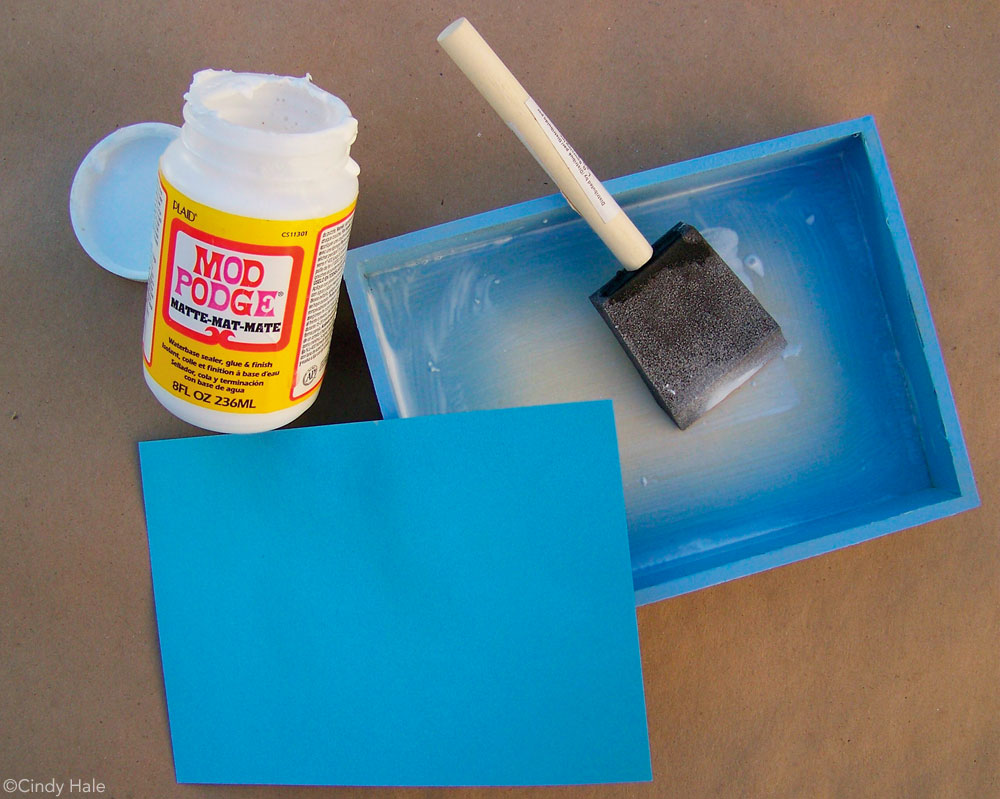
3. Once the paint is dry, it’s time to add the background. Measure and then cut a piece of cardstock paper so it fits snugly inside the box and lies flat. Now remove the paper, apply decoupage glue to the unpainted wood surface, and press the paper back into place with your fingertips. When the underside of the paper appears dry, apply another coat of decoupage glue to its surface.
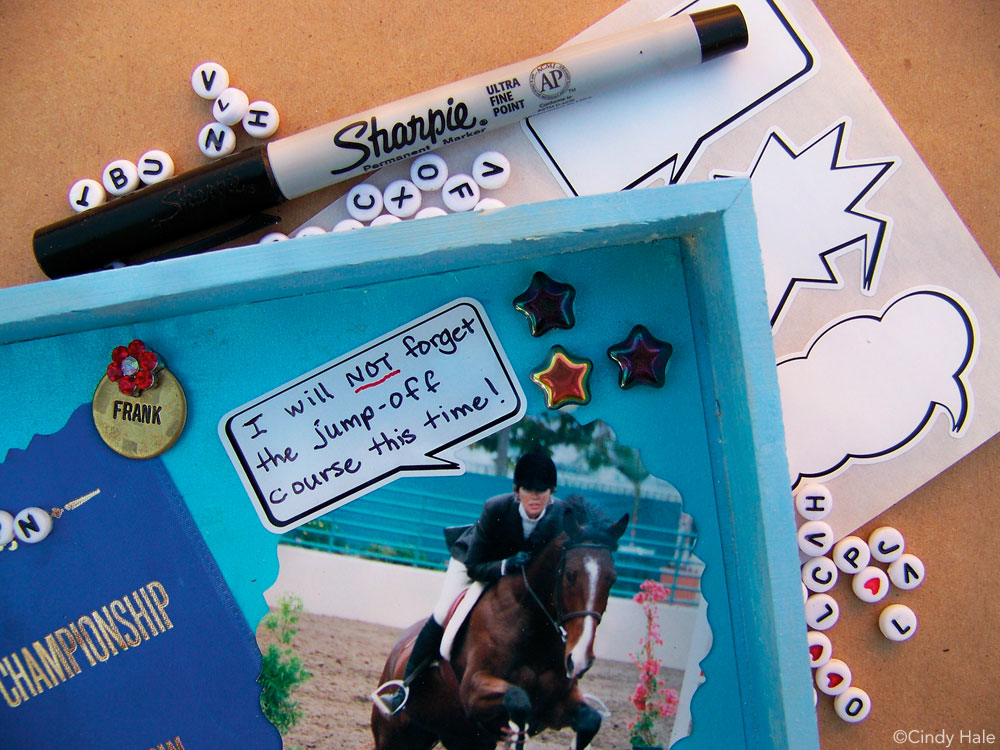
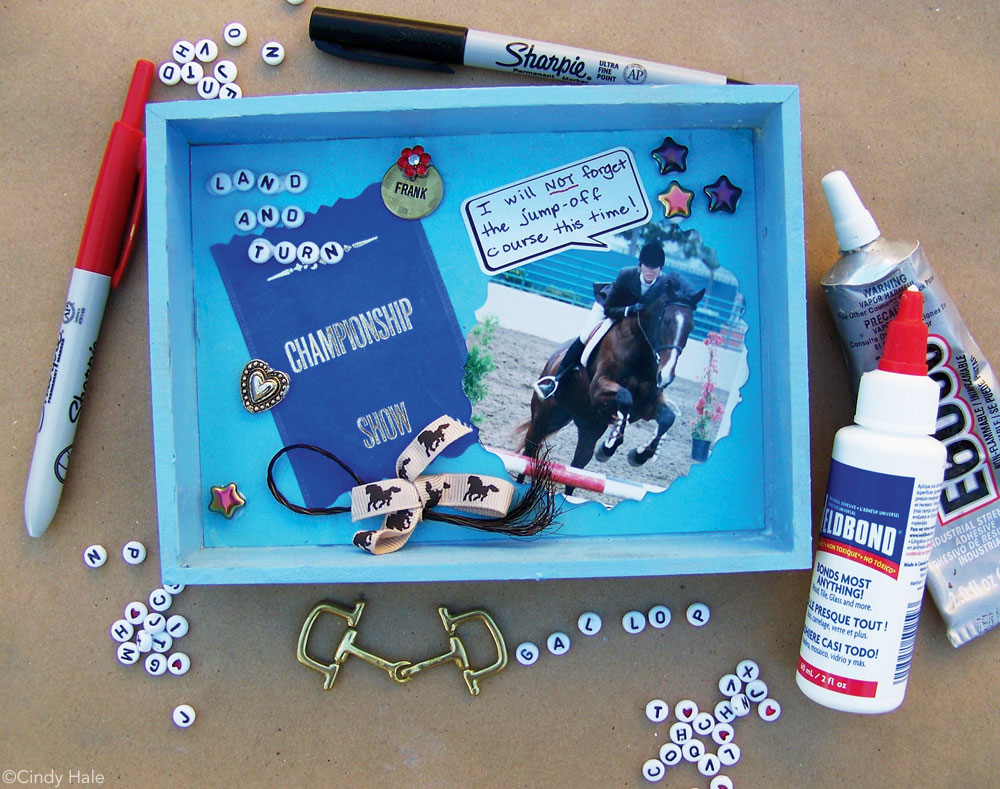
4. Assemble the contents of your display as you had planned. Just like making a layered cake, glue the lowest level of items in place first, and build upward.
Don’t be afraid to overlap the contents of your shadow box. It adds visual interest and extra dimension to your design.
To include quotes or comments, use letter beads, stickers or simply print neatly.
5. When your display is completed and the glue has dried, reassemble the shadow box. Since this is a permanent display, add a thin line of glue to the frame before you set it atop the box compartment.
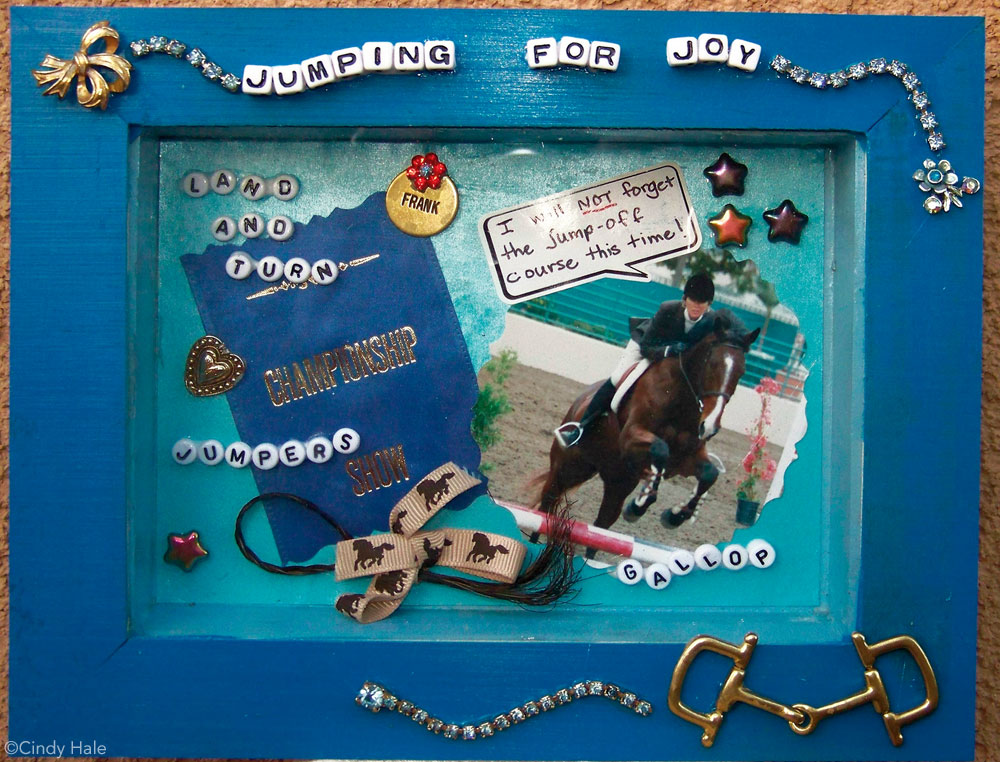
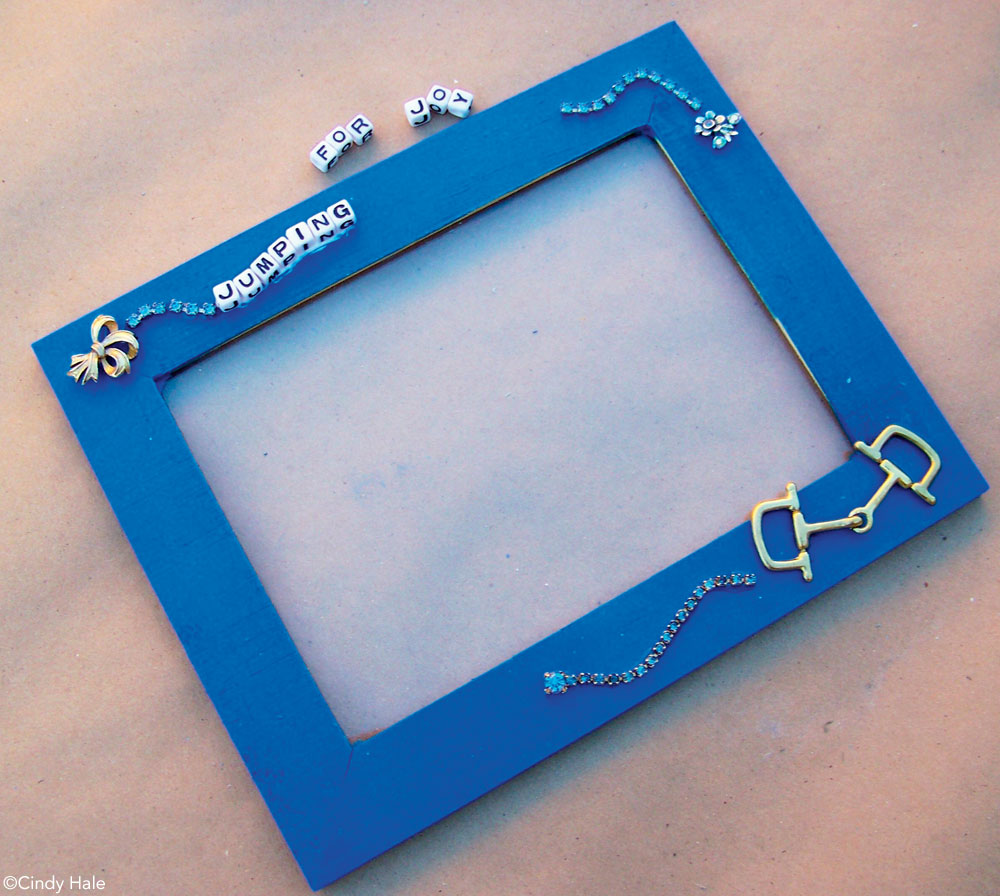
6. Do you have a title or some tiny embellishments to add on to the frame? Think carefully, because the decorations on the frame shouldn’t overpower the display inside.
When your shadow box is finished, you’ll have captured mementoes from your life that will be forever special.
This article originally appeared in the September/October issue of Young Rider magazine. Click here to subscribe!


